20
21
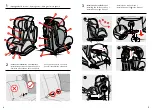
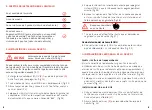
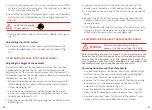
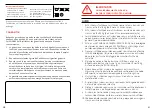
5. push the child seat against the car seat to check that the IsoFIX
system is fully latched, ensuring that the child seat is as close to
the car seat as possible (fig. 3.5).
6. locate the top tether attachment point in your car (it could be
behind the seat, in the boot or on the ceiling) and connect it
(fig.3.6).
look for this symbol
in your vehicle.
7. pull the top tether strap until the safety indicator turns green
(fig. 3.7).
Uninstalling the ISOfIx system
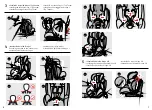
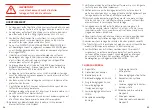
8. to release the IsoFIX anchor points, pull the button on the
anchors to unlock them. this will release the child seat (fig.
3.3).
4. fAsTENINg ThE chIld INTo ThE sEAT grouP 1
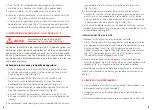
Adjusting the height of the headrest
the correct adjustment of the headrest ensures that the child
is properly fastened into the car seat. the headrest must be
adjusted so that the harness (which moves with the headrest) is
at shoulder height on the child or slightly above, but never behind
the back or at ear level (fig. 4.3).
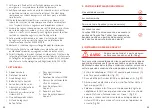
1. put your hand on the headrest and push the lever upwards
(L)
while holding the seat down with your other hand to prevent
it from moving (fig. 4.2).
2. press the harness adjustment button
(D)
on the front part
of the seat while simultaneously pulling both harness straps
towards you to loosen it (4.1).
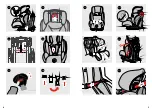
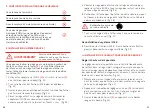
3. open the harness buckle
(C)
by pressing the red button on the
buckle (fig. 4.4).
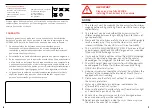
4. to make it easier to fasten the child into the seat, put the
buckle's metal connectors into the covers
(N)
on both sides.
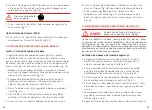
5. sit the child on the seat and fit the safety harness around the
child.
6. Connect the 2 parts of the fastener, inserting them into the
buckle until you hear a click (fig. 4.6) which indicates that it is
securely locked.
7. pull the harness adjustment strap
(E)
until the harness is fully
tightened (fig. 4.7). remember that in order to guarantee the
child's safety, harnesses must be well-tightened.
5. fAsTENINg ThE chIld INTo ThE sEAT grouP 2 ANd 3
only for use with group 2-3 from
approx. 4 to 12 years of age (15-36 kg)
NoTIcE
before installing the seat for group 2-3, you must remove the
harness straps that fit around the crotch and abdominal areas.
Ensure that the headrest is at the appropriate height. It is
very important that the child's shoulders are just below the
headrest and that their head does pass the top of it.
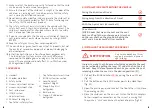
Removing harnesses and the safety buckle
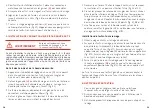
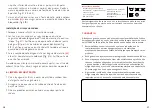
1. use one hand to press the harness adjustment button
(D)
on
the front part of the seat while simultaneously pulling both
harness straps towards you to loosen it (fig. 5.1).
2. remove the fastener
(H)
from the side of the chair by pulling
outwards until it is completely removed. the chair will be
unlocked. tilt the chair forward (fig. 5.2).
3. From the back of the backrest, unfasten the harness straps
from the metal connector in order to release them (fig. 5.3).
4. remove the headrest cover. on the back of the headrest, there
will be a plastic screw which holds the harness bracket.


