Page 8
11.
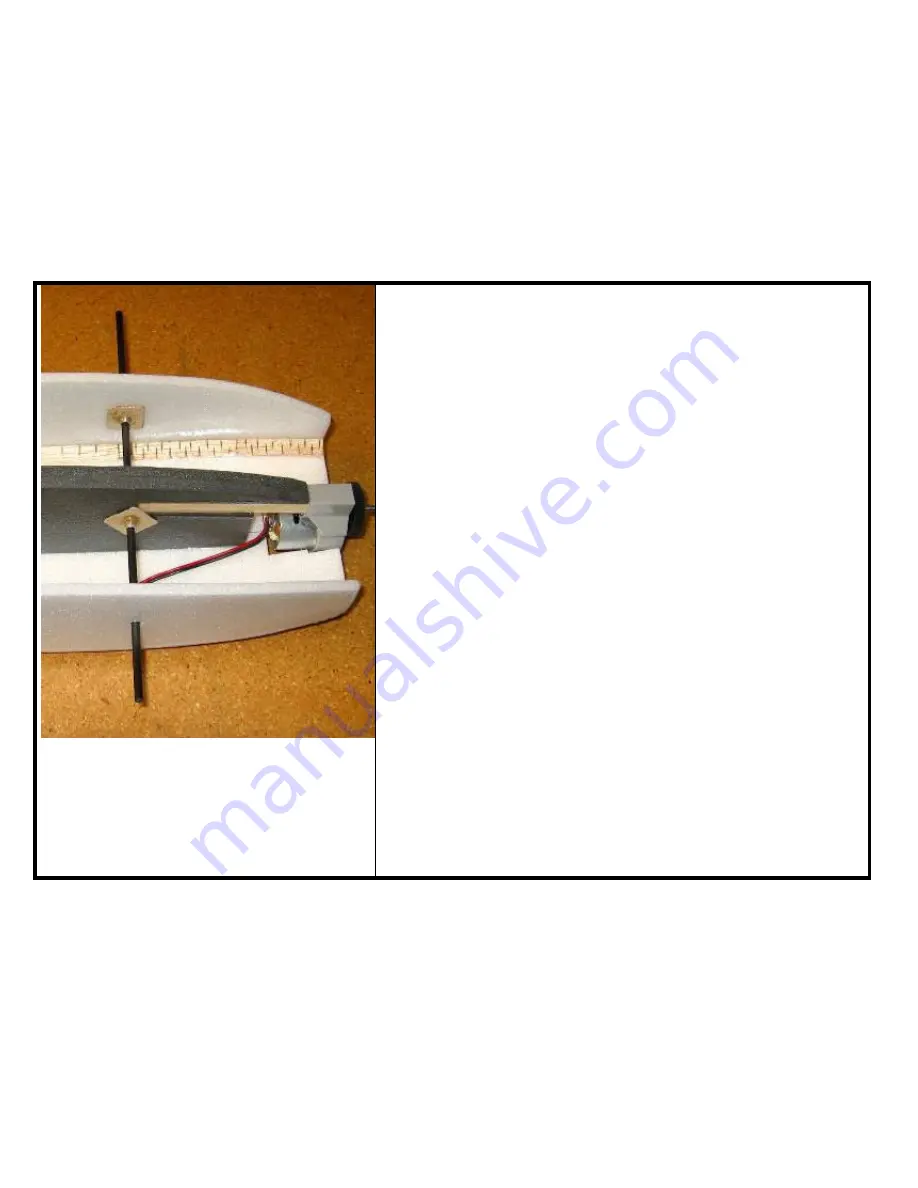
Next install the hardware for the pivoting stabilators. The .157” diameter
carbon stabilator rod pivots inside three small pieces of 3/16” diameter
aluminum, which are supported by four small squares of 1/64” ply glued to
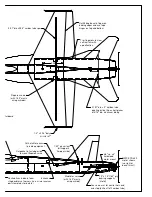
the fuselage sides (study the plans carefully here!).
Begin by gluing the plywood supports to the fuselage sides (5 minute
epoxy recommended), centering them over the precut holes in the foam.
Two plywood supports are glued to the inside edge of the fuselage sides,
and the other two supports are glued to each side of the motor mount.
After the glue is cured, drill 3/16” holes through all of the plywood supports.
Use the precut holes in the foam to guide the drill for the outer pieces, then
push the drill bit through and hold the drill as square as possible while
drilling the center plywood pieces. Then test fit the three aluminum tube
bearings into the holes and try to slide the carbon stabilator rod in to check
fit. If your drilling was a little off (and it probably was), you may need to
enlarge the hole in the center motor mount slightly to reposition the
bearing and allow the carbon rod to turn freely (don’t worry about creating
gaps here, since we’ll use epoxy to glue this tube in and it will fill in the
gaps).
Once everything fits and the carbon rod turns freely, apply 5 minute epoxy
around each of the three aluminum tubes to glue them in place. Note the
carbon rod should still be inside the bearings to hold them in alignment—
but make sure not to get epoxy on the carbon rod.
Once the epoxy is cured, remove the carbon rod. Two parts then need to
be slid onto the carbon rod—the control horn and the end stop bearing.
Both of these parts are on the left side of the fuselage between the
fuselage side and motor mount (the control horn goes in the center and the
end stop goes on the outboard end), and they are what keeps the carbon
rod from sliding left and right so the stabilator edges don’t rub against the
fuselage sides. For the control horn, use a spare servo horn with one arm,
drilled out to fit the carbon tube. For the end stop, again use a spare servo
horn but this time cut off the arms completely—we just want the nylon
center part. Slide the carbon rod back in to the fuselage, sliding these two
parts on at the same time (but don’t glue them in yet).


