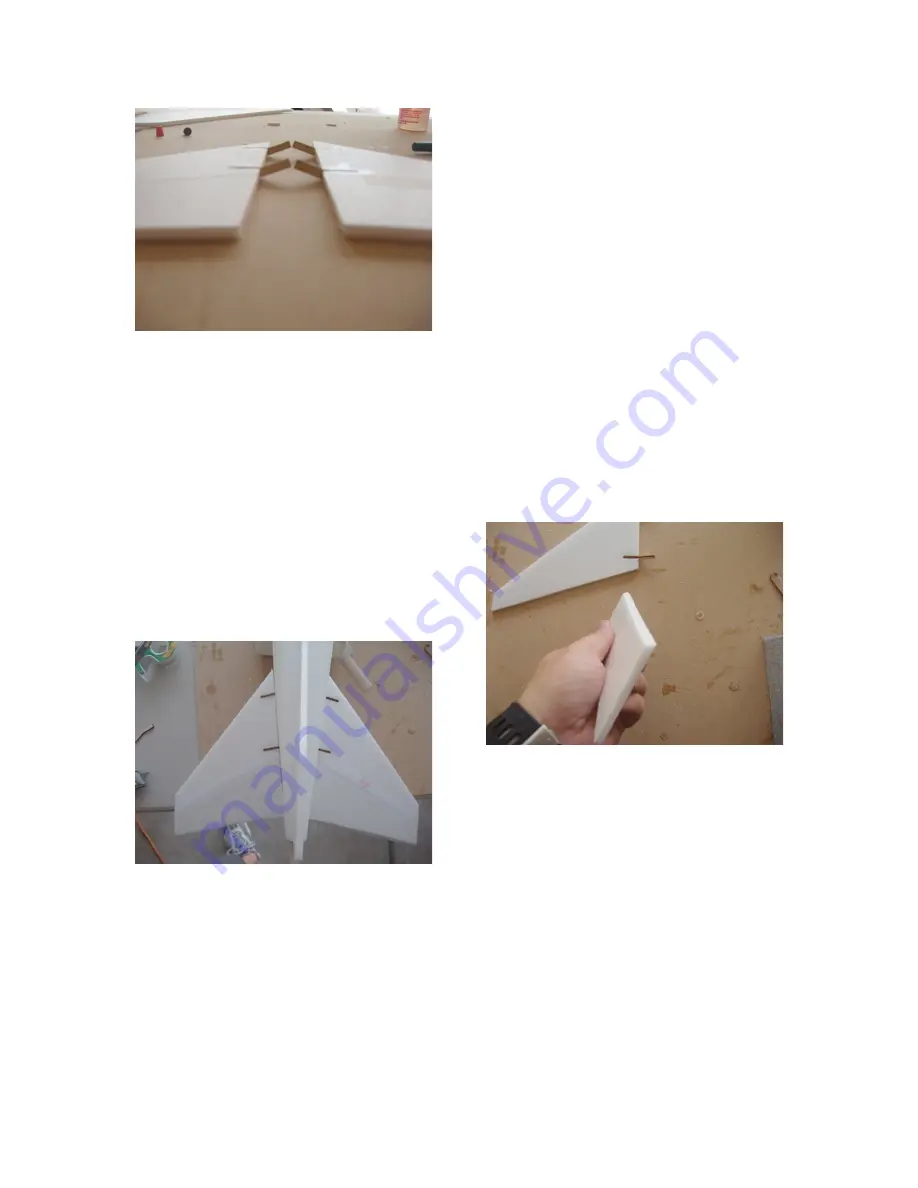
Check the angles to make sure they are
identical.
2. Dry fit the tails by poking the ends of
the angle braces into the pre-drilled
holes in the rear fuselage. It may be
necessary to enlarge the hole. The angle
braces will be visible through the
opening at the end of the airplane. The
angle braces inside the plane should be
horizontal and level. NOTE: do not
attach the elevator permanently at this
stage. Trimming may be necessary after
the tail is installed.
3. Remove the tails and bevel the
inboard edge of the horizontal tail to
achieve a tight fit against the fuselage.
Be sure not to remove too much
material.
4. Install one side of the tail by applying
epoxy to the butting edge of the tail and
to the angle brace. Insert back into the
slots and make sure the portion of the
angle brace inside the fuselage is level.
It may be necessary to hold this piece
while the epoxy cures. Repeat for the
other tail.
5. Bevel the leading edge of the elevator
on the bottom side of the elevator. This
allows for the elevator to be free and
travel down once hinge tape is applied.
6. Temporarily attach the elevators to the
tail using some common scotch tape.
You are checking for the range of
motion in the elevator. Because of the
angle of the tail, the inside of the
elevator may bind slightly against the
fuselage when in the down position.
Simply trim a very small amount from
the inside of the elevator. (See Pictures)


