background image

Page 5

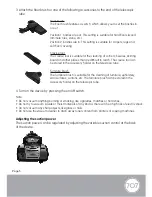
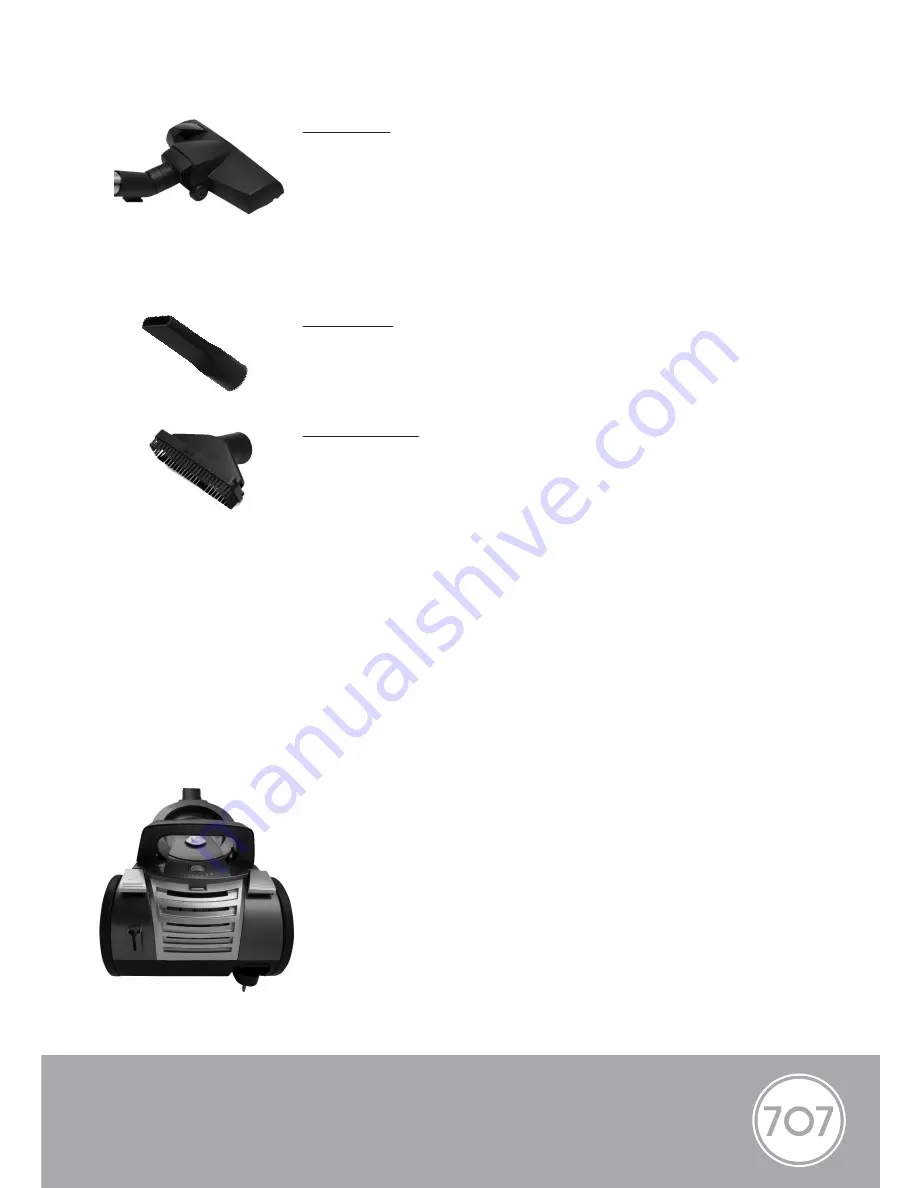
Floor brush:

The floor brush features a switch, which allows you to set the bristles in 

or out.

Position 1: bristles are out. This setting is suitable for hard floors (wood, 

laminate, tiles, stone, etc.).

Position 2: bristles are in. This setting is suitable for carpets, rugs and 

soft floor covering.

Crevice tool:

The crevice tool is suitable for the cleaning of corners, fissures, skirting 

board and other places that are di

ffi

cult to reach. The crevice tool can 

be stored in the accessory holder on the telescopic tube.

Furniture brush:

The furniture brush is suitable for the cleaning of furniture, upholstery, 

wall surfaces, curtains, etc. The furniture brush can be stored in the 

accessory holder on the telescopic tube.

3. Attach the floor brush or one of the following accessories to the end of the telescopic 

    tube.

4. Turn on the device by pressing the on/o

ff

 switch.

Note:

•  Do not vacuum anything burning or smoking, like cigarettes, matches or hot ashes.

•  Do not try to vacuum liquids or moist materials of any kind as there will be a high risk of electric shock.

•  Do not vacuum any sharp objects, like glass or nails.

•  Do not use the vacuum cleaner to drain away toner content from printers of copying machines.

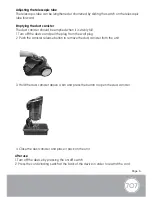
Adjusting the suction power

The suction power can be regulated by adjusting the variable suction control at the back 

of the device.

Summary of Contents for VCC181

Page 1: ...User Manual Instructions Dual Cyclonic Vacuum This booklet should be retained by the user for future reference Please read all instructions carefully before operation VCC181...

Page 2: ...to avoid safety hazards Do not attempt to repair the device yourself This appliance is not suitable for use by children or persons with reduced physi cal sensory or mental capabilities or lack of expe...

Page 3: ...and anything that may reduce the air flow Vacuuming large objects may cause the air passage in the telescopic tube or flexible hose to be obstructed If this happens remove the object that is stuck Do...

Page 4: ...Noise Decibel 79 4dB 2 PRODUCT PARTS 1 Flexible hose 2 Crevice tool 3 Furniture brush 4 Telescopic tube 5 Carrying handle 6 Dust canister 7 Wessel Werk floor brush 8 Canister release button 9 On off...

Page 5: ...ic tube to the flexible hose 3 Attach the suitable accessories floor brush crevice tool furniture brush to the telescopic tube for different cleaning purposes 4 OPERATION Before use Check the device f...

Page 6: ...r the cleaning of furniture upholstery wall surfaces curtains etc The furniture brush can be stored in the accessory holder on the telescopic tube 3 Attach the floor brush or one of the following acce...

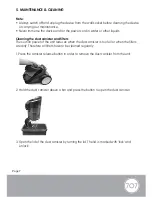
Page 7: ...l 1 Turn off the device and pull the plug from the wall plug 2 Push the canister release button to remove the dust canister from the unit 3 Hold the dust canister above a bin and press the button to o...

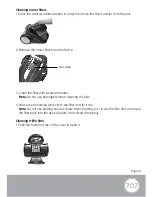
Page 8: ...canister and filters The suction power of the unit reduces when the dust canister is too full or when the filters are dirty Therefore all filters have to be cleaned regularly 1 Press the canister rel...

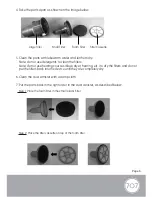
Page 9: ...heating etc to dry the filters and do not put the filters back into the device until they are completely dry 6 Clean the dust canister with a damp cloth 7 Put the parts back in the right order in the...

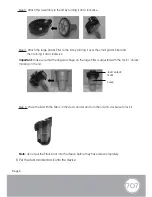
Page 10: ...it anti clockwise Important make sure that the angular shape on the large filter is adjusted with the lock unlock marking on the lid Step 5 Place the lid with the filters in the dust canister and turn...

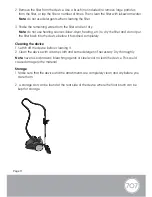
Page 11: ...filter with lukewarm water Note do not use detergents when cleaning the filter 4 Shake the remaining water from the filter and let it dry Note do not use heating sources blow dryer heating etc to dry...

Page 12: ...and do not put the filter back into the device before it has dried completely Cleaning the device 1 Switch off the device before cleaning it 2 Clean the device with a damp cloth and some detergent if...

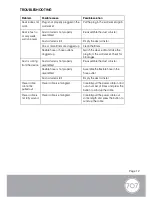
Page 13: ...ocket Check for blockages blockages Dust is coming from the device Dust canister is not properly assembled Re assemble the dust canister Flexible hose is not properly assembled Assemble the flexible h...

Page 14: ......

Reviews: