


8
E
6 T
ECHNOLOGIES
, E
NTERPRISE
R
EPORTER
3.0 U
SER
’
S
G
UIDE
37
A
DMINISTRATOR
S
ECTION
: C
HAPTER
2 - C
ONFIGURING
THE
ER 3.0 S
ERVER
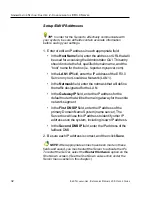
Update the Time on the Server
After you have saved the IP addresses of NTP servers you
wish your Server to access, click the NTP Update button to
synchronize the clock on your Server with the NTP server
clocks.
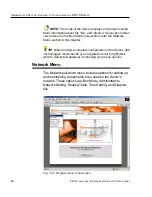
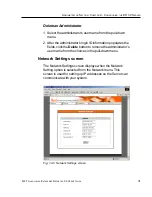
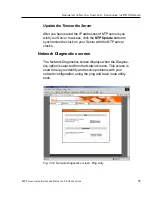
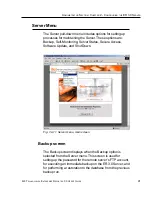
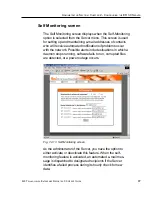
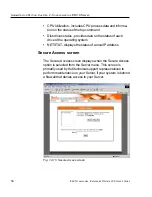
Network Diagnostics screen
The Network Diagnostics screen displays when the Diagnos-
tics option is selected from the Network menu. This screen is
used to help you identify and resolve problems with your
network configuration, using the ping and trace route utility
tools.
Fig. 1:2-8 Network Diagnostics screen, Ping entry
Summary of Contents for 3
Page 1: ...8e6 Enterprise Reporter 3 0 USER S GUIDE ...
Page 2: ......


