9
Rotation only mode of operation (as used for drilling in
wood or metal with the SDS chuck or the keyed chuck)
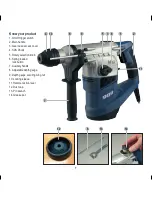
1. Set the rotary selection knob (5) to the position .
2. Set the hammer action lever (11) to the right .
Rotary hammer mode of operation (as used for
hammer drilling with the SDS chuck only)
1. Set the rotary selection knob (5) to the position .
2. Set the hammer action lever (11) to the left .
Hammer only mode of operation (as used for chiseling
or chasing with the SDS chuck only)
1. Set the rotary selection knob (5) to the position .
2. Set the hammer action lever (11) to the left .
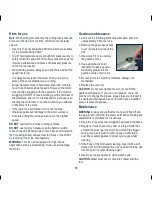
Switching on and off
1. Connect the plug to the power
point.
2. Depress the trigger switch (1)
to start the drill and release
the trigger when you wish to
stop.
Inserting SDS bits
CAUTION.
Always ensure that the drill is switched off and
plug is removed from the power point before making any
adjustments.
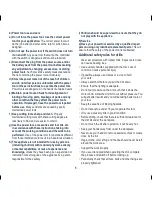
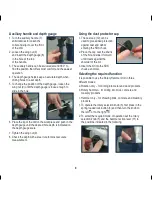
1. The drill features an SDS
Plus
®
system which enables
easy and safe bit replacement.
Before inserting the bit always
ensure that the bit end being
inserted is clean and greased.
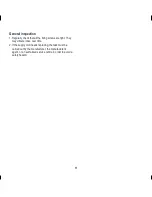
2. Slide back the locking sleeve
(10) and insert the SDS Plus
bit into the chuck opening.
3. To secure the bit release the locking sleeve.
Note.
The SDS Plus bit needs to be inserted in a specific
way to ensure it locks into the chuck. To check your attempt,
pull the bit out of the chuck and if it comes out, reinsert the
bit and spin the bit in order to locate it better.
4. To remove the bit, slide back the locking sleeve, remove
the bit, and release the locking sleeve.
Operation
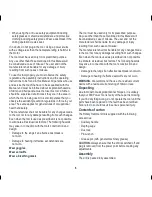
1. Hold the drill with your two upper fingers comfortably on
the trigger switch.
2. Use the auxiliary handle (7) where possible to gain extra
control and to prevent fatigue.
Summary of Contents for KHD1050K
Page 12: ......

