

Summary of Contents for TS900
Page 11: ......
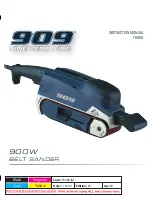
The 909 TS900 Instruction Manual is an essential guide for operating the product effectively. Available for free download at 88.208.23.73:8080, this manual provides detailed instructions to ensure a seamless user experience. Enhance your understanding of the 909 TS900 with this comprehensive manual, conveniently accessible at your fingertips.
Page 11: ......


