14
WebGUI Control
WebGUI Control
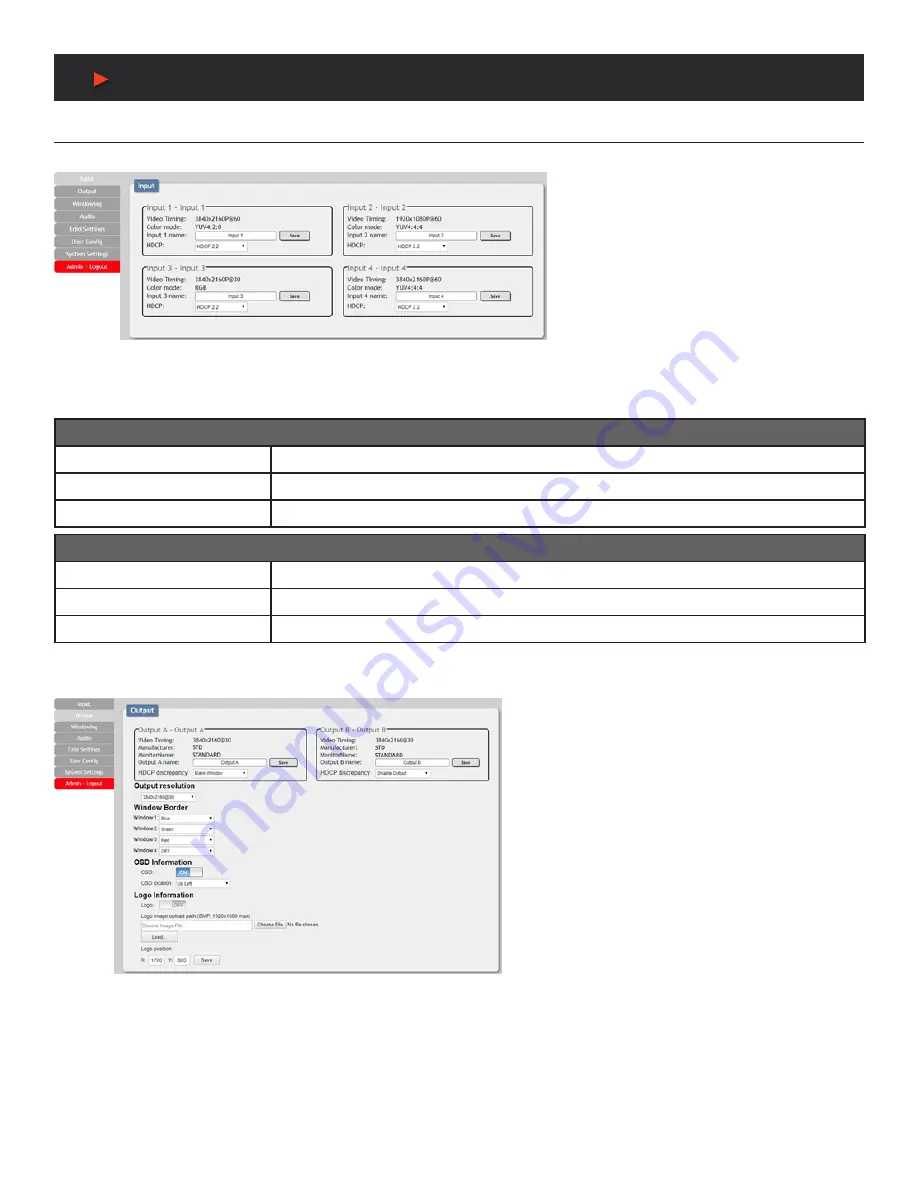
INPUT:
This tab displays the current status of each of the (4)
inputs, allows renaming each input, and provides a
way to set the unit’s HDCP handling behavior.
1. Video Timing:
Shows the currently detected
resolution and timing of each video input.
2. Color Mode:
Shows the currently detected color
space format of each video input.
3. Input 1~4 Name:
Allows each input to be renamed.
To change an input’s name, type the new name into
the provided space and click on
“Save”
.
4. HDCP:
Allows setting the HDCP compliance behavior of each input individually. Due to the differences in the way the Matrix and
Multiviewer modes function, each mode handles HDCP slightly differently.
MATRIX MODE OPTIONS
Refer to Source
The input supports up to the HDCP version required by the connected source.
Refer to Display
The input supports up to the HDCP version supported by the connected display.
HDCP Support Off
HDCP support is completely disabled.
MULTIVIEWER MODE OPTIONS
HDCP 1.4
HDCP v1.4 (and below) is supported by the input.
HDCP 2.2
HDCP v2.2 (and below) is supported by the input.
HDCP Off
HDCP support is completely disabled.
OUTPUT:
This tab displays the current status of both HDMI outputs
as well as providing control over the output resolution,
output names and HDCP failure handling. Additional output
related functions also have controls on this tab, such as
window borders, the OSD information display, and graphic
logo uploading and placement.
1. Output A/B:
These (2) sections show the current output
resolution as well as the detected details of the connected
displays. Each output can also be renamed. To change an
output’s name, type the new name into the provided space
and click on
“Save”.
There is also a dropdown to select how each output behaves
if one of the windows displayed on it requires a version of
HDCP the display can’t support. To have the display show
black in case of an HDCP failure, select
“Blank Window”
.
To disable the output completely select
“Disable Output”
.
2. Output Resolution:
The output resolution for both outputs can be freely selected by clicking on the provided dropdown. To have the
output resolution automatically determined by the EDID of the display connected to Output A, select
“NATIVE”
.
NOTE:
Both outputs will always use the same resolution, regardless of windowing mode. See
“Features Support Chart”
on Pg. 2
for supported Input/Output resolutions.
3. Window Border:
This section provides controls to add a colored border to each window. Click the dropdown next to the window you
wish to affect and select a border color, or
“OFF”
. Selecting
“OFF”
will disable the border completely.
NOTE:
See
“Features Support Chart”
on Pg. 2 for supported Input/Output resolutions.
A
NEU
VIDEO


