Printed Circuit Board
Ba ery
WARNING! Working on an energized
circuit can result in severe injury or
death from electrical shock.
This heater uses a type 2032 ba ery
to store the clock’s me during a
power outage. When the ba ery’s
voltage is low, an error code will
fl
ash on the water heater’s display
to indicate the ba ery should be
replaced.
This ba ery only stores the clock’s
me during a power outage. All
other se ngs are saved in the PCB’s
memory.
Follow the instruc ons below to
ac vate the ba ery before the
fi
rst
use of the water heater.
1
Ensure the water heater is
NOT connected to any
electrical power source. The
unit must NOT have power to perform
the next step.
2
Remove the front cover.
3
Removed the clear plas c
cover over printed circuit
board. Keep this cover for
installa on a er the ba ery is
ac vated.
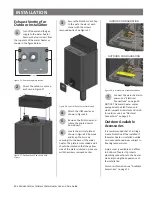
4
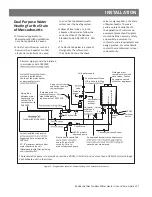
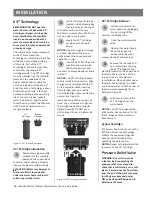
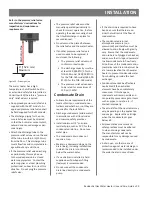
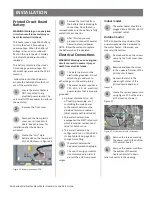
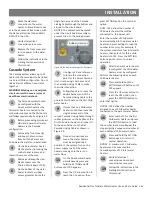
Locate the “coin” style
ba ery slot on the lower part
of the PCB shown in Figure 36
PCB
Battery
Figure 36 -
Ba ery loca on on PCB
5
Remove the small tab from
the ba ery that is blocking its
connec on. Once the tab is
removed make sure the ba ery is fully
seated in the connector.
6
A er this step you may
proceed to connect the water
heater to electrical power.
NOTE: follow these steps to replace
the ba ery when it is depleted.
Electrical Connec ons
WARNING! Working on an energized
circuit can result in severe injury or
death from electrical shock.
1
The water heater must be
electrically grounded. Do not
attach the ground wire to
either the gas or the water piping.
2
The water heater requires a
120 VAC, 60 Hz electrical
power supply that is properly
grounded.
• A proper disconnect (i.e. on/
o
ff
switch, power plug, etc.)
controlling the main power
to the water heater must be
provided for service reasons.
(Must comply with local codes.)
• This water heater comes
equipped with a SJWT rated cord
which is weather resistant and
rated for outdoor use.
• This water heater can be
con
fi
gured to run on 120 VAC 50
Hz. See Table 18 on page 48 to
change this se ng.
3
The water heater can be
hardwired or wired to a plug-in.
4
The use of a surge protector
is recommended in order to
protect the unit from power
surges.
Indoor model
1
The water heater should be
plugged into a 120VAC, 60 HZ
electrical outlet.
Outdoor model
NOTE: Follow the steps below if the
power supply must be hardwired to
the water heater. Otherwise, you
may skip this section.
1
Remove and keep the screws
securing the front cover, then
remove it.
2
Remove and keep the screw
in the upper le corner of the
printed circuit board.
3
Depress the latch in the
upper right corner of the
printed circuit board and
lower it.
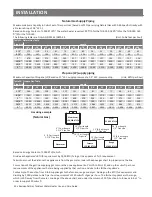
4
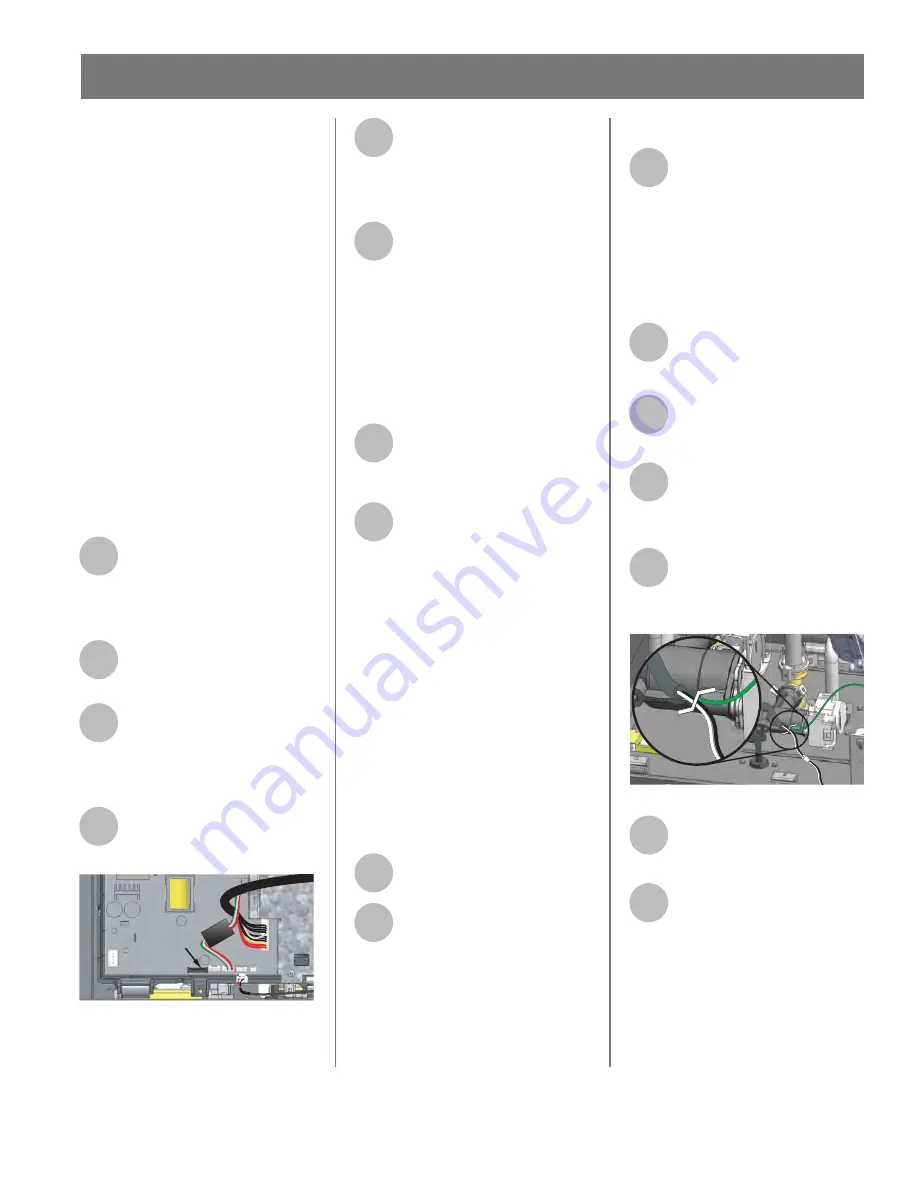
Locate the system power cord
using Figure 37. Cut the wires
at the loca on shown in
Figure 37.
Figure 37 -
System power cord cut loca on.
5
Remove the screws securing
the power cord to the bo om
of the water heater.
6
Remove the power cord from
the bo om of the water
heater and install a strain
relief connector in the opening.
40 • Residen al Gas Tankless Water Heater Use and Care Guide
INSTALLATION


