7
/
20
PARTS INCLUDED WITH THE DELUXE CHUCK:
1) chuck with small jaws 2) standard backing plate: 5-1/2”(138mm) 3) wrench
4) large jaw set: 3-3/4” – 5-3/4” (95-146mm) 5) large backing plate: 7-1/4”(183mm)
6) small backing plate: 4-1/2”(114mm)
Hub Type Disc or Drum Instructions
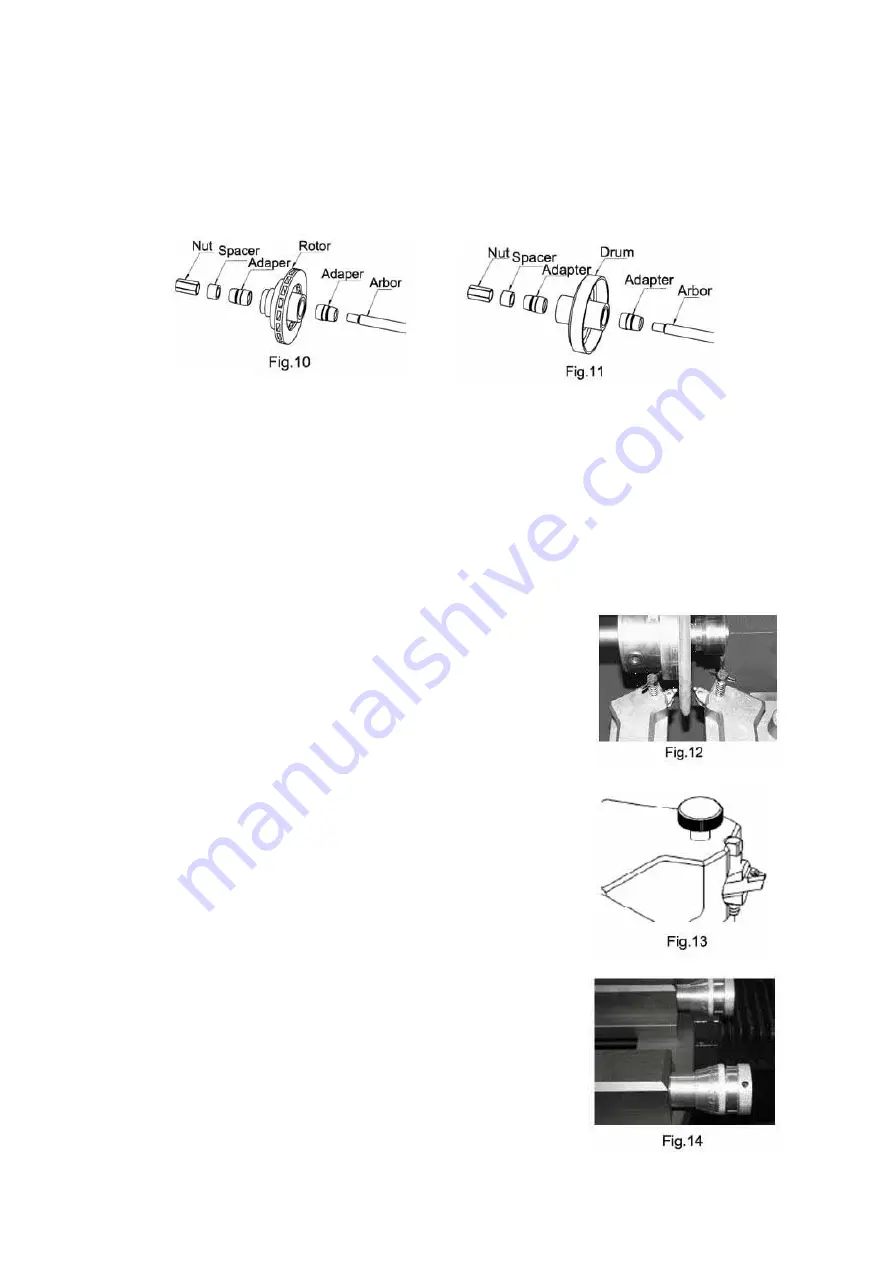
Mount the disc onto the arbor as in Figure 10.
Mount the drum onto the arbor as in Figure 11.
OPERATING INSTRUCTIONS
DISC TRUING:
1. Install the dampening band around the outside edge of the disc before installing the disc on
the arbor.
2. Once the set-up for the disc is complete (see set-up instructions) and tightened in place, final
positioning of the truing attachment can now be made.
a). Turn the cross slide handwheel clockwise until the tool bed is as close to the spindle housing
as possible without the bed interfering with the outside edge of the disc. (It may be necessary to
remove the attachment and reposition the clamp stud further out on
the bed).
b). Loosen the clamp handle and slide the disc truing attachment
right or left so that the disc is centered between the tool bits. Tighten
the clamp handle being sure the attachment is square to the tool bed.
(Fig.12)
c). Check each of the tool bits to be sure they are still in serviceable
condition. If not, rotate to next point of the tool bit.
d). Tighten the screw in the slide plate.
NOTE:
Be sure tool bit screws are down tight.
3. Check to be sure that the Disc/Drum switch is in the “OFF”
position and that both of the handwheel knobs are loosened
one-quarter turn.
4. Switch the spindle switch to the ON position, turning on the
spindle motor.
5. Using the cross slide handwheel, locate the tool bits at the inner
surface edge and loosen lock knob (Figure 13).
6. Using the barrel micrometers, slowly feed the tool bits in until
they just contact the disc wear area (“0” on the micrometer scale).
TIGHTEN the lock knobs on the tool holders.
NOTE:
Each mark on the micrometer scale equals approximately
0.002”.
7. With the disc turning, slowly rotate the cross slide handwheel
Summary of Contents for C9372
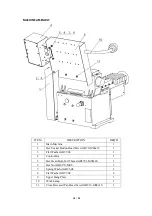
Page 13: ...13 20 Cross Feed Feed Slide Assembly ...
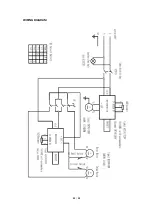
Page 20: ...20 20 WIRING DIAGRAM ...


