5
1-4. Setting Up Your Scale
1. Place the scale on a suitable weighing surface (see “Best Conditions For Weighing”
below) and turn the adjustable feet until the spirit level shows that the scale is level.
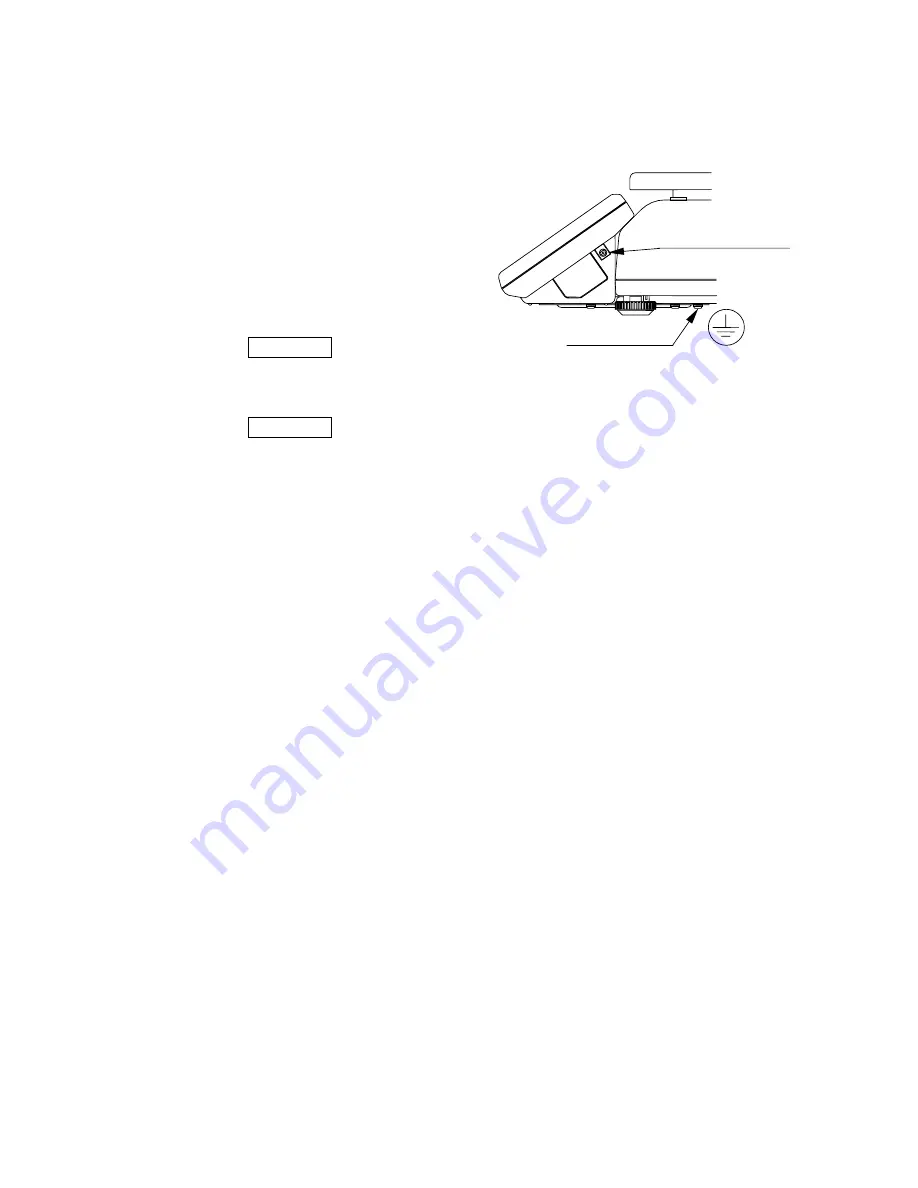
2. Plug in the AC adapter. The AC input
requirements could be l00, 120, 220,
230 or 240 Volts (50/60Hz) depending
on the area in the world, so please
check that the adapter is correct. Earth
ground the chassis if you think static
electricity may be a problem.
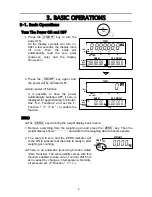
3. Press the ON/OFF key to turn the power ON.
All the display symbols are displayed.
Then the display turns off once, and zero will be shown with the ZERO indicator.
4. Press the ON/OFF key again, and the power will switch OFF.
Auto-power off function
It is possible to have the power automatically switched OFF. If zero is displayed for
approximately 5 minutes. See “9-2. F-Functions” and set the F-Function
f-04-05
at
“
1
” to enable the function.
5. Switch the power ON at least half an hour before use so that the scale can warm up.
Detach The Display Unit
Remove the display support plate first. Then, retrieve the cable and attach the display
support plate again. Refer to the “15. OP-08 EXTENSION CABLE” to remove and
attach the plate.
Best Conditions For Weighing
The Scale must be level (check the spirit level on the scale).
Best operating temperature is between 20°C~25°C / 68°F~77°F at about 50%~60%
Relative Humidity. There shouldn’t be large temperature fluctuations.
The weighing room should be kept clean and dry.
The weighing table must be of a solid construction.
Corners of rooms are best as they are less prone to vibrations.
Don’t install the scale near heaters or air conditioners.
Don’t install the scale in direct sunshine.
Try to ensure a stable AC power supply when using the AC adapter.
Keep equipment containing magnets away from the scale.
Warm up the scale more than 30 minutes before use.
Ground the scale chassis for electrostatic discharge if the weighing conditions
warrant.
Calibration
Calibration of the HC-
i
is required when the scale is initially installed. Please see “8.
CALIBRATION” for more calibration information.
AC adapter jack
Earth terminal
Summary of Contents for HC-30Ki
Page 1: ...Counting Scale HC 30Ki HC 15Ki HC 6Ki HC 3Ki WM PD4001164A...
Page 59: ...57 World map...
Page 60: ...58 MEMO...


