64
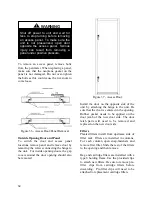
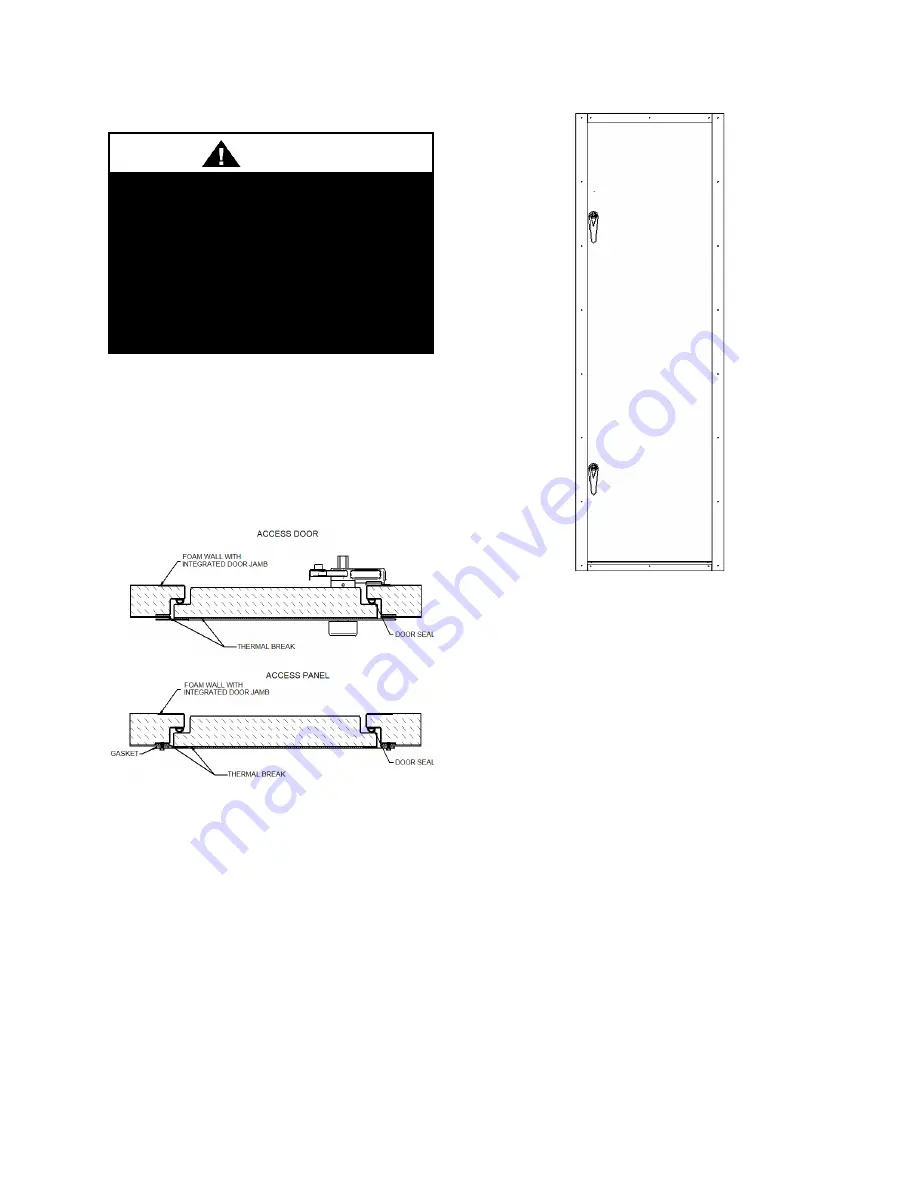
To remove an access panel, remove bolts
from the perimeter. When replacing a panel,
make sure that the neoprene gasket on the
panel is not damaged. Do not over-tighten
the bolts as this could cause the rivet-nuts to
come loose.
Figure 36 - Access Door/Panel Removal
Outside Opening Door and Panel
To switch the door and access panel
locations remove panel and remove door by
removing the screws connecting the hinge to
the unit. For inside opening doors, the gap
covers around the door opening should also
be removed.
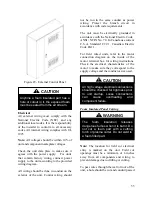
Figure 37 - Access Door
Install the door on the opposite side of the
unit by attaching the hinge to the unit. Be
sure that the door is centered in the opening.
Rubber gasket needs to be applied on the
door jamb of the new door side. The door
latch parts will need to be removed and
replaced on the new door side.
Filters
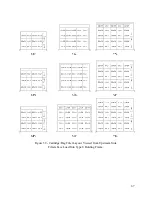
Pleated filters install from upstream side of
filter rack. Filters are installed in columns.
For each column open snap-fasteners and
remove first filter. Slide the rest of the filters
to the opening and then remove.
Bag and cartridge filters are installed with a
type 8 holding frame. Use the provided clips
to attach new filters. Be sure to remove pre-
filter clips from cartridge filters before
discarding. Pre-filter clips will need to be
attached to replacement cartridge filters.
Shut off power to unit and wait for
fans to stop turning before removing
an access panel. To make sure the
unit is not pressurized, open door
opposite the access panel. Serious
injury can result from removing a
panel under positive pressure.
WARNING
Summary of Contents for M3 Series
Page 53: ...53 Figure 28 Example Blow Through AAONEcat32 Rating Sheet ...
Page 73: ...73 ...
Page 74: ...74 ...
Page 75: ...75 ...


