Page 25
Aarrow Sherborne GSL CF
INSTALLATION INSTRUCTIONS
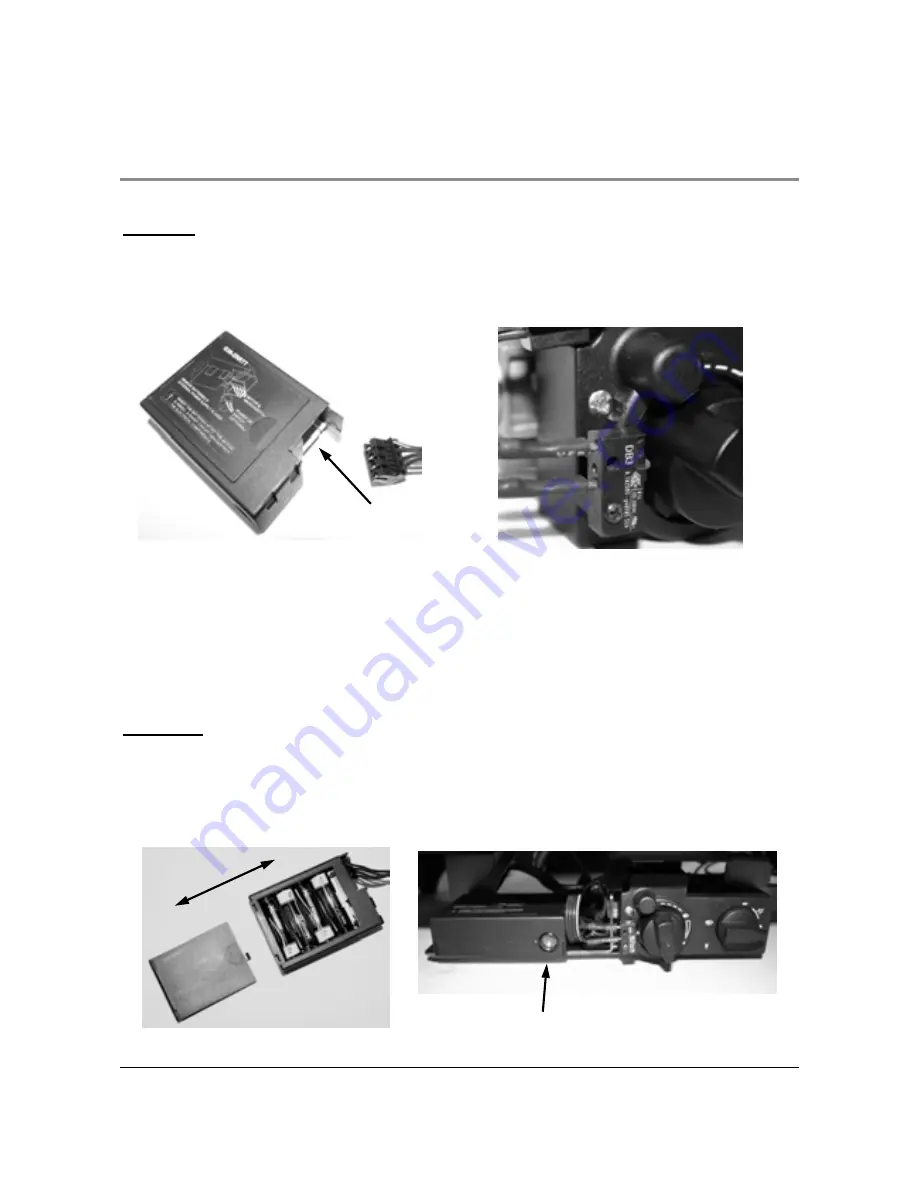
Fig. 25c
Fig. 25d
ASSEMBLE RECEIVER
Important
The remote system is intended for use with original Aarrow parts only.
1, Carefully push the multi block connector on to the connection within the receiver unit as shown
in Fig. 25a. This connector can only fit one way, so ensure the slot in the receivers board lines up
with the moulding within the multi block connection.
Fig. 25a
SLOT
2, Next, connect the angled spade connectors to the motor,
note:
there are two different sized
connectors and these can only be fitted into the appropriate sized spade tab. The remaining
narrow spade connectors fit to the spade tabs on the micro switch. These are not handed,
See Fig. 25b.
3, Place the double sided adhesive tape onto the underside of the receiver unit. Slide back the
cover and insert the 4x AA/LR6 1.5v batteries into the unit, observing the correct polarity as
marked on the unit. Replace cover. See Fig. 25c.
CAUTION!
Ensure the batteries are inserted after the motor is wired. A short circuit can destroy
the electrical components.
4, Position the receiver unit as shown in Fig. 25d onto the space provided on the valve bracket.
Affix the underside of the unit with the double sided tape. Take care to route the harness away
from any hot parts and do not obstruct the valve controls. The receiver units works by ultrasonic
so ensure that the round receiving grill is facing to the front of the stove See Fig. 25d.
Ultrasonic receiving grill
Fig. 25b


