Application Menu
57
41-001514-01 Rev00 – 09.2013
LDAP Directory Name
You can specify the name of the LDAP directory. The name is the label that will be displayed in the directory screen to
identify the content, and it is usually the company name or “corporate”.
LDAP Server
You can specify the IP or hostname of the LDAP server. This will typically be the organization’s main LDAP server, which
contains the organization’s main directory (global address book). Users can add additional LDAP servers as desired. This
parameter is in the following format: ldap.company.com.
LDAP Port
LDAP port is the LDAP interface port. This is an optional field. If left empty, the default port “389” is used.
LDAP Base DN
You can specify the LDAP server base Distinguished Name (DN) or the description of the top level of the directory tree.
Usually if a company domain is company.com, the base DN must be entered under the form “dc=company, dc=com”.
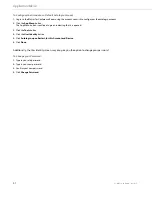
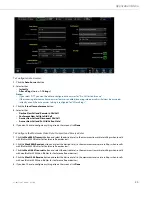
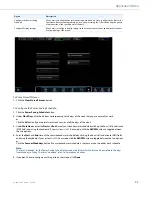
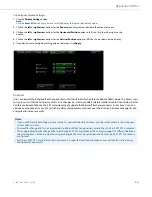
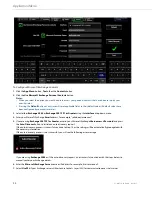
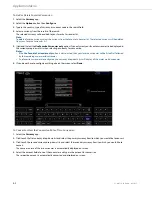
To Configure the LDAP Directory:
1.
Click the
Override Server Configuration
button.
This allows the user LDAP settings to override the LDAP server settings.
2.
Enter the
LDAP Directory Name
. For example, “acme”.
This name will appear as a folder on the directory screen.
3.
Enter the
LDAP Server
name or IP address. For example, “ldap.company.com”.
|
4.
(Optional) Enter the
LDAP Port
number. If no port number is entered, the default “389” port will be used.
5.
Enter the
LDAP Base DN
. For example, “dc=acme, dc=com”.
The base DN is the initial filter for every LDAP request.
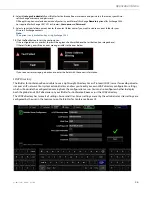
6.
Select
Use Login Credentials
if you want to connect to the LDAP server using the BluStar for Conference Room user
name and password.
OR keep this option unselected and manually enter in a
Username
and
Password
.
Note:
If LDAP authentication is anonymous, the user name and password fields can be left empty.
7.
Select
Only Use LDAP Directory
if you don't want to use the global directory set up by your system administrator.
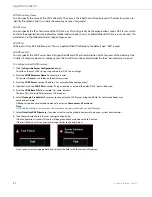
8.
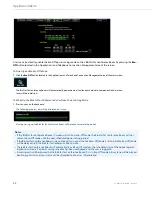
Click the test button to test the user settings configuration.
If the configuration is successful, there will be a green check mark above the test button.
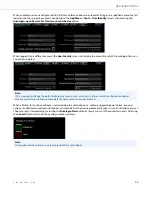
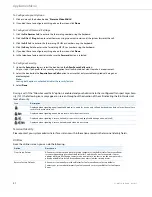
If the test failed, you will see an error message similar to the ones below.
If you see an error message, go back and re-enter the fields with the correct information.

