Managing Calls
41-001383-05 REV03 – 07.2014
113
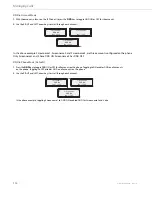
DND in Custom Mode
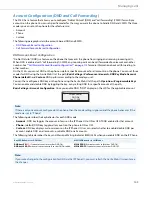
Call Forward Account-Based Configuration
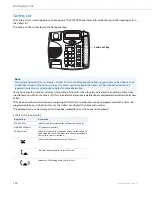
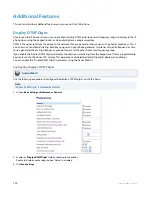
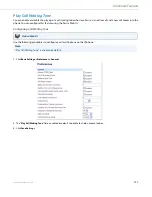
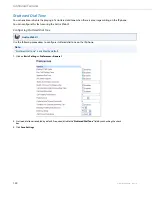
Call Forward (CFWD) on the IP phone allows incoming calls to be forwarded to another destination.
On the 9143i, you can set Call Forward (CFWD) on the phone-side for a specific account or for all accounts on the phone.
You can set three modes for CFWD using the Aastra Web UI at the path,
Basic Settings->Preferences->General->Call Forward
Key Mode
:
•
Account
(default)
•
Phone
•
Custom
CFWD performs according to the mode you set.
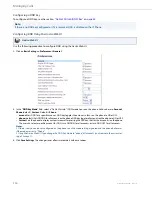
You can configure CFWD using the Aastra Web UI at the path,
Basic Settings->Account Configuration
,
OR
you can config-
ure CFWD using the IP Phone UI at the path,
Options->Call Forward
.
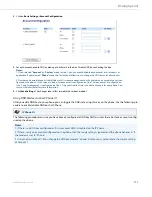
Using the Aastra Web UI at the path,
Operation->Programmable Keys
,
you can also configure a CFWD key on the phone
to use as a shortcut for accessing the CFWD menu on the phone.
The following describes the behavior for each CFWD mode.
•
Account
- (default) The account mode allows you to configure CFWD on a per account basis. Pressing a configured
CFWD key applies to the account in focus.
•
Phone
- The Phone mode allows you to set the same CFWD configuration for all accounts (All, Busy, and/or No Answer).
When you configure the initial account, the phone applies the configuration to all other accounts. (In the Aastra Web UI,
only the account you configured is enabled. All other accounts are grayed out but set to the same configuration.) Using
the Aastra Web UI, if you make changes to that initial account, the changes apply to all accounts on the phone.
•
Custom
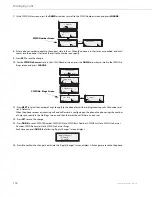
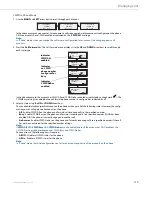
- The Custom mode allows you to configure CFWD for a specific account or all accounts. You can configure a
specific mode (All, Busy, and/or No Answer) for each account independently or all accounts. On the 9143i, you can set all
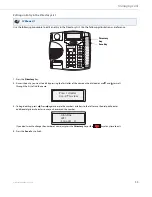
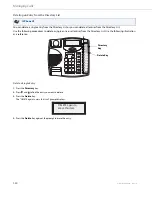
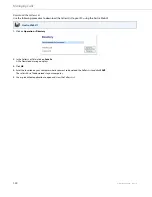
1.
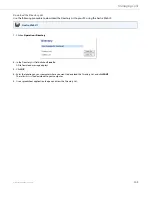
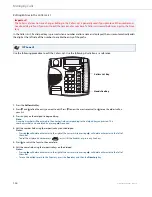
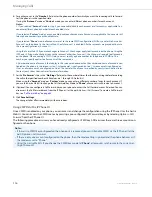
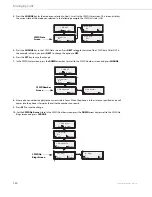
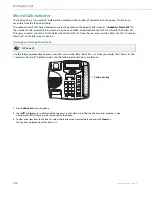
Press the
DND
key on the phone. The screen displays a list of the accounts on the phone and allows you to enable/dis-
able a specific account or all accounts.
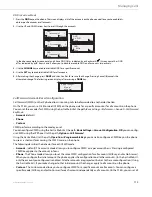
2.
Use the UP and DOWN arrow keys to scroll through the accounts.
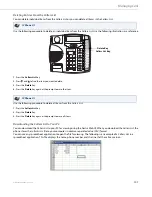
In the above example, Screenname1 and 3 have DND ON as indicated by a check mark (
). Screenname2 has DND
off as indicated by an
X
. Items 4 and 5 allow you to disable or enable DND on all accounts, respectively.
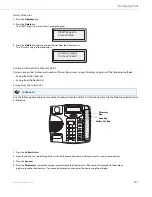
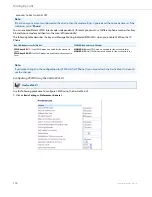
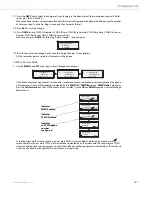
3.
Use the
CHANGE
key to enable or disable DND for a specific account.
4.
Use the
SET
key to enable/disable DND for all accounts.
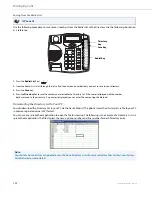
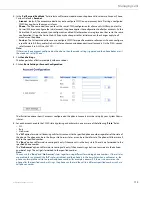
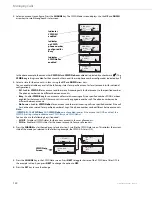
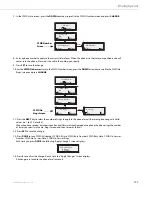
5.
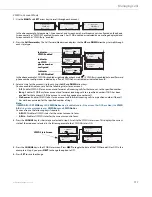
After making the change, press
DONE
and then Confirm (
#
) to save the change. Pressing Cancel (
0
) cancels the
attempted change. The following screen displays after pressing a
DONE
key:
DND
Done
1. Screenname1
Change
DND
Done
2. Screenname2
Change
X
DND
Done
3. Screenname3
Change
DND
Done
4. All Off
Set
DND
Done
5. All On
Set
Apply Changes?
0 Cancel
# Confirm

