+33 4 7642 9550
www.aaton.com
User manual for Cantar-X1 & X2 v2.15 2008 March 28
p.20
p.20
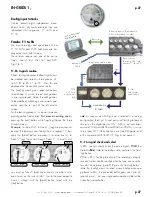
Go to the track-name editing line (any track will do), and
press [shift] [esc]; the following generic names will replace
them :
T1
to
T8
on native monophonics;
ms-M
and
ms-S
on
M/S tracks ;
MixRight
and
MixLeft
on mixdown tracks.
Press a [track-solo] button to display that track’s name in the
rectangular screen.
Note 1 :
To allow for a possible entry from a PDA, the
generic track-names above are only recorded upon comple-
tion of the take.
Note 2 :
The default entry mode is ‘overwrite’, if you
change it by selecting ‘insert’ on a keyboard, it will revert to
‘overwrite’ on the tenth character since track-names are
limited to this number.
4 Prod TapeRef
The TapeRef (
Production Tape Reference)
overwrites the
automatic Cantar generated MMDD
DayStamp
and
replaces it with either the incremented “Shoot Day Number”
of the project, or something like the VideoTape ID, called
the “Roll Number” (see ‘Practice 2’, p.44).
POST-Record Metadata entry
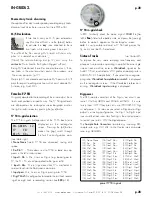
After REC, go back to PPR: the scene, take and filetag to be
used for the next file recording is displayed. If you need to
modify the previous take’s information, press [shift] [silver],
the rectangular screen displays EDIT, the PREVious filetag,
and the scene and take of the last recorded file. Press
[ok] then [>], [<] or [jog] as explained in the preceding
paragraphs.
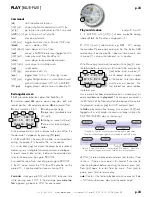
You can modify the take-type (
t p w a n )
with the [red] but-
ton. Press [ok] to confirm, then [shift] [silver] to close and
go back to displaying the NEXT take’s characteristics.
Scene and take can also be modified later by selecting the
file in BROWSE, and performing the same editing opera-
tions as described here in PPR.
Pazienza! paciencia! patience!
When editing metadata entries, you are modifying the
native files stored in the internal HDD. If you are working
in simultaneous (mirroring) mode, these modifications are
immediately applied to the external drive files as well. But
if you are working in
IdleCopy
mode, they will only be
applied later when Cantar is in TEST or STOP position.
So, at the end of the session, remember to not unplug the
external HDD nor to remove the DVD-RAM disk in haste;
wait until
IdleCopy
finishes its revamping work!
File splitting
Manual split
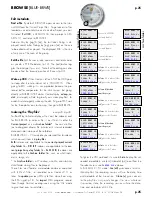
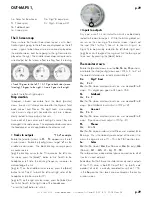
To divide a file into shorter segments, quickly go from REC
to PPR and back to REC. A new file is created; it carries the
same scene ID and the take # is incremented. You will not
lose a single audio sample. A short pre-silence is added at
the head of the new file to ease the splicing work in Post.
By setting the PPR buffer to a long enough duration you can
even enter new scene and take IDs and comments.
Automatic split
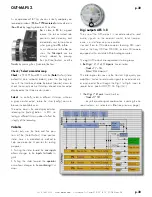
If you need to record audio during very long periods with-
out interruption but you don’t want files larger than 4GB,
Cantar automatically closes the file and starts a new one:
four settings are available:
260MB
(e.g.1 track for 30 min
@ 24-bit / 48kHz),
690MB
(700MB CD-R capacity),
2GB
(default setting),
4GB
(FAT32 max. filesize). The filetag is
incremented but the scene and take IDs remain the same.
Last take erasure
Purposely, Cantar lets you delete the last take only, e.g. a
false start or bad remix. In PPR, open ‘Edit’ by [shift] [silver],
select ‘Delete Take’; toggle from ‘No’ to ‘Yes’; [ok]. As fur-
ther protection, the latest position must have been REC, and
the power must not have been turned ‘OFF’. If you want to
erase a complete disk, go to SESSION.04 ‘Disk Format’.
note1:
‘Take’ represents a ‘file group’ sharing the same
scene, take and filetag, e.g. CD2234 represents the mono-
phonic files CD2234_1 to CD2234_8.
note2:
when poly files have been requested, they are cre-
ated in Cantar's idle state (PPR and TEST), after the record-
ing has stopped.
PPR 2,

