background image

C1 3 0 0/A DVA NCE D  CI RCU L A R  CH A RT  R ECOR DE R

  |  C I/C 1 3 0 0 - EN R E V. C

7

5  Electrical connections

 WARNING

•   The device is not fitted with a switch therefore a 

disconnecting device such as a switch or circuit breaker 
conforming to local safety standards must be fitted to the 
final installation. It must be fitted in close proximity to 
the device, within easy reach of the operator and must be 
marked clearly as the disconnection for the device. A fuse 
must be fitted in accordance with figure (*).

•   Remove all power from the supply, relay and any powered 

control circuits and high common mode voltages before 
accessing or making any connections.

•  Use cable appropriate for the current loads: 3-core cable 

rated 3A and 90°C (194°F) minimum, that conforms to 
either IEC 60227 or IEC 60245. The terminals accept cables 
from 0.8 to 2.5 mm2 (18 to 14 AWG).

•  The device conforms to installation category II of IEC 

61010.

•  All connections to secondary circuits must have basic 

insulation.

•   After installation there must be no access to live parts, for 

example, terminals.

•   Terminals for external circuits are for use only with 

equipment with no accessible live parts.

•  If the indicator is used in a manner not specified by the 

company, the protection provided by the equipment may 
be impaired.

•   All equipment connected to the device’s terminals  

must comply with local safety standards (IEC 60950, 
EN601010-1).

NOTICE

•  Always route signal leads and power cables separately, 

preferably in earthed (grounded) metal conduit.

•  Use screened cable for signal inputs and relay 

connections.

•  Replacement of the internal battery (type Varta CR2032 

3V lithium cell) must only be carried out by an approved 
technician.

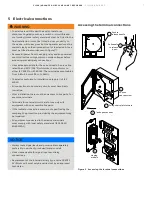
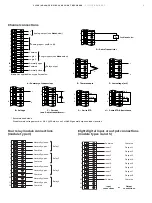
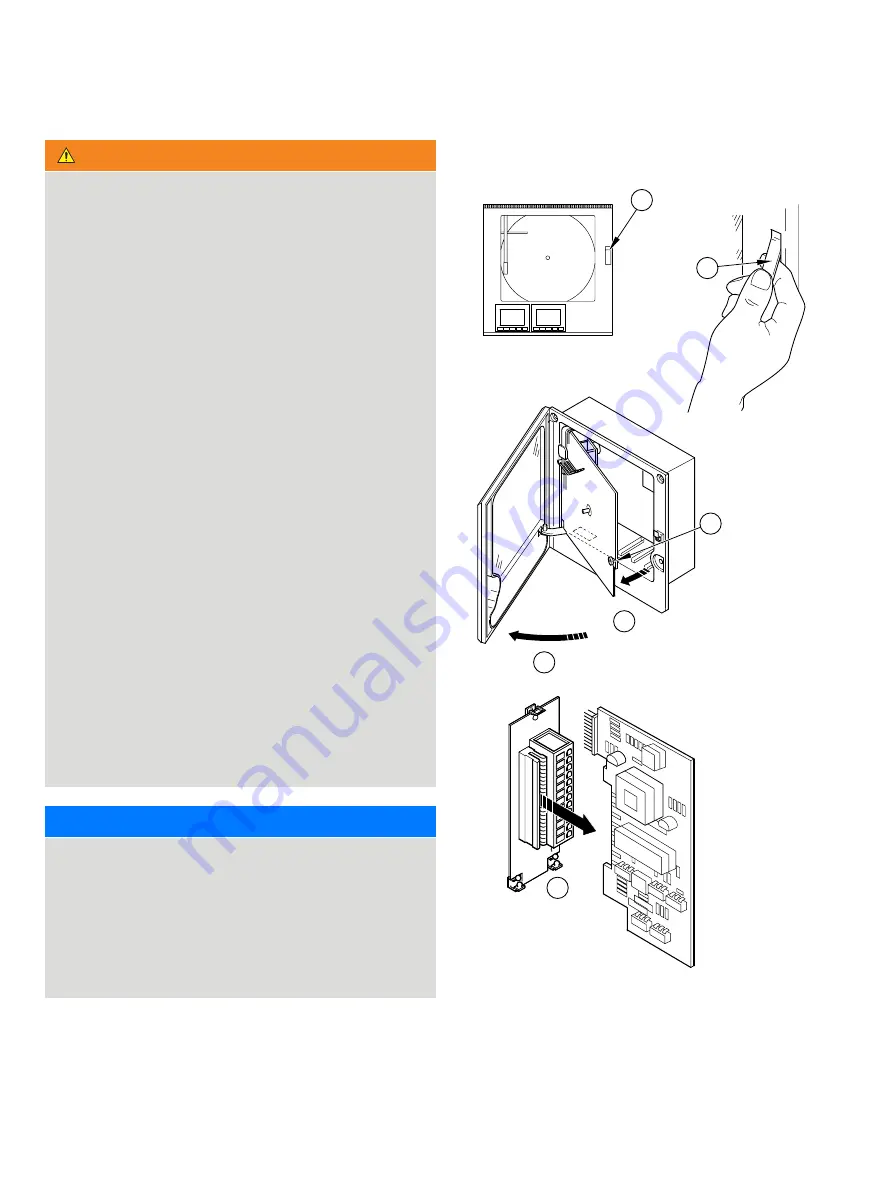
Accessing the terminal connections

Figure 5  Accessing the terminal connections

Push to

release handle

Loosen

captive screw

Swing chart plate forward

...and open the door

Unplug

module

Pull handle

to release

door...

3

6

5

4

2

1

Summary of Contents for C1300

Page 1: ...1300 Advanced circular chart recorder Datasheet DS C1300 EN C1300 Advanced circular chart recorder User Guide supplement Advanced software options IM C1300 C1300 Advanced circular chart recorder User...

Page 2: ...1 Diagnostics and error codes 16 1 Health Safety Document symbols Symbols that appear in this document are explained below DANGER The signal word DANGER indicates an imminent danger Failure to observe...

Page 3: ...nicipal Waste Collection ABB is committed to ensuring that the risk of any environmental damage or pollution caused by any of its products is minimized as far as possible The European Waste Electrical...

Page 4: ...V TTL 5 mA per output Environmental data Ambient Operating Temperature 0 to 55 C 32 to 130 F Ambient operating Humidity 5 to 95 non condensing 5 to 80 chart only Approvals certification and general s...

Page 5: ...ipe mounting optional Secure mounting brackets 4 to case Drill suitable holes 4 11 06 281 0 14 81 376 3 Mark fixing centers on wall 4 2 in 60 mm OD horizontal or vertical pipe Secure using two nuts an...

Page 6: ...silicon sealant must be applied between the case flange and the panel Do not use the optional gasket Figure 4 Panel mounting Minimum cut out dimensions Maximum cut out dimensions Secure in panel using...

Page 7: ...conforms to installation category II of IEC 61010 All connections to secondary circuits must have basic insulation After installation there must be no access to live parts for example terminals Termin...

Page 8: ...e main PCB Figure 6 Channels 2 to 4 PL1 PL3 on the module Figure 7 Figure 6 Selecting the input type main board Figure 7 Selecting the input type I O modules mA V RTD Resistance 5 4 8 1 2 3 1 4 2 3 1...

Page 9: ...st be 0 8 V 20 mA or use 2 x 1N4001 general purpose diodes in series See Note below Link White White Red Red Red Tx Analog input see B to H Common Common Normally open 1 2 3 4 5 6 3 6 3 6 3 6 3 4 4 4...

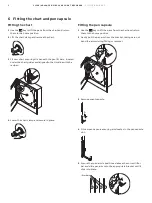
Page 10: ...d aligned to the timeline with the red pen 4 Lower the chart clamp and secure in place Fitting the pen capsule 1 Use the key to lift the pens from the chart and return them to the home position 2 Gent...

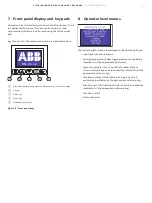
Page 11: ...ated pen lift key Figure 8 Front panel keys 8 Operator level menus The following information is displayed in the Operating Pages Input pen channel readings Data logging status if data logging option i...

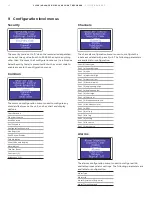
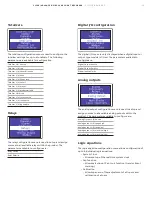
Page 12: ...play Other Channels display Alarm Adjust Totalizer Reset Contrast 1 2 Brightness 1 2 Channels The channels configuration menu is used to configure the inputs associated with pens 1 to 4 The following...

Page 13: ...Digital I O configuration The digital I O menu is only displayed when a digital input or output type module is fitted The parameters available to configure are Digital Output source Digital Output Po...

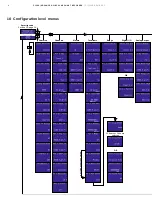
Page 14: ...R CHART RECORDER CI C1300 EN REV C 10 Configuration level menus Security code Section 10 page 14 12 hours or 24 hours selected Anything other than timed Common Channels Alarms Totalizers Relays Digita...

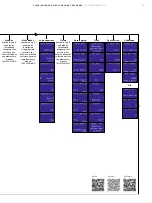
Page 15: ...OD Math blocks Available only if enabled by installation of appropriate software key Refer to Advanced software options supplementary manual IM C1300 ADV Logic equations Timers Available only if enabl...

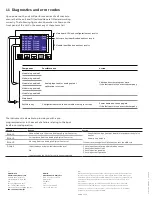
Page 16: ...s also able to provide you with a pre programmed error in the event of a failure relating to the input itself in normal operation Message Reason Action Error1 Unspecified error from the Analog to Digi...

Reviews: