Page 7
© 2023 ABB. All rights reserved.
CC1600SC55_QSG
Rev 4.0
Step 3 –
Prepare a Location & mounting for the Small Cell
-
48V Power Source
w/Five
(5”)
Elevation Option. 2
The unit can mount to a pole, to a wall with solar shield, or to location shaded from the sun. Step 3 is preparing
the foundation to receive either a solar shield, or the bare Small Cell
-
48V Power source.
When choosing a location for the Small Cell
-
48V Power Source, please keep in mind:
1.
The rectifier must be mounted in
“
portrait
”
orientation so that air can flow vertically by natural convection.
2.
Leave 3 inches above and below the unit to allow air to feed the fins and exit from the fins.
3.
If the mounting location has sun exposure, a solar shield or cabinet must be used to protect the unit from
direct sun.
4.
Mount the unit above the flood line. Weep holes to equalize pressure and drain any water/condensate that
may enter.
5.
Orient the wiring entrance toward the ground and provide drip loops to shed any water running down the
jacket.
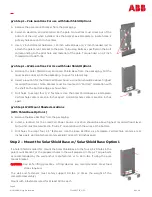
p/o Pole or Wall Locations For Five
(5”)
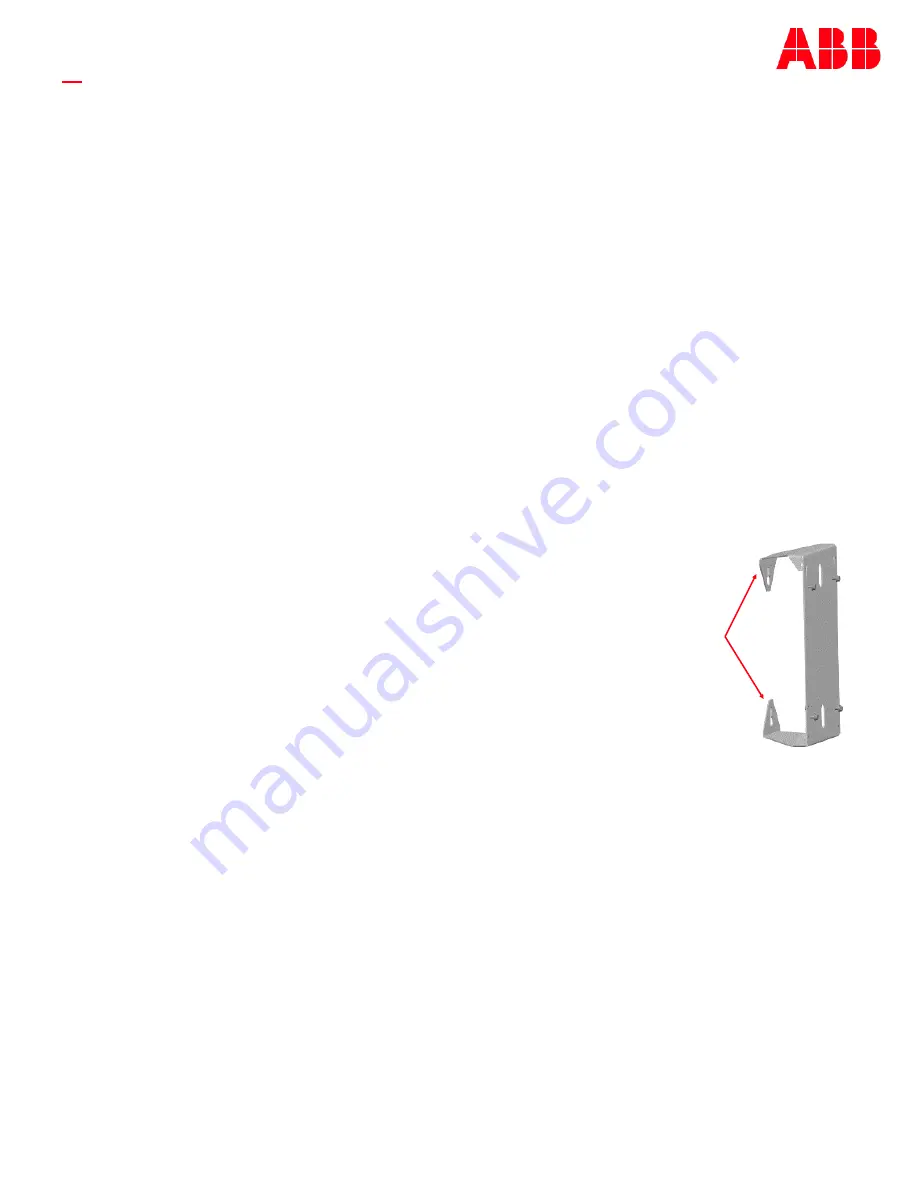
Elevation Bracket
(For Use with Solar Shield Option 2)
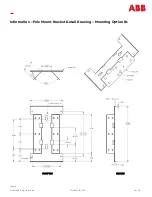
A.
Remove the
5”
Elevation bracket from the packaging.
B.
Select an elevation and orientation on the pole. Note: Wires must dress out of the
bottom of the unit when installed. Use the bracket as a template to locate holes. 2
primary holes are on
13”
inch centers.
C.
Use 1/2 inch diameter hardware or 1/2 inch threaded rod to attach the pole mount
bracket to the pole. Torque lag bolts as specified on the bolt corresponding to the
pilot hole and material of the pole. Torque hardware on 1/2 inch threaded rod to 38
ft
-
lbs.
Wall or Pole Mount (in Shaded Location)
Five
(5”)
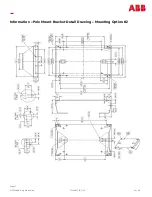
Elevation Bracket Option #2
A.
Follow Steps A and B from above.
B.
Use 1/2 inch diameter hardware or 1/2 inch threaded rod to attach the pole mount bracket to the pole. Torque
lag bolts as specified on the bolt corresponding to the pilot hole and material of the pole. Torque hardware on
1/2 inch threaded rod to 38 ft
-
lbs.


