10.5 Standard gripper
Safety
DANGER
Before carrying out work on the gripper: Safely shut down the pneumatic supply
to FlexLoader SC 6000 and lock the switch to prevent unintentional switching
on.
Replacing the gripping module on the gripper
To replace one or more gripping modules (Schunk):
1 Move the robot to a suitable service position.
2 Unscrew the gripper fingers.
3 Mark the pneumatic tubes if necessary.
4 Loosen the pneumatic tubes.
5 Remove the pneumatic connections.
6 Unscrew the gripper module.
7 Fit the new gripper, pneumatic connections and pneumatic tubing.
8 Fit the gripper fingers.
9 Restore the pneumatic supply to FlexLoader SC 6000.
10 Test the new gripper.
Replacing the gripper valves
To replace one or more valve modules (Festo):
1 Mark the signal cables if necessary.
2 Loosen the signal connectors if necessary.
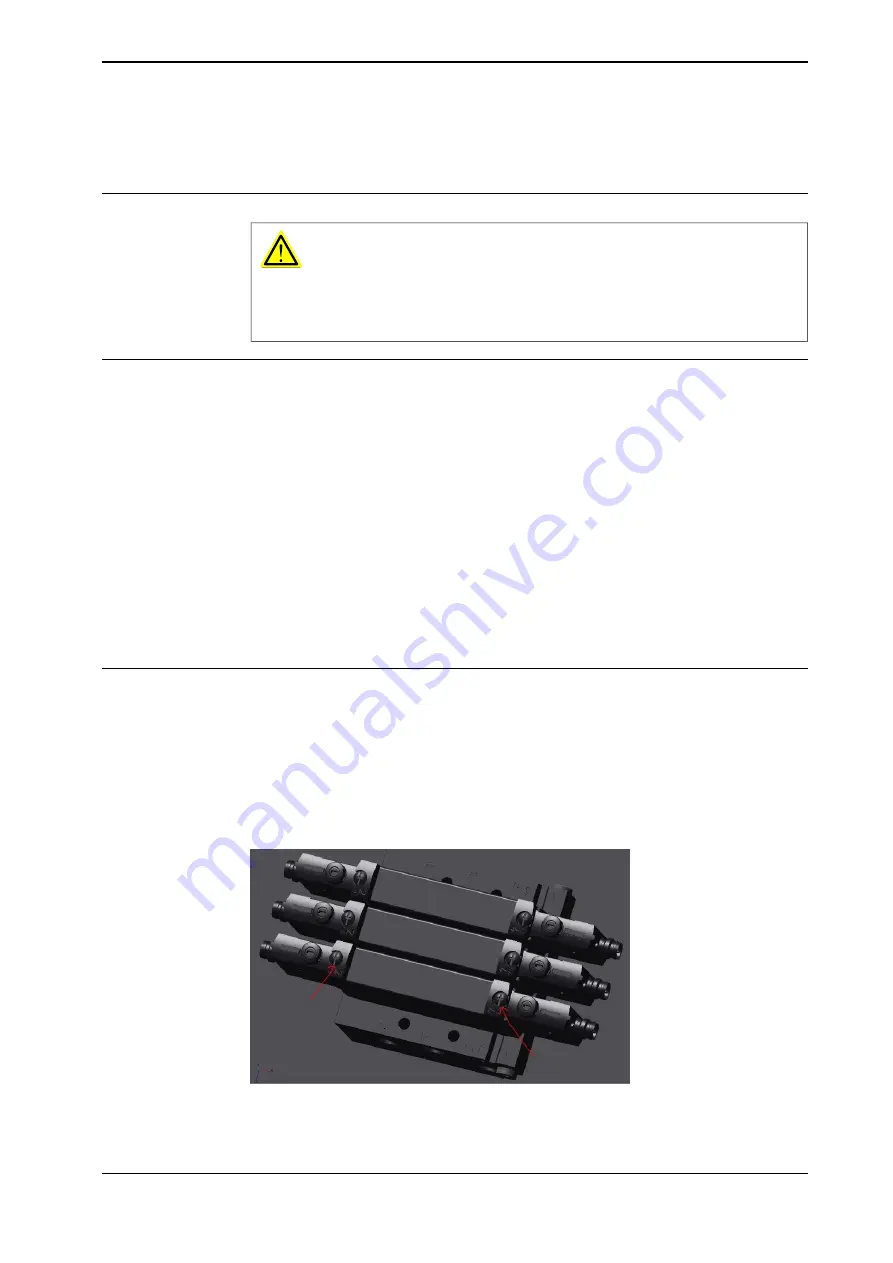
3 Unscrew the two screws holding the control valve. See the figure below.
4 Pull the control valve straight up.
5 Assemble in reverse order.
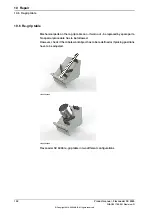
xx1900000392
Figure 10.2: Control valve screws
Product manual - FlexLoader SC 6000
151
3HAC051768-001 Revision: D
© Copyright 2014-2020 ABB. All rights reserved.
10 Repair
10.5 Standard gripper
Summary of Contents for FlexLoader SC 6000
Page 1: ...ROBOTICS Product manual FlexLoader SC 6000 ...
Page 8: ...This page is intentionally left blank ...
Page 12: ...This page is intentionally left blank ...
Page 78: ...This page is intentionally left blank ...
Page 172: ...This page is intentionally left blank ...
Page 174: ...This page is intentionally left blank ...
Page 176: ...This page is intentionally left blank ...
Page 178: ...This page is intentionally left blank ...
Page 182: ...This page is intentionally left blank ...
Page 184: ...This page is intentionally left blank ...
Page 186: ...This page is intentionally left blank ...
Page 192: ...This page is intentionally left blank ...
Page 224: ...This page is intentionally left blank ...
Page 283: ......


