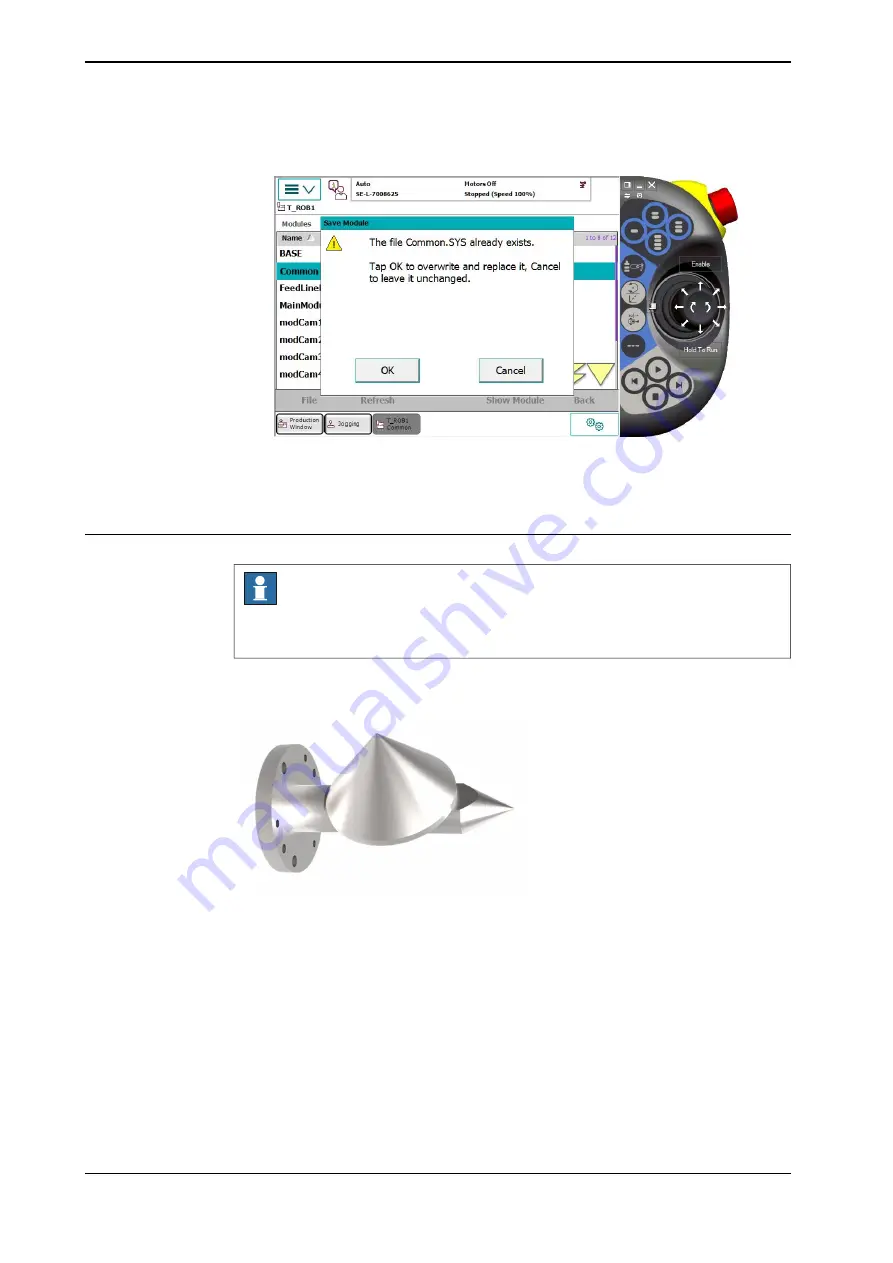
5 Tap
OK
to confirm the next message about replacing the file.
xx1800000271
6 The calibration file has now been saved and the system is ready to start
working with the current camera.
Calibrating for use with a 3D camera
Note
Before starting the calibration, ensure that
wCamera1
(if the 3D camera is camera
1) is suitably calibrated in the robot.
When calibrating the robot for use with a 3D camera you need the calibration tool
and a calibration cone. An example of such tool is shown in the image below.
xx1800002010
Figure 13.3:
The robot operator must first calibrate the coordinate system
wCamera1
(if the 3D
camera is camera 1). A suitable positioning is for example on the pallet guides (if
a pallet is used). The z axis should be pointing upwards and the x axis should be
aligned with the long side of the pallet. See the previous section for help with
defining and saving the work object.
The RAPID module
Calibration3D.sys
includes robot demo code that supports the
calibration process. There are 15 recommended positions defined. Fit and activate
the calibration cone as a tool with the tool center point (TCP) at the top of the cone.
Continues on next page
188
Product manual - FlexLoader Vision
3HAC051771-001 Revision: B
© Copyright 2014-2018 ABB. All rights reserved.
13 Robot integration
13.2 Calibrating the robot
Continued
Summary of Contents for FlexLoader Vision
Page 1: ...ROBOTICS Product manual FlexLoader Vision ...
Page 8: ...This page is intentionally left blank ...
Page 12: ...This page is intentionally left blank ...
Page 14: ...This page is intentionally left blank ...
Page 16: ...This page is intentionally left blank ...
Page 62: ...This page is intentionally left blank ...
Page 96: ...This page is intentionally left blank ...
Page 180: ...This page is intentionally left blank ...
Page 218: ...This page is intentionally left blank ...
Page 286: ......
Page 287: ......


