Information
Action
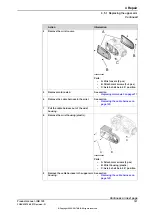
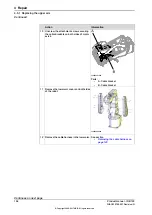
xx0900000851
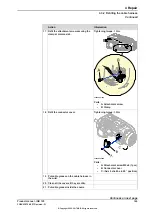
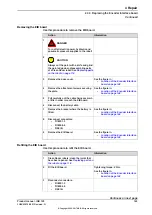
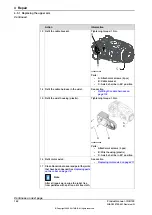
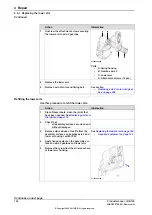
Unscrew the
attachment screws
securing
the
lower arm plate
to the
motor cover
.
13
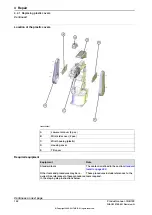
Parts:
•
A: Cable harness
•
B: Lower arm plate
•
C: Motor cover
•
D: Attachment screws (4 pcs)
•
E: Holes for attachment screws (4
pcs)
•
F: Cable guide
Pull out the cable harness through the upper
arm housing.
14
Secure the upper arm by holding it firmly.
15
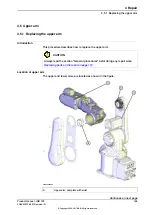
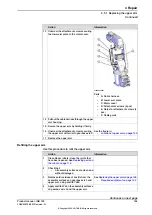
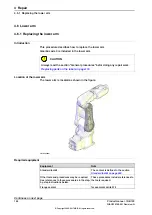
See the figure in:
•
Location of upper arm on page 155
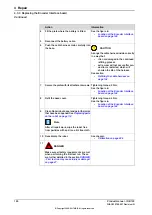
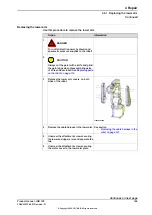
Unscrew the
attachment screws
securing
the
upper arm with wrist
to
gearbox axis 3
.
16
Remove the upper arm.
17
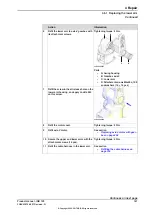
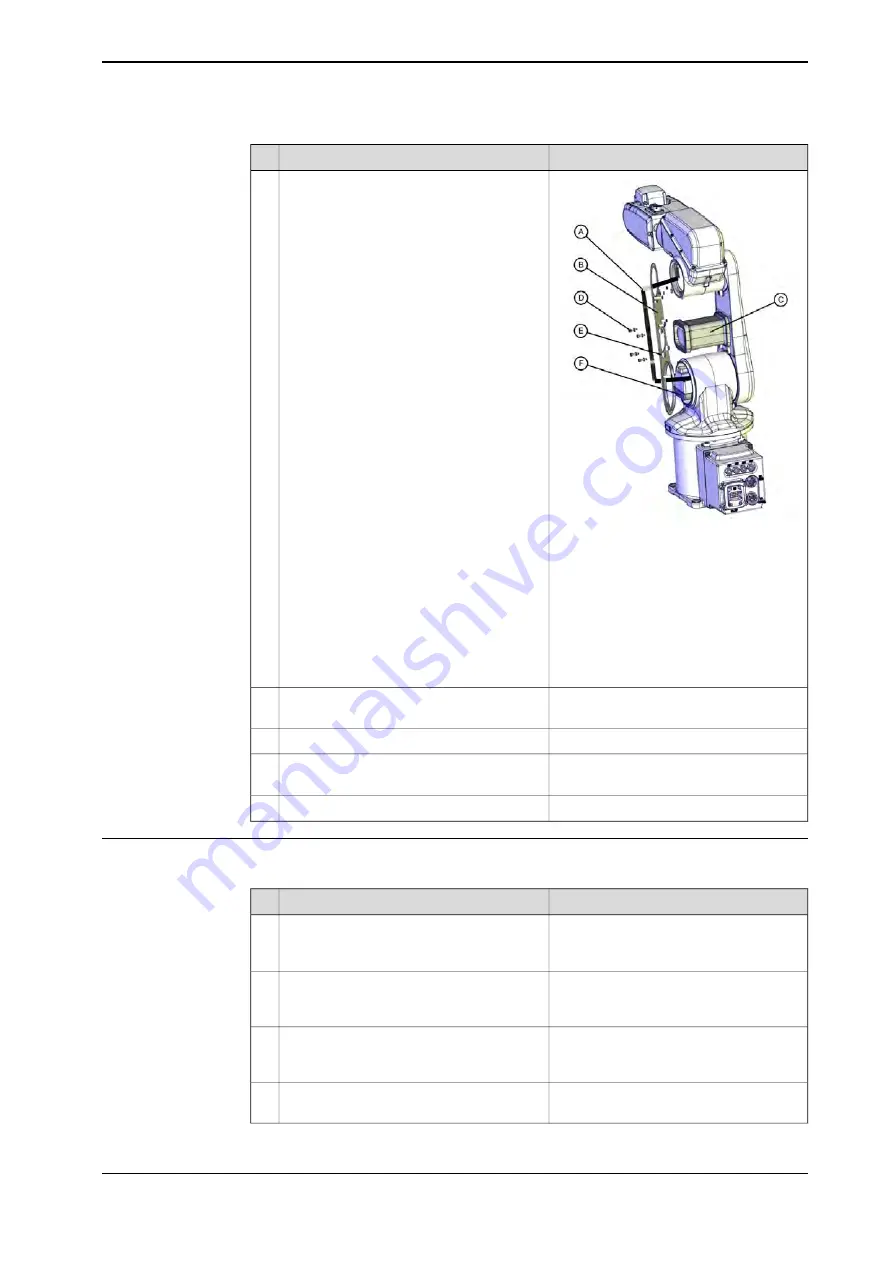
Refitting the upper arm
Use this procedure to refit the upper arm.
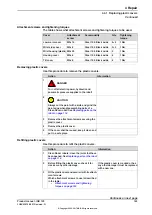
Information
Action
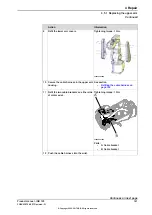
Clean Room robots: clean the joints that
have been opened. See
1
Check that:
•
All assembly surfaces are clean and
without damages.
2
See
Replacing the upper arm on page 155
•
Required equipment on page 156
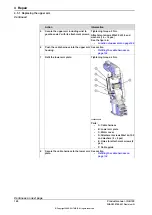
Remove old residues of Loctite from the
assembly surfaces on gearbox axis 3 and
upper arm, using
Loctite 7063
.
3
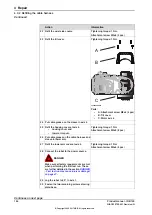
Apply
Loctite 574
on the assembly surfaces
on
gearbox axis 3
and the
upper arm
.
4
Continues on next page
Product manual - IRB 120
159
3HAC035728-001 Revision: N
© Copyright 2009-2017 ABB. All rights reserved.
4 Repair
4.5.1 Replacing the upper arm
Continued
Summary of Contents for IRB 120
Page 1: ...ROBOTICS Product manual IRB 120 ...
Page 8: ...This page is intentionally left blank ...
Page 90: ...This page is intentionally left blank ...
Page 114: ...This page is intentionally left blank ...
Page 224: ...This page is intentionally left blank ...
Page 250: ...This page is intentionally left blank ...
Page 254: ...This page is intentionally left blank ...
Page 264: ...This page is intentionally left blank ...
Page 270: ......
Page 271: ......

