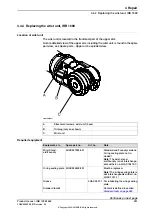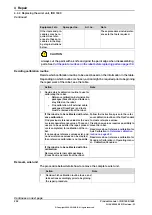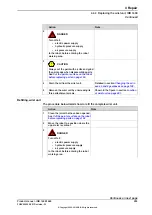
Removing the lower arm
Use this procedure to remove the lower arm.
Note
Action
Decide which calibration routine to use, and
take actions accordingly prior to beginning
the repair procedure.
1
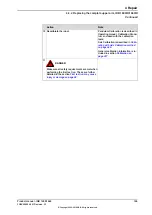
DANGER
Turn off all:
•
electric power supply
•
hydraulic pressure supply
•
air pressure supply
to the robot, before entering the robot work-
ing area.
2
See section
arm, IRB 1600ID/1660ID on page 188
Remove the complete upper arm.
3
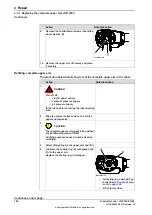
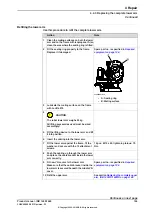
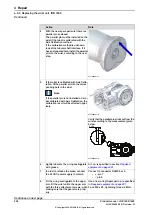
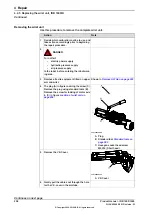
Shown in the figure
xx0400001247
Remove the
VK-covers
.
CAUTION
Be careful not to damage the cabling and
cable bracket inside the lower arm when re-
moving the middle VK-cover!
The figure to the right shows the space under-
neath the cover. The gray areas are safe for
insertion of a tool that may be inserted with
a maximum depth of 20 mm!
4
Pull down the cabling through the lower arm
and pull it out.
5
CAUTION
The robot lower arm weighs 20 kg.
All lifting accessories used must be sized
accordingly!
6
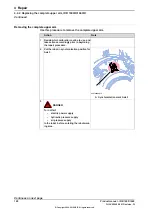
Fit the lifting device to the lower arm to se-
cure the weight of the arm.
7
Unscrew the 12 attachment screws and re-
move the single washer.
8
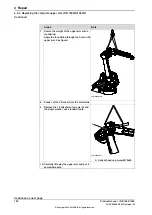
Gently pull out the cabling while lifting away
the lower arm. Be careful with the connectors,
they are sensitive to damage!
9
Spare part no. is specified in
.
Check the
sealing ring
. Replace it if damaged.
10
Continues on next page
198
Product manual - IRB 1600/1660
3HAC026660-001 Revision: W
© Copyright 2006-2018 ABB. All rights reserved.
4 Repair
4.4.3 Replacing the complete lower arm
Continued
Summary of Contents for IRB 1600
Page 1: ...ROBOTICS Product manual IRB 1600 1660 ...
Page 8: ...This page is intentionally left blank ...
Page 18: ...This page is intentionally left blank ...
Page 48: ...This page is intentionally left blank ...
Page 152: ...This page is intentionally left blank ...
Page 336: ...This page is intentionally left blank ...
Page 372: ...This page is intentionally left blank ...
Page 388: ...This page is intentionally left blank ...
Page 396: ......
Page 397: ......


