Information
Action
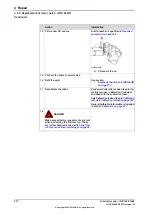
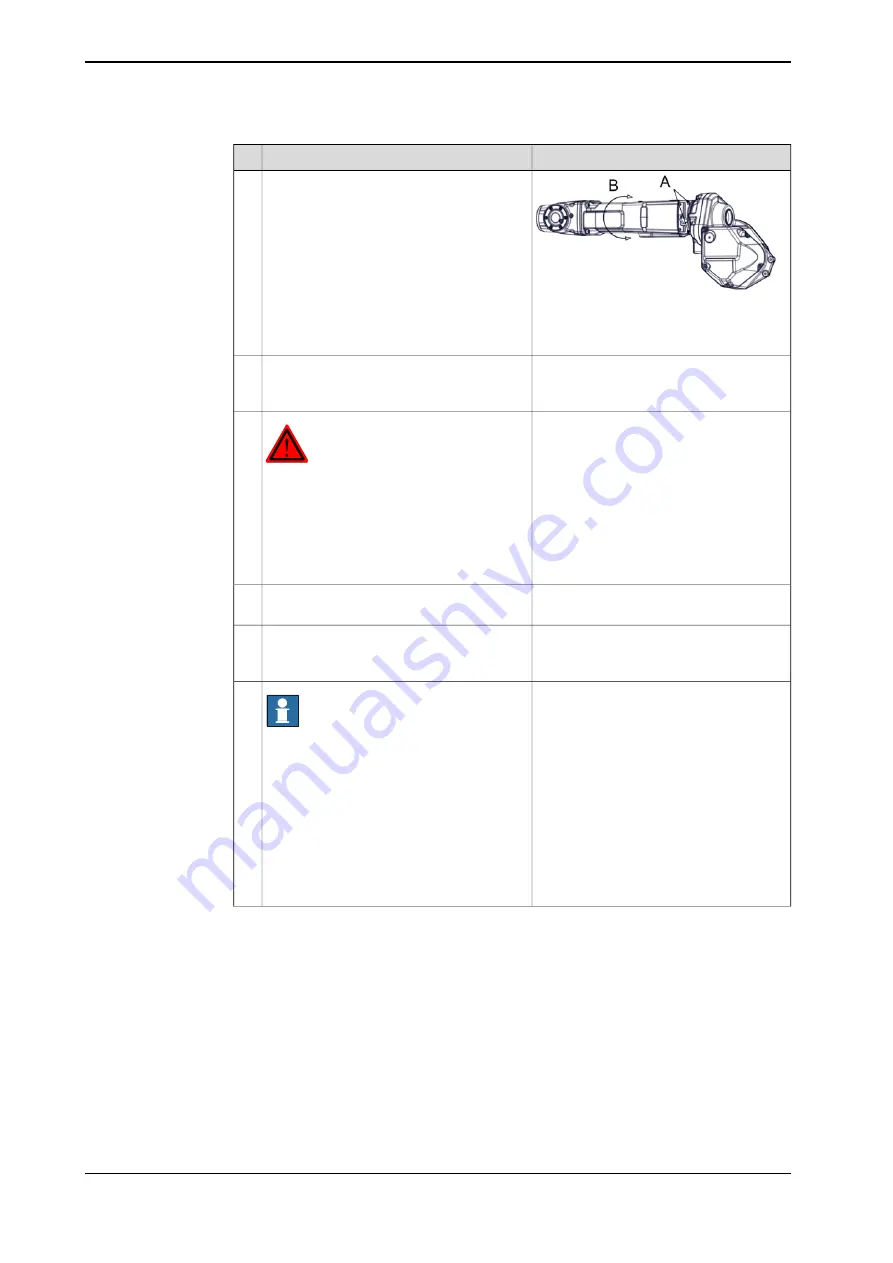
xx1500001260
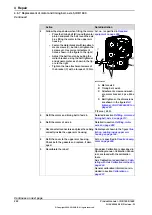
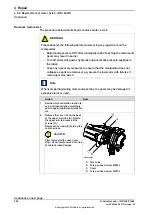
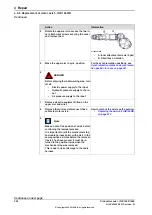
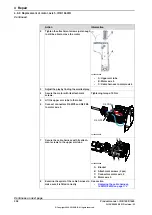
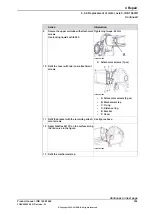
Rotate the upper arm to access the two in-
ner attachment screws securing the cover
and remove them.
4
•
A: Inner attachment screws (2 pcs)
•
B: Directions of rotation
For the synchronization positions, see
Synchronization marks and synchroniza-
tion position for axes on page 341
Move the upper arm to sync. position.
5
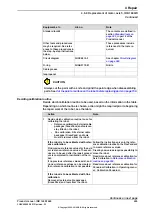
DANGER
Before entering the robot working area, turn
off all:
•
Electric power supply to the robot
•
Hydraulic pressure supply to the ro-
bot
•
Air pressure supply to the robot
6
Remove all extra equipment fitted on the
upper arm and wrist.
7
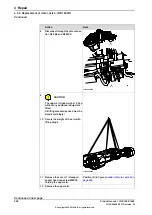
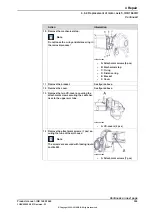
How to remove the wrist see the section:
•
Replacing the wrist unit, IRB1660ID
on page 212
Remove the wrist and disconnect those
cables to motor axis 6.
8
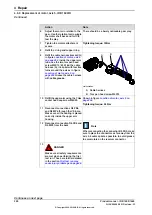
Note
Make a note of the position of axis 4 before
continuing the removal process.
It is important to refit the mechanical stop
and cable harness spiral, with axis 4 in the
same position as it was before the removal.
If axis 4 has been moved, it must be re-
turned to the position it was when the
mechanical stop was removed.
This is due to risk of damage to the cable
harness.
9
Continues on next page
304
Product manual - IRB 1600/1660
3HAC026660-001 Revision: W
© Copyright 2006-2018 ABB. All rights reserved.
4 Repair
4.6.9 Replacement of motor, axis 5, IRB 1660ID
Continued
Summary of Contents for IRB 1600
Page 1: ...ROBOTICS Product manual IRB 1600 1660 ...
Page 8: ...This page is intentionally left blank ...
Page 18: ...This page is intentionally left blank ...
Page 48: ...This page is intentionally left blank ...
Page 152: ...This page is intentionally left blank ...
Page 336: ...This page is intentionally left blank ...
Page 372: ...This page is intentionally left blank ...
Page 388: ...This page is intentionally left blank ...
Page 396: ......
Page 397: ......

