4 Validate the synchronization marks.
5 The robot moves to preparation position.
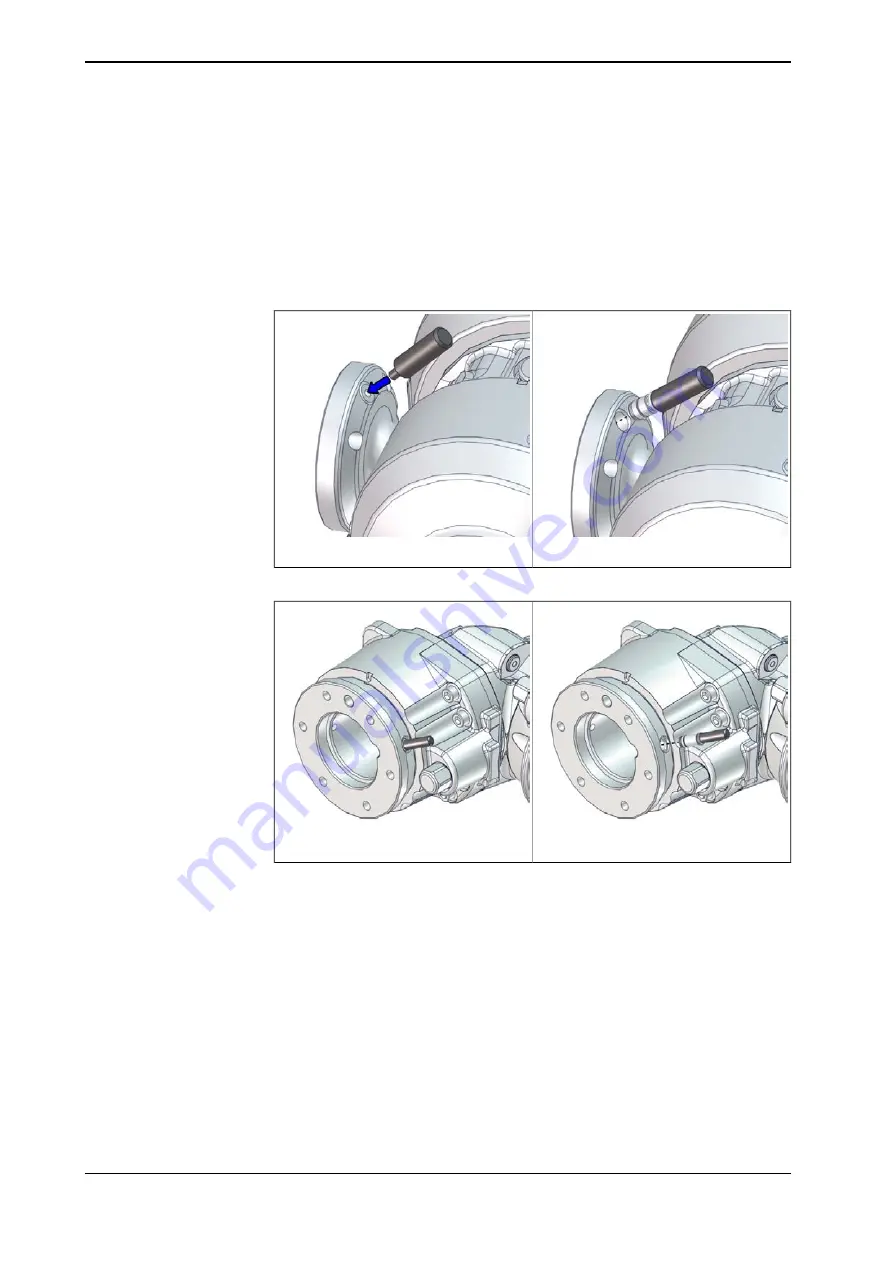
6 Remove the protective cover from the fixed pin and the protection plug from
the bushing, if any, and install the calibration tool.
Use the removal tool included in the calibration tool box to remove the special
protection plug(s) on the turning disc.
IRB 2600
xx1700000408
xx1700000407
IRB 2600ID
xx1700000411
xx1700000410
When calibrating axis 6, push in the calibration tool into the turning disc until
the snap ring engages, no further.
7 The robot performs a measurement sequence by rotating the axis back and
forth.
8 Remove the calibration tool and reinstall the protective cover on the fixed
pin and the protection plug in the bushing, if any.
Refit the protection plug(s) to the turning disc, push until the steel spring ring
snaps into place.
9 The robot moves to verify that the calibration tool is removed.
10 Choose whether to save the calibration data or not.
Calibration of the robot is not finished until the calibration data is saved, as last
step of the calibration procedure.
Continues on next page
422
Product manual - IRB 2600
3HAC035504-001 Revision: AD
© Copyright 2009-2023 ABB. All rights reserved.
5 Calibration
5.4.4 Axis Calibration - Running the calibration procedure
Continued
Summary of Contents for IRB 2600ID
Page 1: ...ROBOTICS Product manual IRB 2600 ...
Page 8: ...This page is intentionally left blank ...
Page 114: ...This page is intentionally left blank ...
Page 444: ...This page is intentionally left blank ...
Page 456: ...This page is intentionally left blank ...
Page 458: ...This page is intentionally left blank ...
Page 464: ......
Page 465: ......


