References
Calibration method on page 238
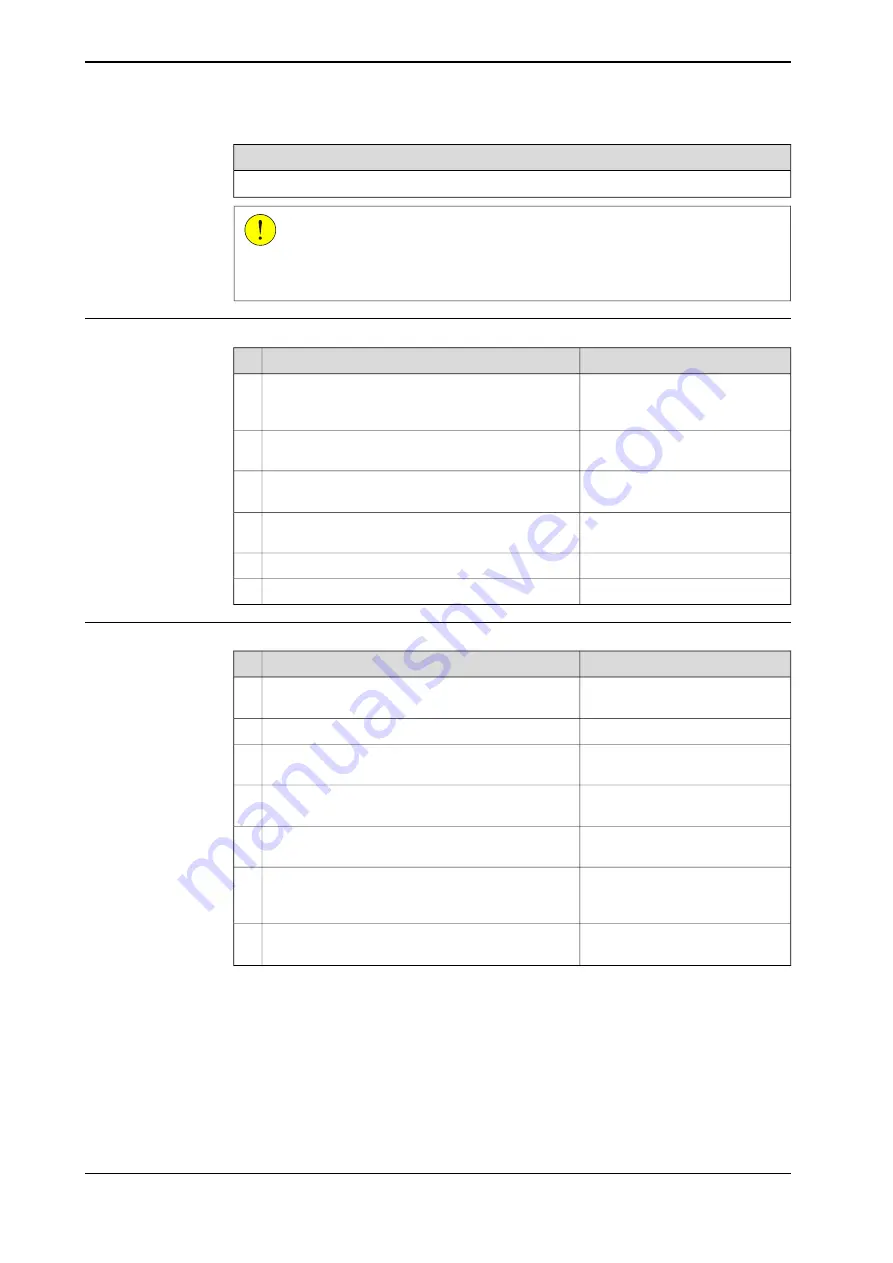
CAUTION
Always cut the paint with a knife and grind the paint edge when disassembling
parts. See
Cut the paint or surface on the robot before replacing parts on page 165
.
Removal
Note
Action
Use standard tools. Described in
section
Remove the (12 pcs) M6 flange screws holding the
base cover.
1
Disconnect the motor connectors: R3.FB4 and
R3.MP4.
2
Described in section
of telescopic shaft on page 190
Remove the telescopic shaft.
3
Shown in figure
Remove the 3x hexagon socket head screw (M6x25)
with plain washer 6,4x12x1,6 steel A2F(B).
4
Remove the gearbox unit axis 4.
5
Remove the sealing ring w. dust lip.
6
Refitting
Note
Action
See section
Refit a new sealing ring, apply grease.
1
Refit the axis 4 gearbox unit.
2
Tightening torque 9 Nm
.
Refit the 3x hexagon socket head screw (M6x25)
with plain washer 6,4x12x1,6 steel A2F(B).
3
Described in section
of telescopic shaft on page 190
Refit the telescopic shaft.
4
Reconnect the motor connectors, R3.FB4 and
R3.MP4.
5
Use standard tools. Described in
section
Refit the (12 pcs) M6 screws holding the base cover.
6
Described in section
Calibrate the robot.
7
204
Product manual - IRB 360
3HAC030005-001 Revision: U
© Copyright 2008-2018 ABB. All rights reserved.
4 Repair
4.3.11 Replacement of gearbox unit 4
Continued
Summary of Contents for IRB 360 Series
Page 1: ...ROBOTICS Product manual IRB 360 ...
Page 8: ...This page is intentionally left blank ...
Page 46: ...This page is intentionally left blank ...
Page 156: ...This page is intentionally left blank ...
Page 236: ...This page is intentionally left blank ...
Page 258: ...This page is intentionally left blank ...
Page 276: ...This page is intentionally left blank ...
Page 278: ...This page is intentionally left blank ...
Page 283: ......


