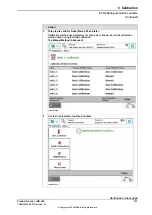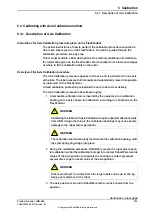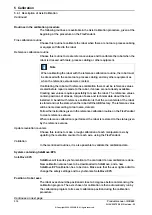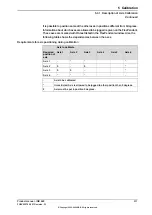
Periodic check of the calibration tool
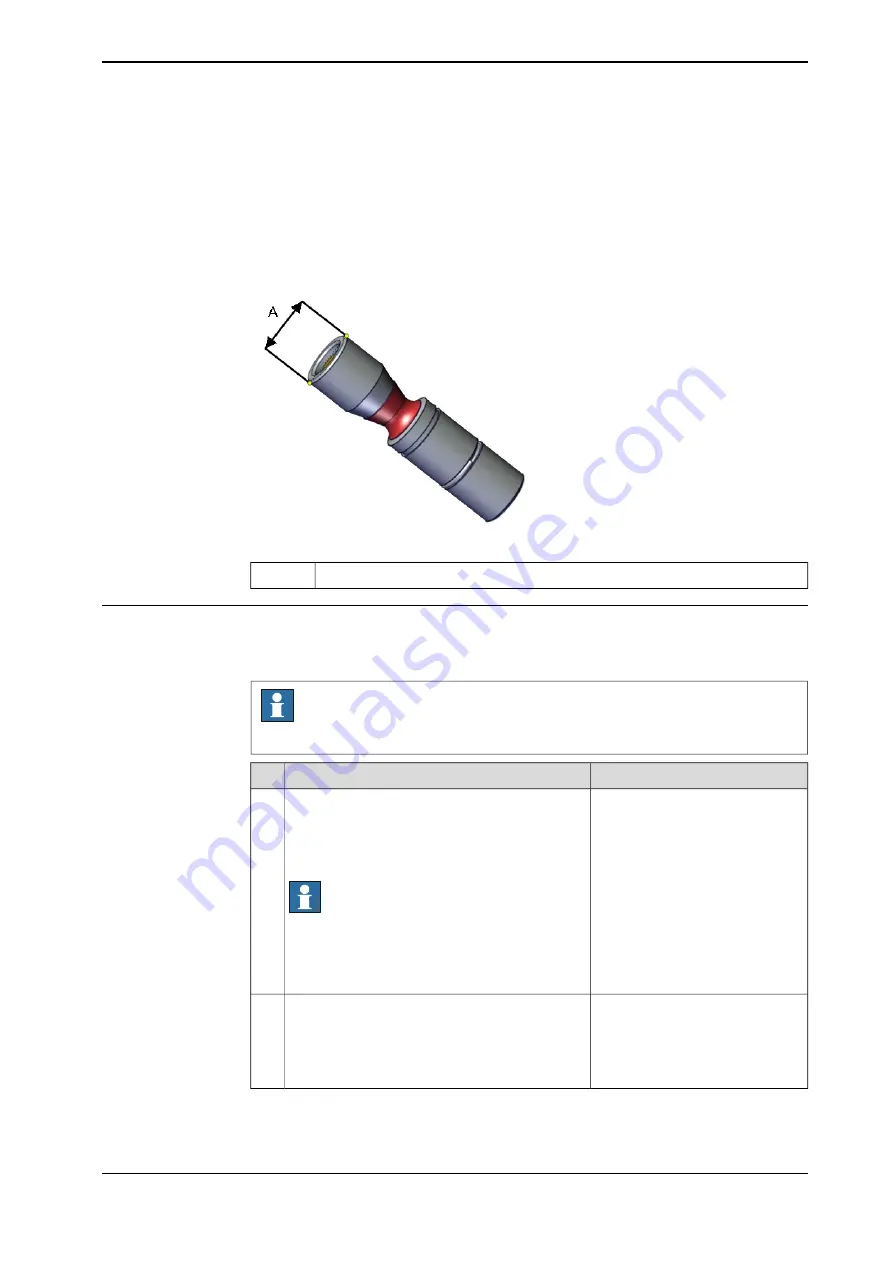
If including the calibration tool in a local periodic check system, the following
measures should be checked.
•
Outer diameter within Ø12g4 mm, Ø8g4 mm or Ø6g5 mm (depending on
calibration tool size).
•
Straightness within 0.005 mm.
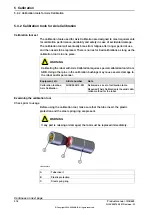
xx1500000951
Outer diameter
A
Identifying the calibrating tools
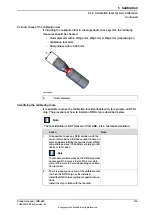
It is possible to make the calibration tool identifiable with, for example, an RFID
chip. The procedure of how to install an RFID chip is described below.
Note
The tool identifier is NOT delivered from ABB, it is a customized solution.
Note
Action
It is possible to use any RFID solution, with the
correct dimensions. ABB has verifed function on
some suppliers fulfilling the requirements of NFC
compatible devices (13.56 Mhz) according to ISO
14443 or ISO 15693.
Note
The maximum dimensions on the RFID chip must
not exceed Ø7.9 mm x 8.0 mm, Ø5.9 mm x 8.0
mm or Ø3.9 mm x 8.0 mm (depending on calibra-
tion tool size).
1
There is a cavity on one end of the calibration tool
in which the RFID chip can be installed.
2
Install the RFID chip according to supplier instruc-
tions.
Install the chip in flush with the tool end.
Product manual - IRB 660
319
3HAC025755-001 Revision: W
© Copyright 2006-2020 ABB. All rights reserved.
5 Calibration
5.4.2 Calibration tools for Axis Calibration
Continued
Summary of Contents for IRB 660
Page 1: ...ROBOTICS Product manual IRB 660 ...
Page 8: ...This page is intentionally left blank ...
Page 332: ...This page is intentionally left blank ...
Page 352: ...This page is intentionally left blank ...
Page 354: ...This page is intentionally left blank ...
Page 360: ......
Page 361: ......


