4 Repair
4.7.3. Replacement of gearbox axis 3
3HAC027151-001 Revision: B
242
©
Co
py
rig
h
t 200
6-
200
8 ABB. All righ
ts reser
v
ed.
Refitting
The procedure below details how to refit gearbox axis 3.
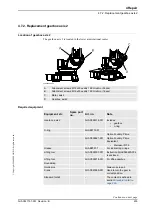
8. Remove the
attachment screws
securing the
gearbox to the upper arm.
Shown in the figure
.
9. Remove the gearbox and put it in a safe place.
Action
Note
Action
Note
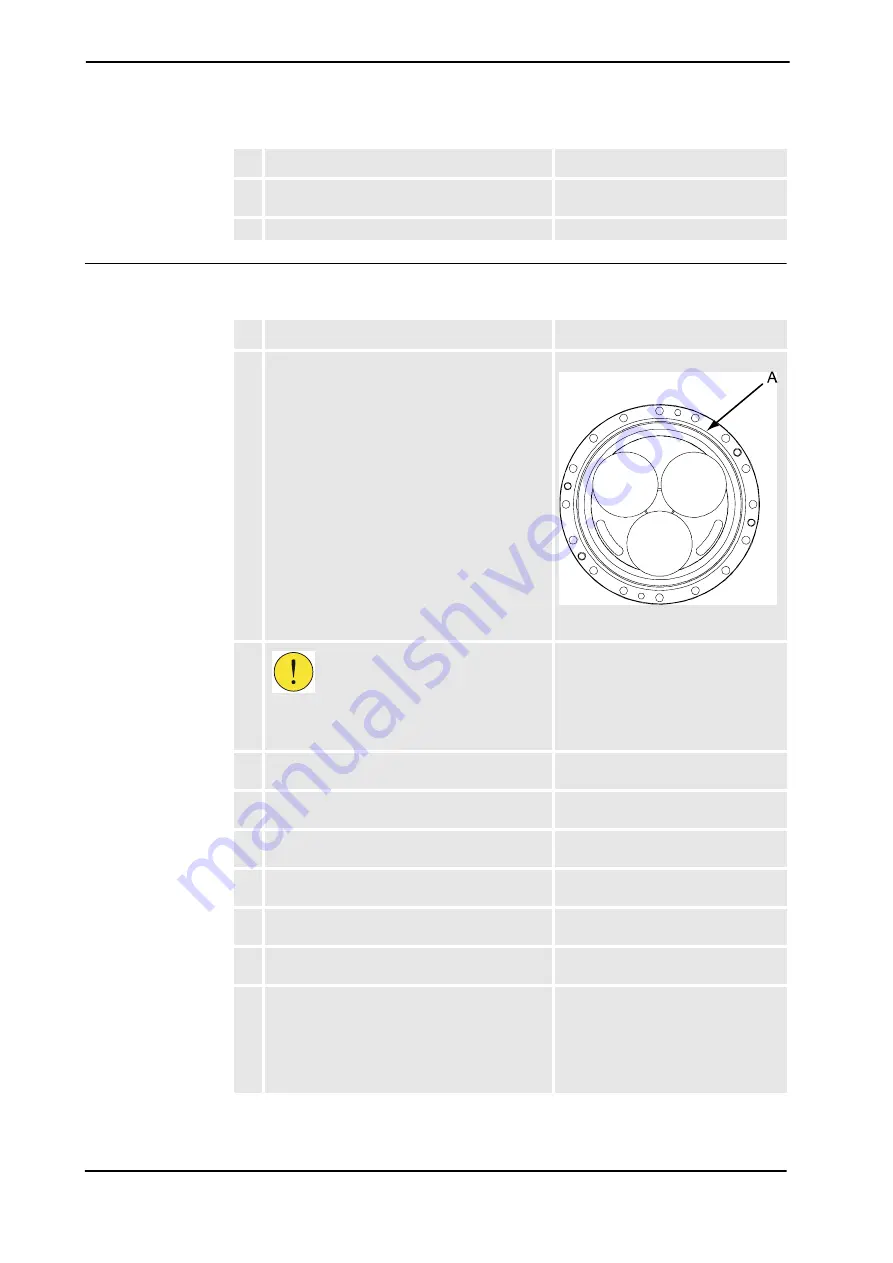
1. Make sure the o-ring is fitted to the gearbox.
Lightly lubricate the o-ring with grease.
xx0600003127
•
A : O-ring 3HAB 3772-92
2.
CAUTION!
The gearbox weighs 51 kg! All lifting equipment
used must be sized accordingly!
3. Fit a
lifting tool
in the uppermost hole of the
gearbox and secure it with a roundsling.
4. Fit two guide pins in two of the attachment
holes, parallel to each other.
5. Lift the gearbox on to the guide pins and push it
to its mounting position.
6. Refit the gearbox, while the upper arm is resting
on its side on the floor.
7. Refit the
upper arm
.
Detailed in section
8. Fill the
gearbox axis 3
with oil.
Detailed in section
.
9. Recalibrate the robot.
Calibration is detailed in a separate
calibration manual, enclosed with the
calibration tools.
General calibration information is
included in section
Calibration infor-
mation
.
Continued
Continues on next page


