4 Repair
4.7.4. Replacement of gearbox, axis 6
385
3HAC026876-001 Revision: F
© Copyri
ght
200
7-2010 ABB.
All rights reserved.
Refitting, gearbox
The procedure below details how to refit gearbox, axis 6.
Action
Note
1.
DANGER!
Turn off all electric power, hydraulic and
pneumatic pressure supplies to the robot!
For Foundry Prime robots:
Do not turn off the air pressure to motors
and SMB.
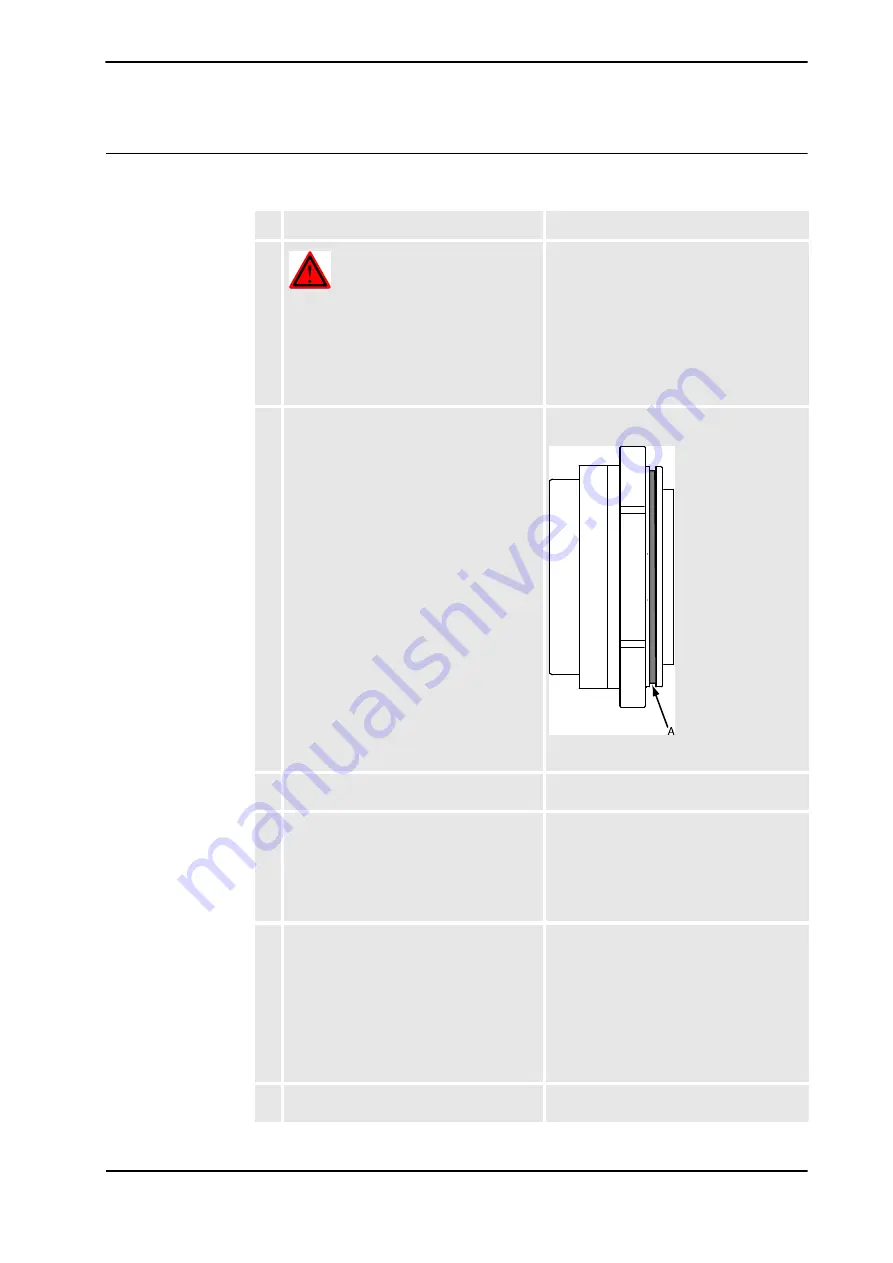
2. Make sure the o-ring is fitted to the rear of
the gearbox. Lubricate the o-ring with
grease.
Art. no. is specified in
.
xx0100000132
•
A: O-ring, gearbox axis 6
3. Release the holding brake of motor axis 6. Detailed in the section
.
4. Insert the gearbox, axis 6 into the wrist unit. Art. no. is specified in
.
Shown in the figure
.
Make sure the gears of the gearbox mate
with the gears of the motor!
5. Secure the gearbox with the attachment
screws and washers.
Shown in the figure
.
8 pcs or 18 pcs (depending on wrist
version): M8 x 40, 12.9 quality Gleitmo,
Tightening torque: 30 Nm.
Reused screws may be used, providing
they are lubricated as detailed in the
section
before
fitting.
6. Refit the turning disk.
Detailed in the section
Continued
Continues on next page


