4 Repair
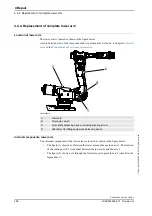
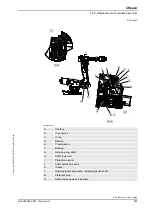
4.4.3. Replacement of upper arm
253
3HAC020993-001 Revision: G
©
Co
py
rig
h
t 200
4-
200
8 ABB. All righ
ts reser
v
ed.
Refitting, upper arm
The procedure below details how to refit the upper arm.
Action
Note/Illustration
1.
DANGER!
Turn off all electric power, hydraulic and
pneumatic pressure supplies to the robot!
For Foundry Prime robots: Do not turn off the air
pressure to motors and SMB.
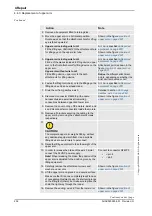
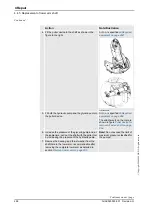
2. Fit the two
guide pins, sealing axis 2/3
in two of
the attachment screw holes on gearbox 3, see
figure to the right.
Guide the new
sealing, axis 2/3
into position on
gearbox 3, using the guide pins.
Always use a new sealing when reas-
sembling!
Art. no. is specified in
!
xx0200000166
A. Holes for the guide pins (sealing
axis 2/3).
B. Holes for the upper arm
attachment screws (33 pcs).
C. Holes for the gearbox
attachment screws (not affected
in this instruction).
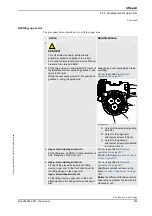
3.
Upper arm including wrist unit:
Fit the
lifting eye, VLBG M12
to the
attachment
hole, lifting eye
on the wrist unit.
Art. no. is specified in
!
Shown in the figure
4.
Upper arm including wrist unit:
Fit one of the pieces included in the
lifting
device, upper arm
to the front
attachment for
the lifting device
on the upper arm.
Upper arm without wrist unit:
Fit the
lifting device, upper arm
to the both
attachments for the lifting device
on the upper
arm.
Art. no. is specified in
!
Attachment points are shown in the
figure
!
Notice
the different attachment points
depending on whether the wrist unit is
mounted or not!
Continued
Continues on next page


