4 Repair
4.4.2. Replacement of complete wrist unit
247
3HAC020993-001 Revision: G
©
Co
py
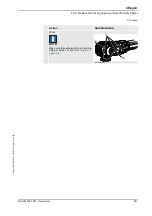
rig
h
t 200
4-
200
8 ABB. All righ
ts reser
v
ed.
Refitting, wrist unit
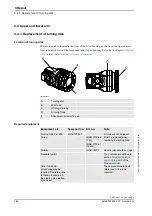
The procedure below details how to refit the complete wrist unit.
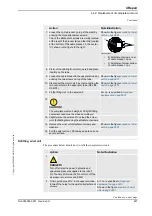
7. Loosen the
cable bracket
on top of the wrist by
undoing the three attachment screws.
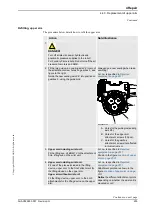
Two of the attachment screws are visibly located
at the rear of the bracket (B) and the third located
at the bottom of the cable bracket, in the center
(C), shown in the figure to the right.
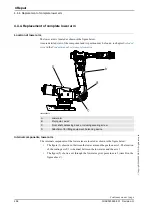
Shown in the figure
xx0200000254
•
B: Attachment screws, rear
of cable bracket, 2 pcs
•
C: Attachment screw, bottom
of cable bracket, 1 pc
8. Pick out the cabling from motor, axis 6 and place
it safely on the tube.
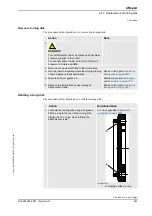
9. Loosen the cable bracket in the upper arm tube by
undoing the two screws on top of the tube.
Shown in the figure
10. Disconnect the motor axis 5 by disconnecting the
two connectors in the upper arm tube (R3.FB5,
R3.MP5).
Shown in the figure
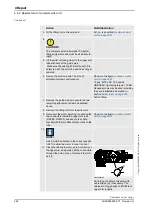
11. Fit the
lifting tool
to the wrist unit.
12.
CAUTION!
The complete wrist unit weighs 130 kg!All lifting
equipment used must be sized accordingly!
13. Slightly raise the wrist unit to unload the screw
joint, facilitating removing the attachment screws.
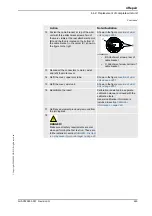
14. Remove the
wrist unit attachment screws and
washers
.
Shown in the figure
15. Pull the wrist unit out, lift it away and place it on a
secure surface.
Action
Note/Illustration
Action
Note/Illustration
1.
DANGER!
Turn off all electric power, hydraulic and
pneumatic pressure supplies to the robot!
For Foundry Prime robots: Do not turn off the
air pressure to motors and SMB.
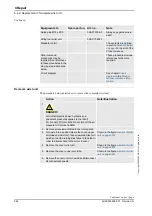
2. Fit two
guide pins, M12
in the upper arm tube,
in two of the holes for the
wrist unit attachment
screws.
Art. no. is specified in
Shown in the figure
Continued
Continues on next page


