Note
Action
xx1400000991
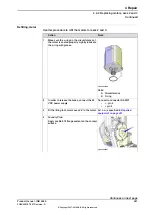
Foundry Plus:
Apply Loctite 574 flange sealant on the contact
surface.
4
Art. no. is specified in
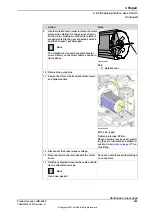
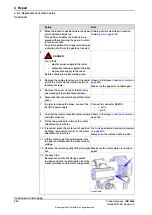
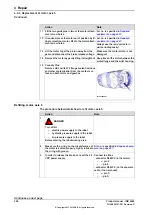
Fit the two
guide pins
in two of the motor attach-
ment holes.
5
Make sure the motor pinion does not
get damaged!
Fit the motor, with guidance from the pins,
making sure the motor pinion is properly mated
to the gear of axis 5.
6
4 pcs: M8 x 25; tightening torque: 24
Nm.
Secure the motor with four attachment screws
and plain washers.
7
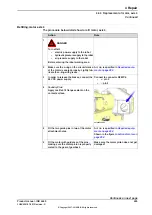
Disconnect the brake release voltage.
8
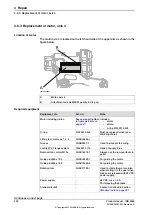
Refit the cable of the axis-5 motor and recon-
nect all connectors beneath the motor cover.
9
Refit the cable gland cover at the cable exit
with its two attachment screws.
10
Make sure the cover is tightly sealed!
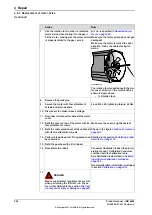
Refit the cover on top of the motor with its four
attachment screws.
11
Detailed in the section
.
Perform a leak-down test.
12
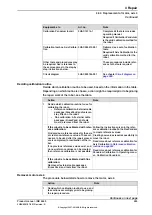
Refit the wrist unit.
13
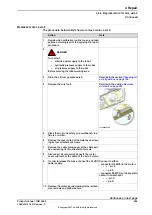
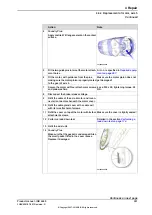
xx1400002579
Foundry Plus
Make sure that the gasket is undamaged. Also
the small gasket fitted in the cover recess.
Replace if damaged.
14
Continues on next page
Product manual - IRB 6660
301
3HAC028197-001 Revision: S
© Copyright 2007-2018 ABB. All rights reserved.
4 Repair
4.6.4 Replacement of motor, axis 5
Continued
Summary of Contents for IRB 6660
Page 1: ...ROBOTICS Product manual IRB 6660 ...
Page 8: ...This page is intentionally left blank ...
Page 18: ...This page is intentionally left blank ...
Page 48: ...This page is intentionally left blank ...
Page 108: ...This page is intentionally left blank ...
Page 172: ...This page is intentionally left blank ...
Page 366: ...This page is intentionally left blank ...
Page 386: ...This page is intentionally left blank ...
Page 388: ...This page is intentionally left blank ...
Page 394: ......
Page 395: ......

