Note
Action
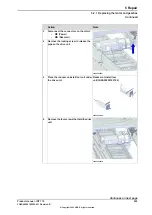
xx2300001396
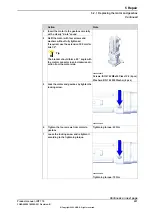
Install the adjustment tooling to installation
location of the carriage.
4
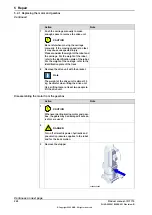
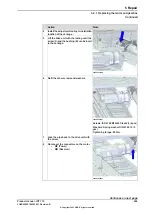
Lift the drive unit with the tooling until the
screw (A) and the bushing (B) can be insert
to the carriage.
5
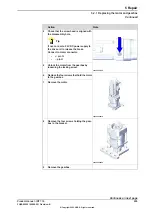
xx2300001397
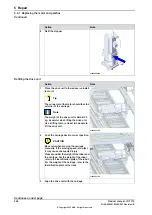
Refit the other screws and washers.
6
Screws: ISO 4762 M12x45 Class 8.8 (4 pcs)
Washers: Spring washer DIN 6796 12 (4
pcs)
Tightening torque: 20 Nm.
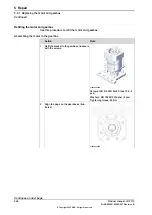
xx2200000621
Lock the pipe back to the drive unit with
the screw.
7
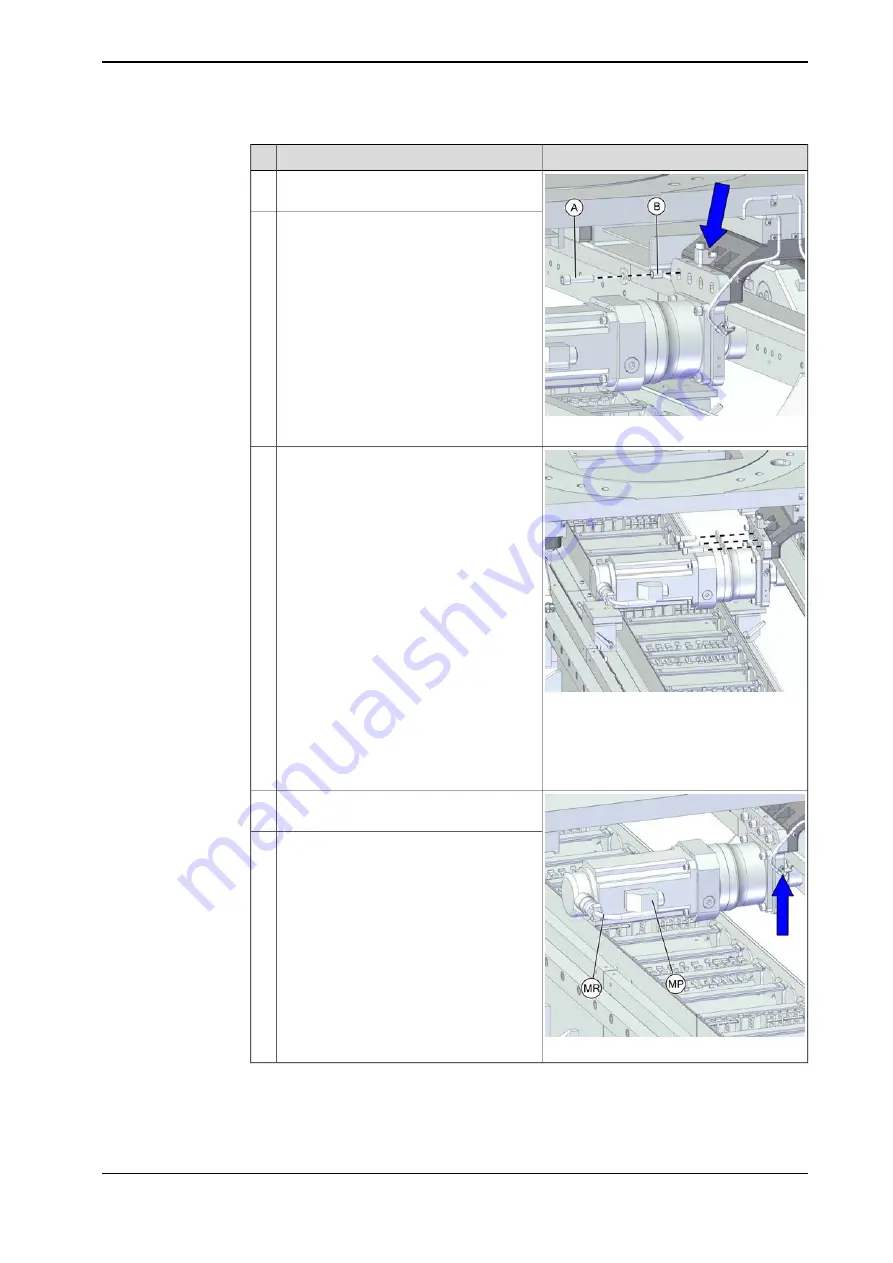
Reconnect the connectors on the motor.
•
MP (Power)
•
MR (Resolver)
8
Continues on next page
Product manual - IRT 710
229
3HKA00000186299-001 Revision: B
© Copyright 2023 ABB. All rights reserved.
5 Repair
5.2.1 Replacing the motor and gearbox
Continued
Summary of Contents for IRT 710
Page 1: ...ROBOTICS Product manual IRT 710 ...
Page 14: ...This page is intentionally left blank ...
Page 58: ...This page is intentionally left blank ...
Page 84: ...This page is intentionally left blank ...
Page 360: ...This page is intentionally left blank ...
Page 364: ...This page is intentionally left blank ...
Page 378: ...This page is intentionally left blank ...
Page 380: ...This page is intentionally left blank ...
Page 383: ......

