Note
Action
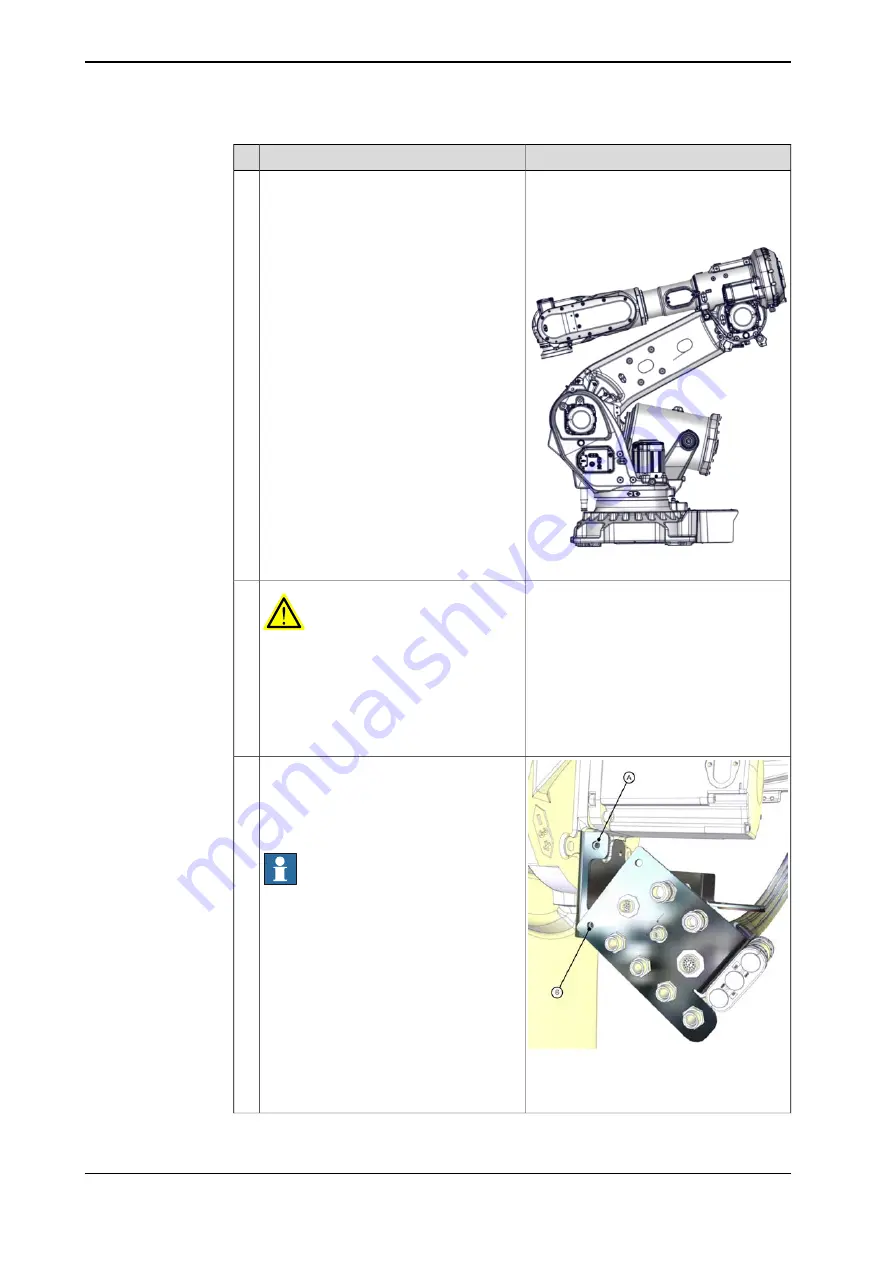
If needed, run the axis-1 into a position that
gives the required space (space to place
two pallets in a row) at the right-hand side
of the robot, as seen from behind.
Jog the robot into position:
•
Axis 1: no significance
•
Axis 2: -65°
•
Axis 3: maximum position in positive
direction, upper arm resting against
the mechanical stop (approximately
+70°)
•
Axis 4: 0°
•
Axis 5: +90°
•
Axis 6: 0°
3
xx2200001811
DANGER
Turn off all:
•
electric power supply
•
hydraulic pressure supply
•
air pressure supply
to the robot, before entering the safe-
guarded space.
4
xx1200001331
A Attachment screw to be removed
B Attachment screw not to be removed
If robot is equipped with DressPack:
Unscrew the uppermost attachment screw
that holds the bracket of the DressPack
cable package, and let it "fall down". See
figure!
Note
It is not needed to disconnect the lower
end connectors of the DressPack (as the
figure shows). Connectors are only hidden
to get a better view of which screw to be
removed.
5
Continues on next page
522
Product manual - IRB 6720
3HAC085697-001 Revision: C
© Copyright 2023 ABB. All rights reserved.
5 Repair
5.8.3 Replacing the axis-3 gearbox
Continued
Summary of Contents for OmniCore IRB 6720
Page 1: ...ROBOTICS Product manual IRB 6720...
Page 8: ...This page is intentionally left blank...
Page 14: ...This page is intentionally left blank...
Page 54: ...This page is intentionally left blank...
Page 184: ...This page is intentionally left blank...
Page 584: ...This page is intentionally left blank...
Page 608: ...This page is intentionally left blank...
Page 614: ...This page is intentionally left blank...
Page 639: ......


