Page 7
© Copyright 2021 ABB. All rights reserved.
2: Mechanical Installation
2.1 General
The following instructions are provided to properly install the system. Provided are general
mechanical connections. For information relevant to electrical connections, power
requirements, etc., refer to Chapter 3.
NOTE: The AC distribution panel shown is the
23”
conduit version (6180498P )
2.2 Installation
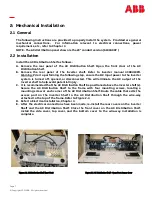
Install the AC Distribution Shelf as follows:
A.
Remove the rear panel of the AC Distribution Shelf. Open the front door of the AC
Distribution Shelf.
B.
Remove the rear panel of the inverter shelf. Refer to Inverter manual 4380419PD.
Warning: Prior to performing the following step, ensure the DC input power to the Inverter
system is turned off, opened, or disconnected. This will eliminate the AC output of the
Inverter shelf to help avoid potential injury.
C.
It is recommended that the AC Distribution Shelf be positioned above the inverter shelf(s).
Secure the AC Distribution Shelf to the frame with four mounting screws, locating a
mounting screw at each corner of the AC Distribution Shelf. Route the cable that exits the
access port on the Inverter Shelf to the AC Distribution Shelf through the wire
-
way
attached to the top of the frame. Refer to Figure 2
-
3.
D.
Refer to Electrical Installation, Chapter 3.
E.
After the electrical connections have been made, re
-
install the rear covers on the Inverter
Shelf and the AC Distribution Shelf. Close the front cover on the AC Distribution Shelf.
Install the side cover, top cover, and the bottom cover to the wire
-
way. Installation is
complete.
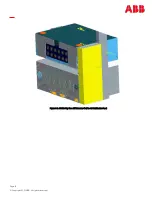
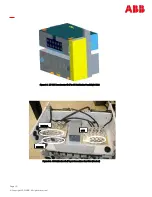
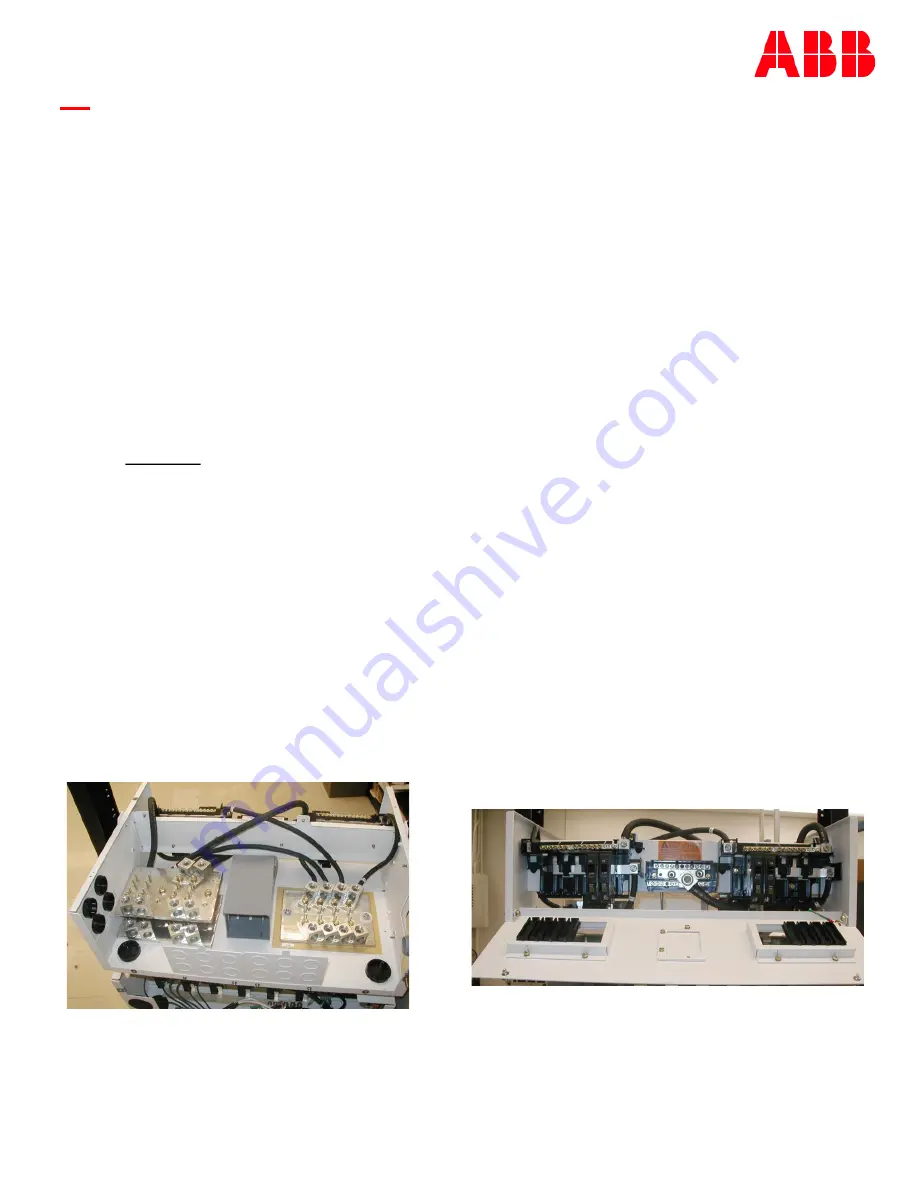
Figure 2
-
1. AC Distribution Shelf (Rear View)
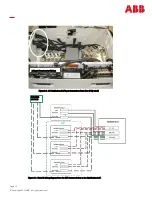
Figure 2
-
2. AC Distribution Shelf –
Open Front Access Cover


