Operation Manual / Power2 850-M / 4.2 High-pressure stage
4 Disassembly and assembly / 4.8 Measuring axial clearance A
© Copyright 2017 ABB. All rights reserved.
HZTL4063_EN
Revision A
August 2017
4.8
Measuring axial clearance A
CAUTION
Clearances outside the tolerance
Serious damage to engines or property can be caused by clearances outside
the tolerance and excessively worn parts.
u
Have the components assessed and, if necessary, replaced by an ABB Tur-
bocharging Service Station.
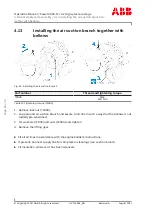
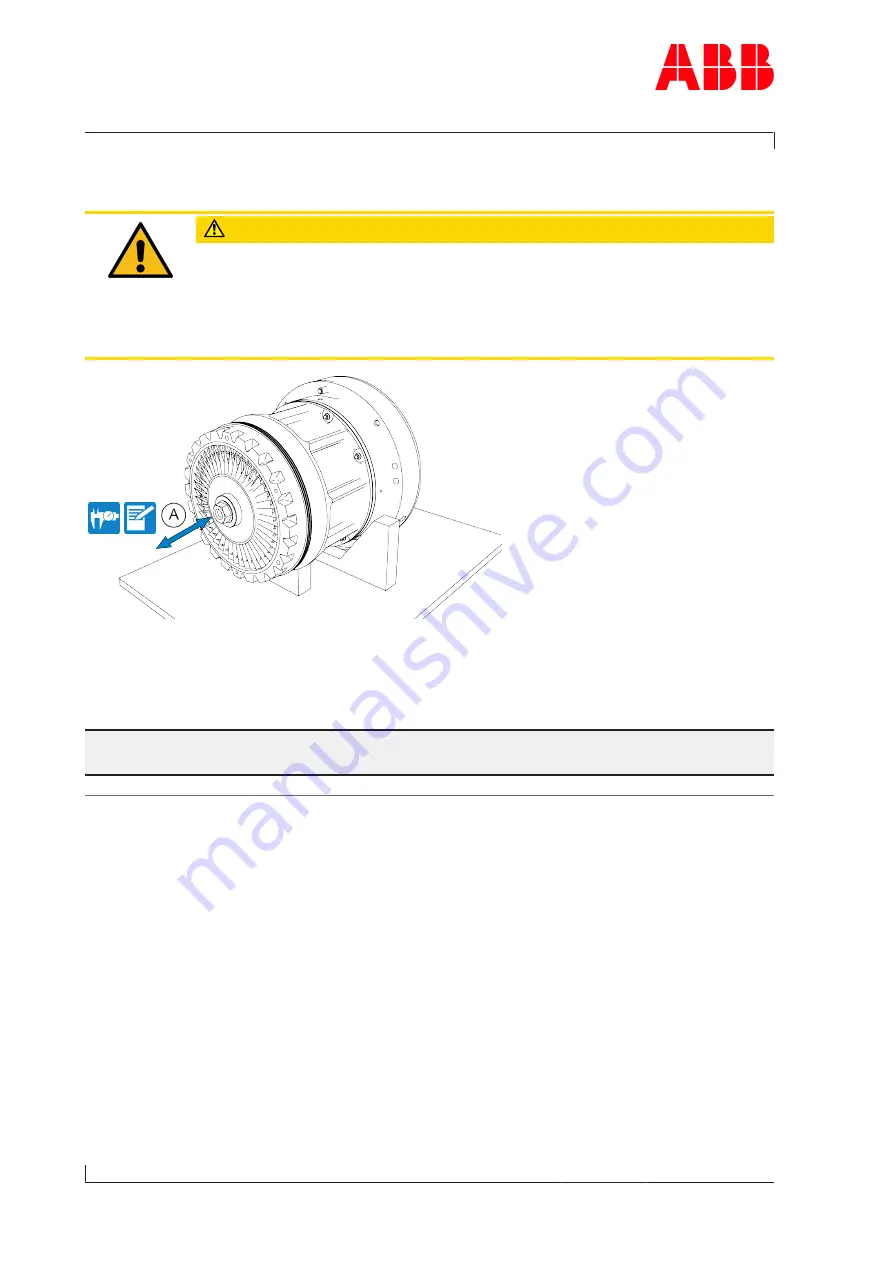
Fig. 13: Measuring axial clearance A
The axial clearance (A) must be measured after removal and before installation of the cart-
ridge group.
u
Measure and note axial clearance (A).
Axial clearance A
[mm]
0.36 ... 0.48
Table 6: Axial clearance A
Page
18
/
35
Summary of Contents for Power2 850-M16
Page 28: ......
Page 32: ......
Page 42: ......
Page 44: ......
Page 70: ......
Page 78: ......
Page 80: ......
Page 82: ......
Page 86: ......
Page 88: ......
Page 90: ......
Page 92: ......
Page 94: ......
Page 96: ......
Page 100: ......
Page 130: ......
Page 134: ......
Page 138: ......
Page 140: ......
Page 142: ......
Page 178: ......


