23
S M A RT COM M U N I C ATI ON C A R D
M A N UA L
5.5.1.
Integrating devices over OPC UA
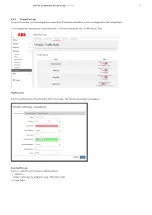
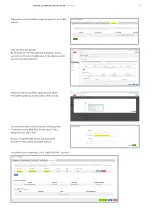
In the webserver-based tool: Go to services--> OPC UA:
By clicking ADD, you will get this view:
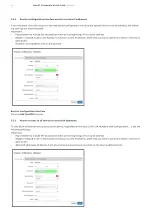
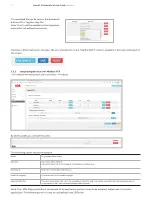
The following values should be key-in:
Name:
Any recognizable name
Description:
Description of the device to be added
Endpoint
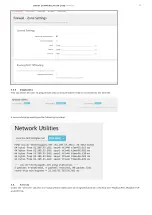
Here, the user must key in the IP address of the device to be connected over OPC UA: Note: The address assignment should
be done as described in section 5.4.2.
The IP address should be given in this format: opc.tcp://192.168.2.202:4840,
where 192.168.2.202 was assigned to B&R gateway in section 5.4.2.
User ID and password:
User ID and password should be keyed in. For B&R controller for Novolink, here are the user ID/password:
EvalUser/Eval2021
Please ensure that you are using the correct user ID and password. This can be found by the supplier of the device.
Client private key:
The user must select the *.pem file provided by the supplier. In the case of B&R Controller/Novolink, this file/test must be
used:
/etc/opc-ua/proxy/cert/uaexpert_key.pem
Client certificate file:
The user must select the *.der file provided by the supplier. In the case of B&R Controller/Novolink, this file/test must be
used:
/etc/opc-ua/proxy/cert/uaexpert.der
Server Certificate
(trusted):
The user must select the *.der file provided by the supplier. In the case of B&R Controller/Novolink, this file/test must be
used:
/etc/opc-ua/proxy/cert/br_trusted.der
Register Map file:
The user must select the *.json file available in the SCC, and that can be selected from the dropdown menu. In the case of
B&R Controller/Novolink, this file/test must be used:
/etc/opc-ua/proxy/cert/br_trusted.der
Note: The JSON files provided are an example of an application and may need to be adapted, subject to the user’s application.
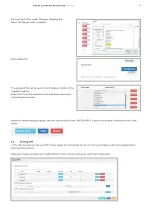
The following are the steps for uploading a new JSON file.


