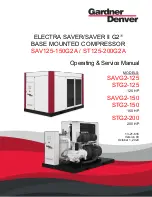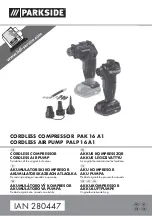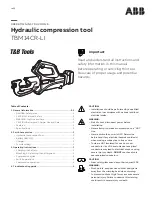
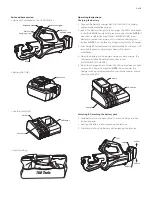

Contacts
Advance trigger
Slots for
hanging strap
Slots for
hanging strap
Release button
Ram
LED lamps
Air vent
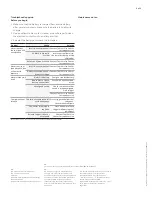
Contacts
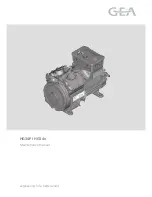
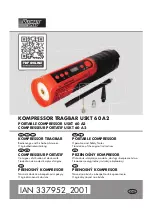
•
Battery (BAT-MK)
•
Charger (CHR-MK)
•
Tool Hand Bag
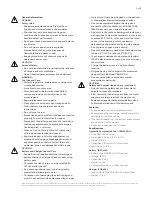
LED Lamps
Battery
Charger
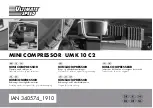
Latch
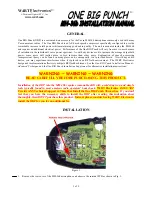
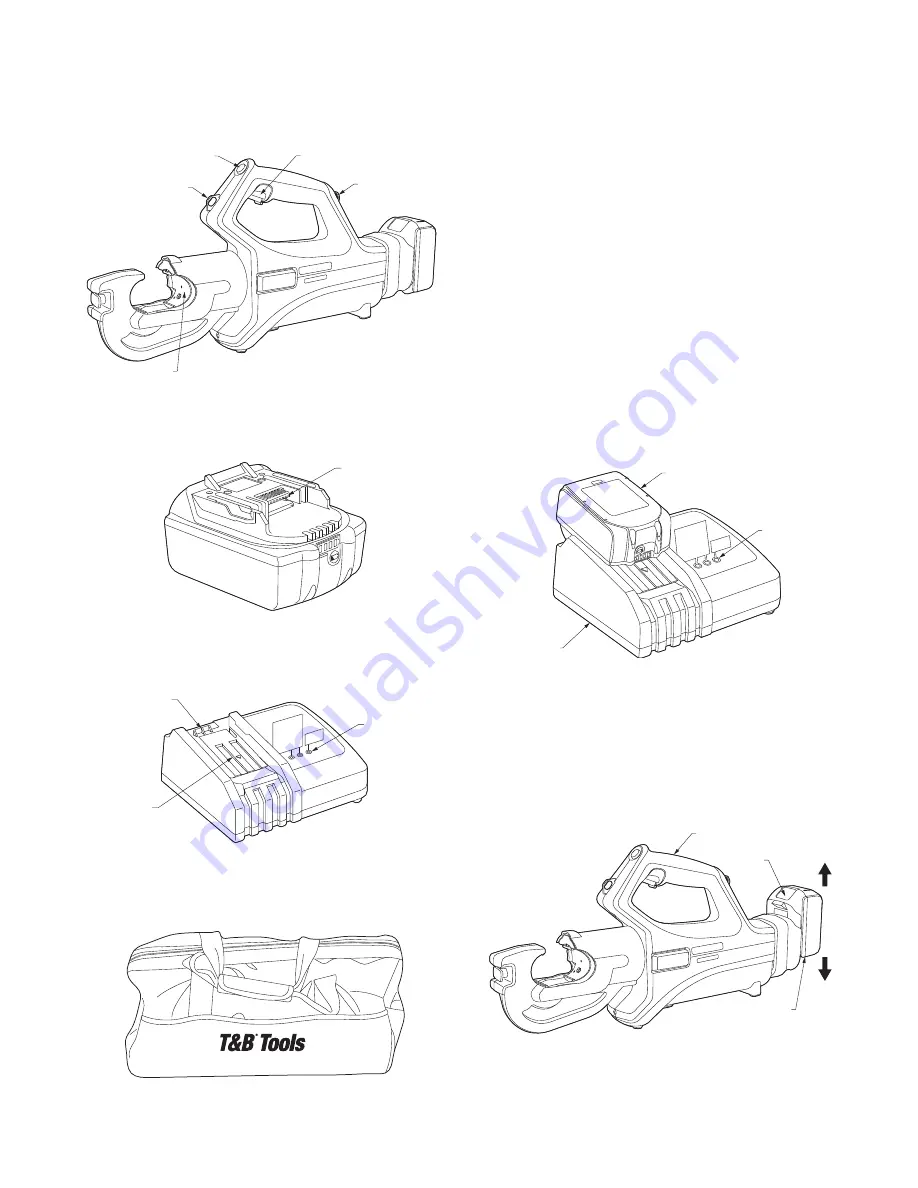
Slide in
Pull out
Tool
Battery
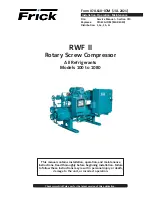
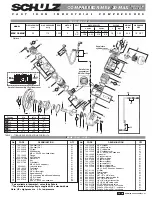
Parts and Accessories:
•
Hydraulic Compression Tool (TBM14CR-LI)
Operating Instructions:
Charging the battery
1. Connect the battery charger BAT-MK to 120V AC. Charging
light will repeatedly flash green.
2. Insert the Battery firmly into the charger. The LED Lamp lights
in red [CHARGING] and a brief preset melody will play.
NOTE:
If
one or more lights flash red [HIGH TEMPERATURE], allow
battery to remain in charger until cool before charging can
initiate.
NOTE:
Do not place any foreign objects in the Charger.
3. Full charge (100%) achieved in approximately 45 minutes. LED
lamp lights green and melody or beep will indicate
completion.
4. When the battery will no longer charge or hold a charge, the
LED Lamp blinks alternately from green to red
[IMPOSSIBLE TO CHARGE].
5. When the charger is out of order, the LED Lamp does not light
up even if AC power is supplied.
NOTE:
Do not power the
Charger with a portable generator or any other power source
other than 120V AC.
Attaching & Detaching the battery pack
1. Slide Battery into the base of the Tool until it stops and the
latches engage.
2. Gently pull Battery without pressing the latches.
3. To detach, pull out the Battery while pressing the latches.
3 of 5