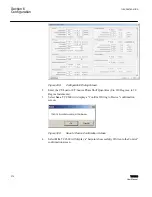
GUID-64E3E9D7-7F66-4451-906E-B934BF7F9785 V1 EN
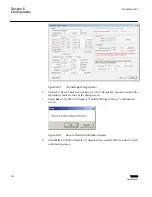
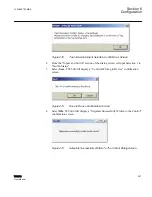
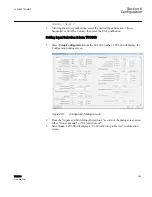
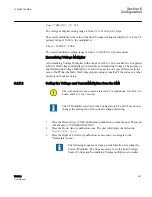
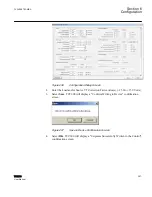
Figure 282:
Save to Device Confirmation Screen
4.
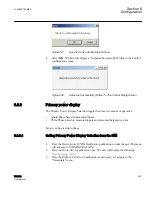
Select
OK
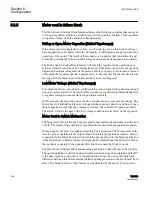
. TCC600 will display a "Setpoints Successfully Written to the Control"
confirmation screen.
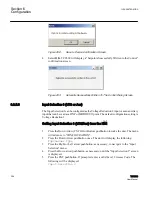
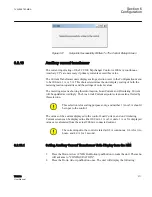
GUID-F30E8D82-95A5-4460-AAEE-BBCD9FAD3FEB V1 EN
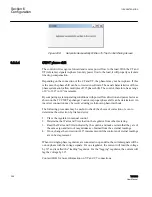
Figure 283:
Setpoints Successfully Written To The Control Dialog Screen
6.2.5.6
Input Selection 3 (VR2 or Aux)
The Input Selection 3 can be configured as the Voltage Reduction 2 input or as an auxiliary
input that can be read as a DNP or MODBUS® point. The default configuration setting is
Voltage Reduction 2.
Setting Input Selection 3 (VR2/Aux) from the HMI
1.
Press the Down Arrow (CNFG Hot Button) pushbutton to wake the unit. The menu
will advance to "CONFIGURATION".
2.
Press the Down Arrow pushbutton once. The unit will display the following:
Tapchanger Type
3.
Press the Right or Left arrow pushbutton, as necessary, to navigate to the "Input
Selection" menu.
4.
Press the Down arrow pushbutton, as necessary, until the "Input Selection 3" screen
is displayed.
5.
Press the ENT pushbutton. If prompted, enter a valid Level 2 Access Code. The
following will be displayed:
Input Selection 3
Section 6
1VAC388793-MB A
Configuration
356
TCC300
User Manual
Summary of Contents for TCC300
Page 1: ...Digital Tapchanger Control TCC300 User Manual ...
Page 2: ......
Page 3: ...Document ID 1VAC388793 MB Issued 2016 08 10 Revision A Copyright 2016 ABB All rights reserved ...
Page 26: ...20 ...
Page 34: ...28 ...
Page 91: ...1VAC388793 MB A Section 3 Operation TCC300 85 User Manual ...
Page 126: ...120 ...
Page 176: ...Section 4 1VAC388793 MB A TCC600 170 TCC300 User Manual ...
Page 260: ...254 ...
Page 328: ...322 ...
Page 494: ...488 ...
Page 556: ...550 ...
Page 580: ...574 ...
Page 600: ...594 ...
Page 700: ...694 ...
Page 710: ...704 ...
Page 712: ...706 ...
Page 713: ...707 ...
Page 714: ......
Page 715: ......

