30
Zenith Automatic Transfer Switch | new.abb.com/low-voltage
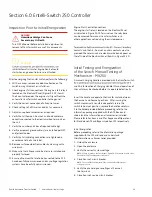
Control Connections
A complete information package is furnished with each
transfer switch including a complete connection diagram
and schematic which details all necessary control circuit
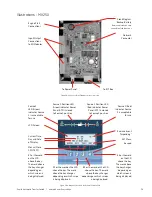
Electrical Panel as indicated in Figure S5-13. Terminals on
the relay base can be accessed for manual transfer switches,
or in other applications not requiring the microprocessor.
contacts and the A4 – Source 1 auxiliary contacts are also
provided. These terminals are clearly marked and appear on
the left side of the Electrical Panel (item H in Figure S5-13).
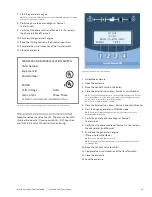
MX250:
I.
The Microprocessor
A. Controller Interface Connections - Customer
Input and Output (I/O) for system interface.
Located on the left hand side of the back of the
1 I/O accessories that can be found here are:
a. Engine start relay P output
b. Pre-Signal to transfer T3, W3 and UMD
output (optional)
c. Transfer Inhibit Q3 and Q7 input (optional)
d. Remote test Q2 input (optional
e. Network interface ZNET
input/output (optional)
f.
A1 auxiliary contact, operates on
S1 failure (optional)
g. A1E auxiliary contact, operates on
S2 failure (optional)
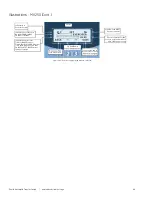
B. LCD and Keypad located on the exterior of the door
1 User accessibility to the following:
a. LED indication of source availability
b. LED indication of transfer switch position
c. LCD screen indicates:
(1) timer count down (numeric)
(2) event reporting (text)
d. Keypad provides user interface to:
[in conjunction with LCD screen]
(1) Setting sensors and timers
II. The Controls Power Supply (CPS)
Contains transformers which drop line
voltage to control level for controller input
LCD & Keypad
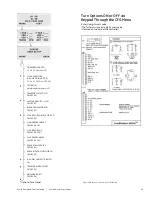
These options are accessible through the LCD and keypad
loaded into a particular unit, scrolling through the SET and
CFG menu will show the descriptions of the options (see
options. The SET (setting) menu is primarily used to show or
change, time and voltage settings. The CFG menu is primarily
these menus, no changes can be made without entry of the
access code. The factory set six-digit access code is located
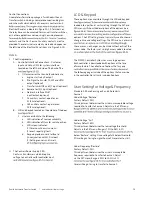
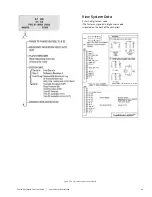
The MX250 Controller System has many logic options.
Each controller is downloaded with options at the time
of manufacture. The collection of options that any one
The following pages include all the options that can reside
in the controller. Not all units include all options.
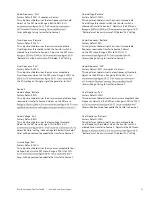
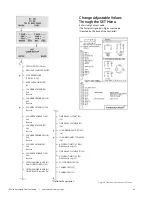
User Setting for Voltage & Frequency
Standard 3-Phase Sensing on 3 and 4 Pole Units
Source 1
Under Voltage “Restore”
Factory Default: 90%
This adjustment determines the minimum acceptable voltage
required to transfer to Source 1. Adjust via the SET menu.
Under Voltage “Fail”
Factory Default: 80%
This adjustment determines the low voltage threshold.
Adjust via the SET menu. Range is 75% to 98% in 1%
below “Restore” setting. Once voltage falls below threshold,
P timer begins timing to signal Source 2 Generator to start.
Under Frequency “Restore”
Factory Default: 95%
This adjustment determines the minimum acceptable
frequency required to transfer to Source 1. Adjust
via the SET menu. Range is 90% to 100% in 1%
timer will begin timing to transfer to Source 1.

