PC, Mac, and Power PC Initial Setup
Though each hardware platform, PC, Mac, and Power PC
(collectively referred to here as PC), and each software
application has unique configuration and operational
requirements, several Ethernet connection and functionality
concepts are constants. This section outlines typical steps
required to perform various functions and verify them. See your
hardware and software documentation for specific information
regarding your installation.
STEP 1:
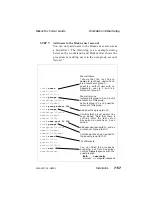
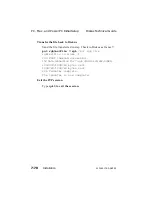
Add Diskus to the PC’s host file
Each PC handles the host file differently. You must
add the Diskus IP address and Diskus host name into
the PC’s host table.
Note that the name entered into the hosts file is the
name that the network recognizes. You can enter a
different name in Diskus’ Ethernet menu, but this
could lead to confusion.
STEP 2:
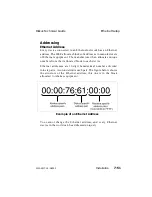
Set up the Diskus IP address
The factory-assigned IP address is 192.92.109.57. To
assign a new IP address, open the Ethernet menu and
click the IP parameter setting to open a Numeric
window. Enter the same IP address as you entered in
the PC’s hosts file. Click Enter to set the new address.
STEP 3:
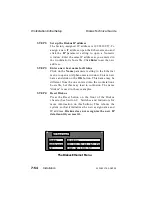
Enter a new host name for Diskus
Click on the Name parameter setting in the Ethernet
menu to open an Alphanumeric window. Enter a new
name and click on the OK button. This name may be
different from the one entered into the PC’s hosts file,
but this may lead to confusion. The name "diskus" is
used in these examples.
PC, Mac, and Power PC Initial Setup
Diskus Technical Guide
7-62
Installation
9100-0217-02 - SEP 95
Summary of Contents for Diskus
Page 1: ...Diskus Digital Disk Recorder Manual ...
Page 477: ...NOTES Diskus Operations Index 9100 0217 02 SEP 95 Index xvii ...
Page 478: ...NOTES Index Diskus Operations xviii Index 9100 0217 02 SEP 95 ...
Page 479: ...NOTES Diskus Operations Index 9100 0217 02 SEP 95 Index xix ...
Page 480: ...NOTES Index Diskus Operations xx Index 9100 0217 02 SEP 95 ...


