EN - 18
BAL.0523.0 • 2019-10-17
6 Commissioning
iSTM mini
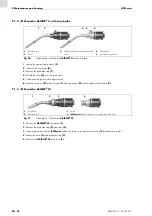
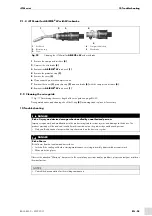
5
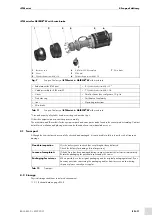
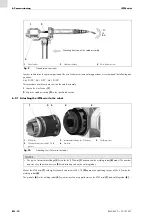
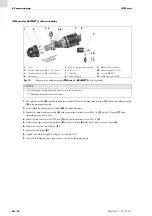
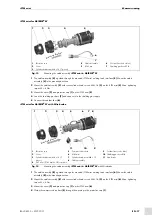
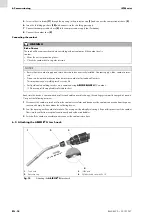
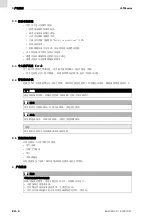
Screw in the wire brake
through the opening in the protective cap
and connect the compressed air hose
6
Insert the shielding gas hose
and connect it to the shielding gas supply.
7
Connect the compressed air hose
to the compressed air supply (no illustration).
8
Connect the coolant lines
.
Connecting the coolant
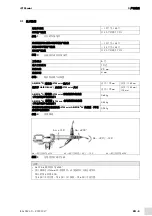
Each time the device is commissioned or after each cable assembly change, the cooling system must be purged of any air.
Carry out the following activities:
1
Disconnect the coolant return hose from the coolant recirculator and disconnect the coolant connection from the power
source and empty the hose above the collecting device.
2
Seal the opening on the coolant return hose. Then re-open it by abruptly releasing it. Repeat this process until the coolant
flows into the collection receptacle continuously and without air bubbles.
3
Switch off the coolant recirculator and reconnect the coolant return hose.
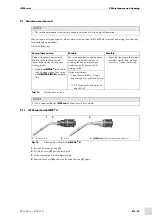
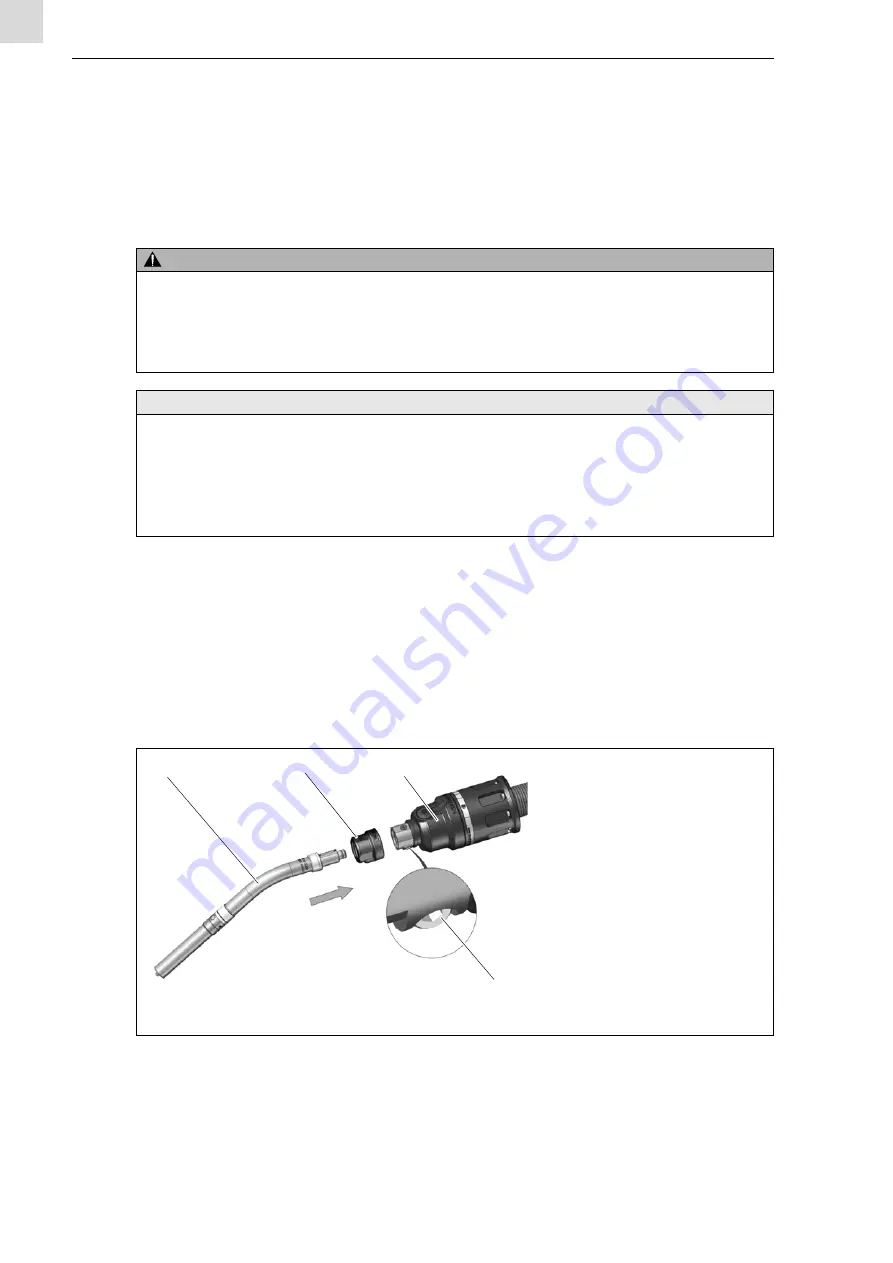
6.3 Attaching the ABIROB
®
G torch neck
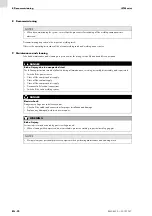
WARNING
Risk of burns
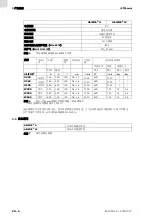
The torch will become overheated when welding without coolant or if the coolant level is
too low.
• Wear the correct protective gloves.
• Check the coolant level at regular intervals.
NOTICE
• Ensure that the coolant supply and return hoses have been correctly installed. Coolant supply = blue, coolant return =
red
• Do not use deionized or demineralized water as coolant or for leak and flow tests.
This may shorten your welding torch’s service life.
• For liquid-cooled welding torches, we recommend using
ABICOR BINZEL
BTC coolant.
Please consult the applicable safety data sheet.
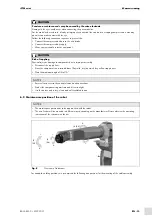
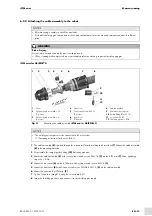
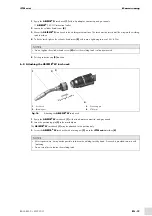
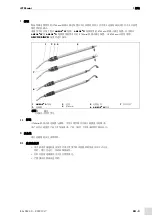
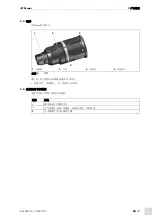
1
Torch neck
2
Protective cap
3
iSTM mini
4
Cylinder head screw M5 × 10
Fig. 15
Attaching the
ABIROB
®
G
torch neck
1
2
3
4
Mou
nting
dire
ction


