55
ADJUSTMENT OF THE RUNNING BELT
Alignment and correct tension of the running band is important. The belt is properly
adjusted from the factory, but factors such as transportation, uneven flooring and so
on can cause the belt to "wander" to one of the sides, and be damaged from the
contact with the side lists or frame. To adjust the belt, please follow the instructions
below.
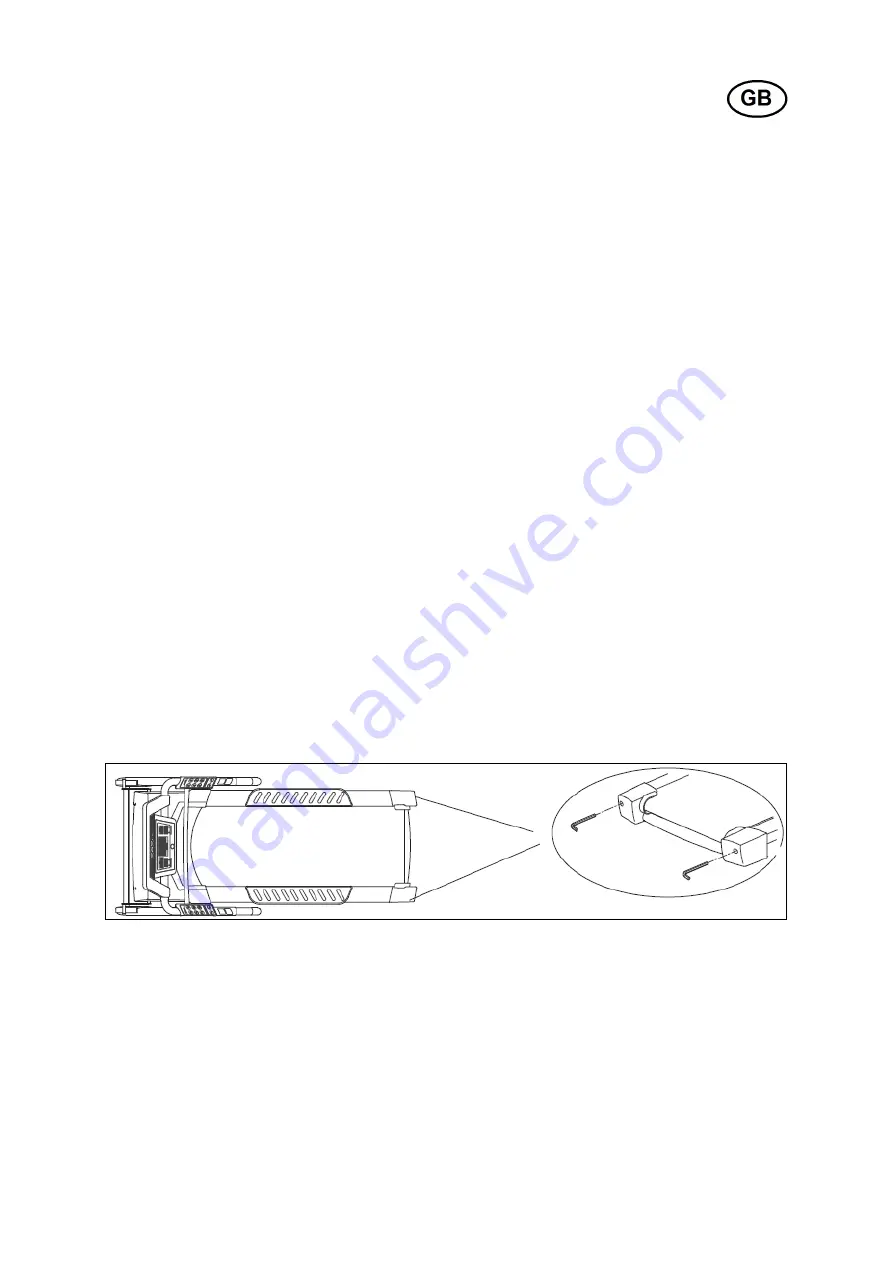
• Running Belt which moves towards one of the edges: Locate the adjustment screws
at the rear of the treadmill (see illustration). Start the belt at slow speed (3-6 km / h)
Use an Allen-head key to adjust the angle of the rear roller, and observe the
sideways movement of the belt. The belt will always pull over to the side where the
tension is lowest. Meaning that if you adjust the roller’s left side closer to you (by
turning left screw clockwise), the band will move to the right. Please note that you do
not turn too much at each adjustment attempt. Normally, 1/2 or 1 rotation of the
adjustment screw would be sufficient. If the result is not satisfying, the procedure is
repeated until the belt runs straight.
• Running belt that slips: The reasons for the belt to slip can be many. If it is too tight
the drive belt from the motor might slip on the front roller. If the belt is not tight
enough, the running belt itself might slip on either one of the rollers. Too little
lubrication might cause the belt to stick to the plate due to increased friction, and too
much lubrication could cause the belt to slip on either one of the rollers (see
instructions for lubrication on the next page).
Use the adjustment screws at the rear to tighten or slacken the belt. Please note that
you always turn the same number of rotations on each side, otherwise the belt will
move sideways.
WARNING!
Do not tighten the belt too much, this will lead to increased wear on the belt, rollers
and bearings!
Illustration Drawing:
Right and left adjustment screw is placed at the rear of the treadmill.


