5.5
Impella
®
System for Use During Cardiogenic Shock
CASE START
Fluoroscopy is required to guide placement of the Impella
®
Catheter and, for the
Impella CP
®
, during rewire through the guidewire access port. The small placement
guidewire must be reliably observed at all times.
The sterile components of the Impella
®
System can be used only if the sterilization
indicators show that the contents have been sterilized, the packaging is not
damaged, and the expiration date has not elapsed.
Avoid manual compression of the inlet and outlet areas of the cannula assembly.
Do
NOT
remove the Impella
®
Catheter over the length of the guidewire.
Handle with care. The Impella
®
Catheter can be damaged during removal from
packaging, preparation, insertion, and removal. Do
NOT
bend, pull, or place excess
pressure on the catheter or mechanical components at any time.
During case start, make sure the yellow luer connection between the purge tubing
and Y connector is tightened and not leaking (for Impella
®
2.5 and Impella CP
®
)
Do
NOT
kink or clamp the Impella
®
Catheter with anything other than a soft jaw
vascular clamp. Do
NOT
kink or clamp the peel-away introducer.
CASE START
1.
Press the
MENU
soft button from the startup screen. “Case Start” is the default
selection on the pop-up menu that appears on the screen.
2.
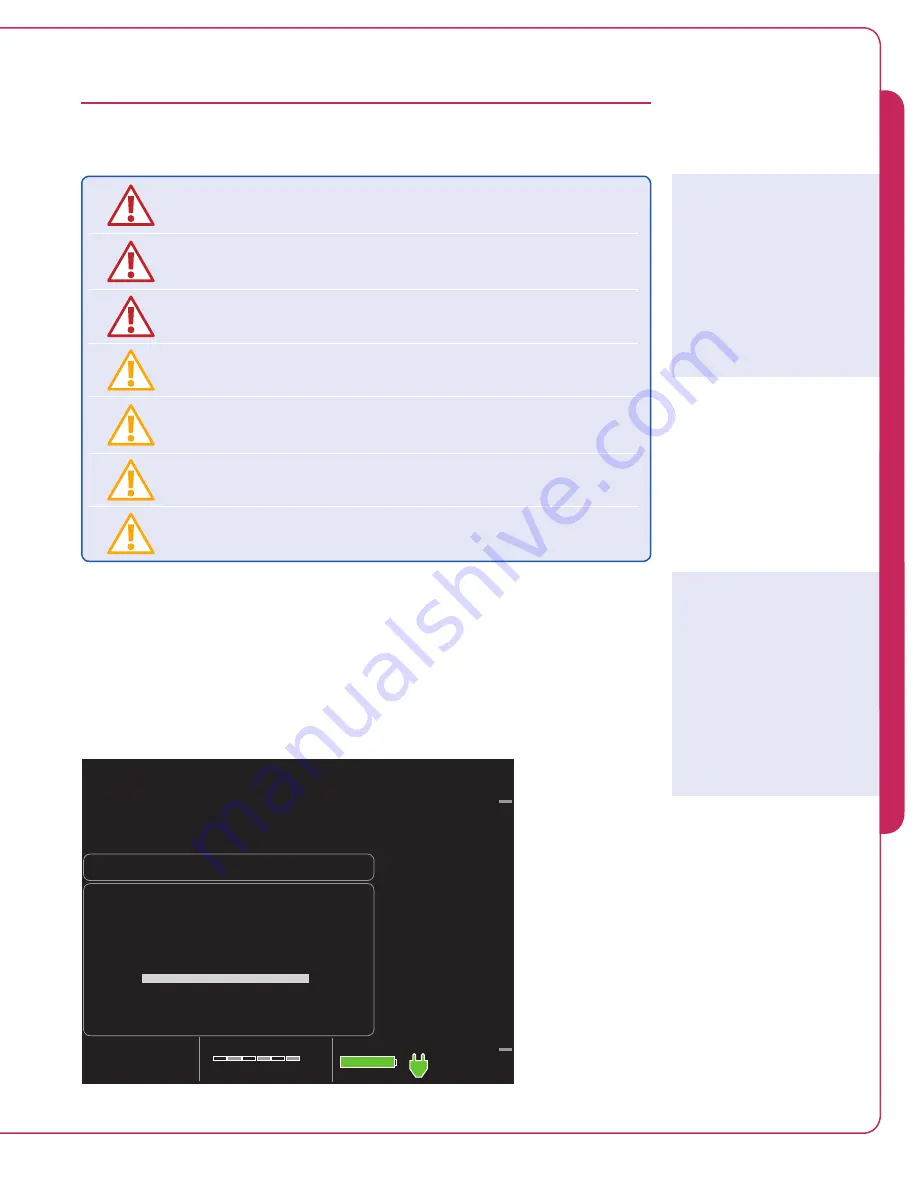
Press the selector knob to select “Case Start.” The controller displays the screen shown
in Figure 5.3.
Purge System
System Power
MUTE
ALARM
EX IT
30 - 06 - 2011 05:30
100%
Purge Pressure:
Purge Flow:
Prime Impella Purge Cassette
Priming Purge Cassette
1. Insert purge cassette.
2. Plug in Impella catheter cab le.
Figure 5.3 Initial Case Start Screen
Sensitive Medical Device
The Impella
®
Catheter is a
sensitive medical device with
extremely fine tolerances. In
particular, the inlet and outlet
areas of the catheter assembly
may be damaged if subjected
to strong external forces.
Two Ways to Start the
Setup Procedure
You can start the setup
procedure from the
MENU
on the startup screen (as
described on this page)
or when a new Impella
®
Catheter is plugged into the
controller.
5
U
S
IN
G
T
H
E A
U
TO
MA
TED
I
M
P
EL
LA
®
C
O
NT
R
O
LL
E
R
WI
TH
TH
E I
M
P
E
LL
A
®
C
A
TH
ETE
R
Summary of Contents for Impella 2.5
Page 4: ......
Page 8: ......
Page 10: ......
Page 12: ......
Page 15: ...2 WARNINGS AND CAUTIONS WARNINGS 2 1 CAUTIONS 2 3...
Page 16: ......
Page 22: ......
Page 38: ......
Page 40: ......
Page 108: ......
Page 171: ......
Page 173: ......
Page 181: ......
Page 183: ......
Page 201: ......
Page 203: ......
Page 205: ......
Page 210: ...INDEX TBD...


