Installing the Motherboard
2-15
User’s Manual
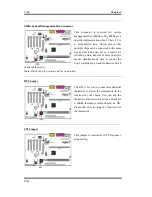
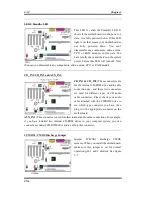
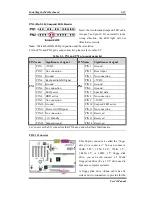
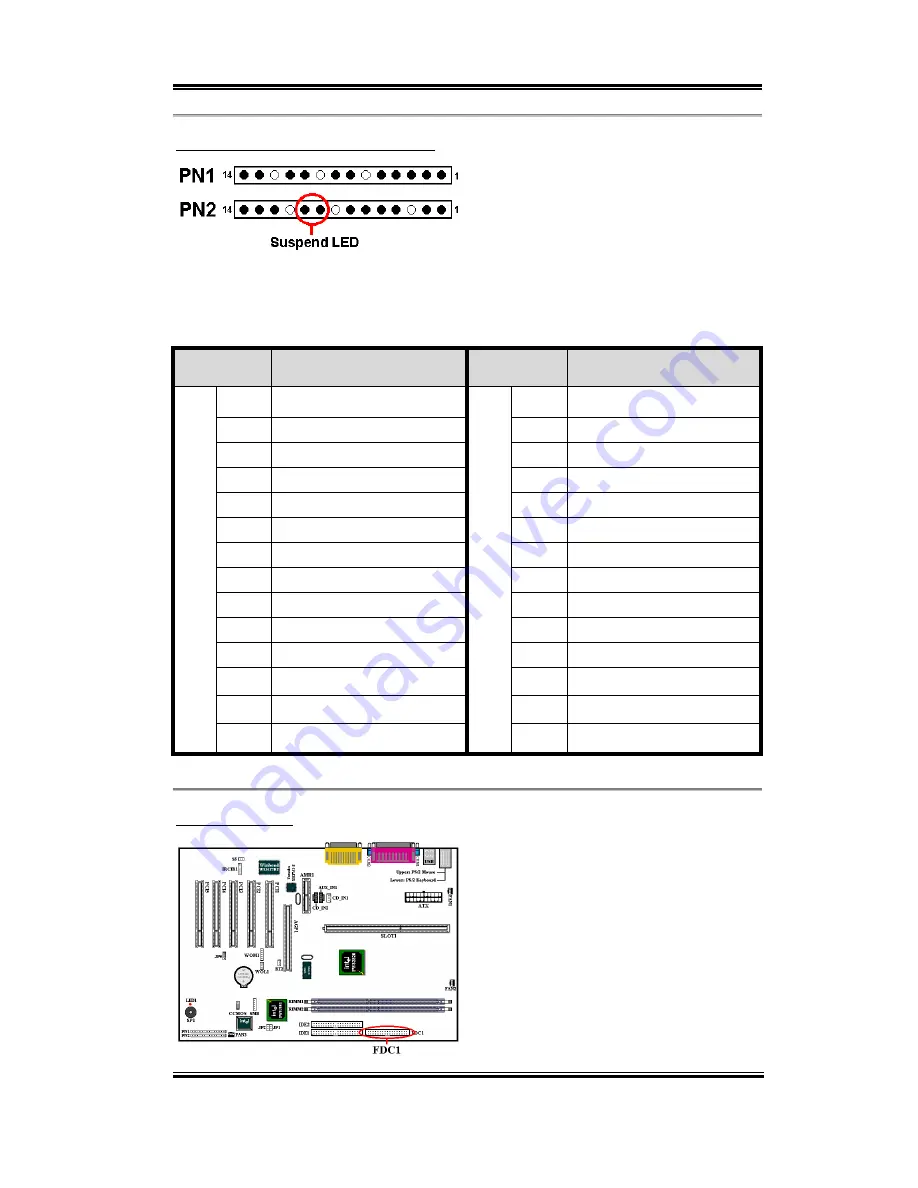
PN2 (Pin 9-10): Suspend LED Header
Insert the two-threaded suspend LED cable
into pin 9 and pin 10. If you install it in the
wrong direction, the LED light will not
illuminate correctly.
Note:
Watch the HDD LED pin position and the orientation.
For the PN1 and PN2 pin’s count-name list, please refer to table 2-2.
Table 2-2. PN1 and PN2 pin count name list
PIN Name
Significance of signal
PIN Name
Significance of signal
PIN 1
+5VDC
PIN 1
Ground
PIN 2
No connection
PIN 2
Reset input
PIN 3
Ground
PIN 3
No connection
PIN 4
Keyboard inhibit Signal
PIN 4
+5VDC
PIN 5
Ground
PIN 5
Ground
PIN 6
No connection
PIN6
Ground
PIN 7
LED power
PIN 7
Speaker data
PIN 8
HDD active
PIN 8
No connection
PIN 9
No connection
PIN 9
+5VDC
PIN 10 Ground
PIN 10 Suspend LED active
PIN 11 Power On/Off signal
PIN 11 No connection
PIN 12 No connection
PIN 12 Reserved
PIN 13 +3V Standby
PIN 13 Reserved
PN1
PIN 14 Suspend signal
PN2
PIN14 Reserved
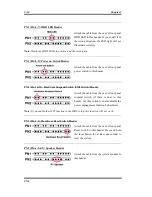
Let’s now see the I/O connectors that CX6 uses, and what their functions are.
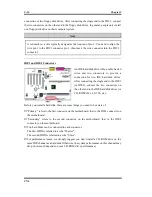
FDC1 Connector
This 34-pin connector is called the “
floppy
disk drive connector
”. You can connect a
360K, 5.25”, 1.2M, 5.25”, 720K, 3.5’’,
1.44M, 3.5” or 2.88M, 3.5” floppy disk
drive, you can even connect a 3 Mode
floppy disk drive (it’s a 3 1/2” drive used in
Japanese computer systems).
A floppy disk drive ribbon cable has 34
wires and two connectors to provide for the
Summary of Contents for CX6
Page 2: ......
Page 78: ...3 44 Chapter3 CX6 ...
Page 84: ...B 4 Appendix B CX6 ...
Page 90: ...D 4 Appendix D CX6 ...
Page 96: ...E 6 Appendix E CX6 ...
Page 104: ...G 4 Appendix G CX6 ...
Page 110: ...H 6 Appendix H CX6 ...


