| Installation –
Preparation and fixing to the POLEMH1 mounting pole
16
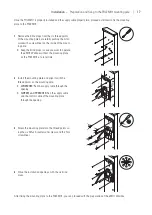
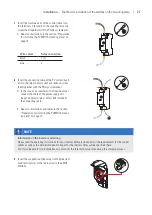
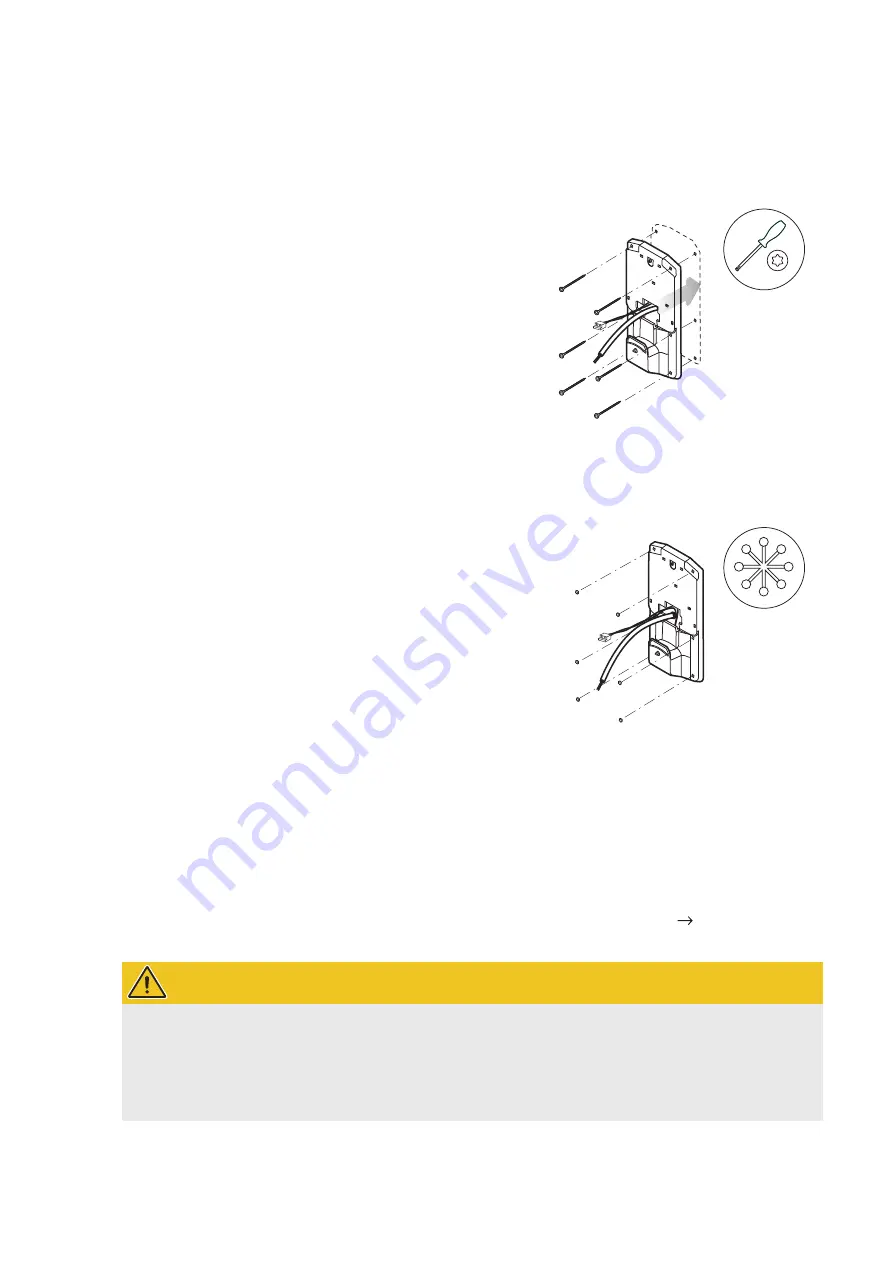
Proceed as follows to screw the mounting plate to the wall:
1
Place the mounting plate on the wall and align it
with the pre-drilled fixing points.
y
WHEMH10:
Run the supply cable through the
opening.
y
1W0001:
Run the supply cable and the control
cable of the mounting plate through the opening.
y
PVEMH10:
Run the supply cable, the control
cable of the mounting plate and the cable from
the inverter (and the cable from the power sup-
ply unit, if applicable) through the opening in the
mounting plate.
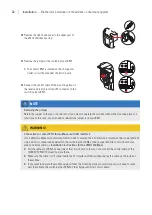
2
Screw the mounting plate into the holes using
the six 5×60 countersunk screws and the Torx
screwdriver.
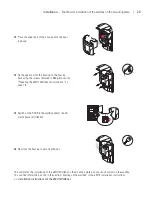
3
Close the openings in the mounting plate with the
six blind plugs.
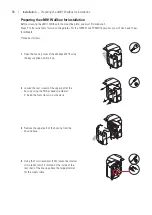
After fixing the mounting plate to the wall, you can proceed with the preparation of the eMH1 Wallbox. Go to the
section “Preparing the eMH1 Wallbox for installation” on page 18.
Preparation and fixing to the POLEMH1 mounting pole
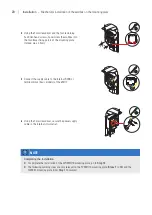
Instead of fixing it to a wall, you can also attach the mounting plate to the POLEMH1 mounting pole. To do this, the
mounting pole must be installed at the desired location and prepared for electrical connection to an eMH1 Wallbox.
Please read the corresponding chapters in the installation instructions for the POLEMH1/2/3:
POLEMH1/2/3 in-
stallation instructions
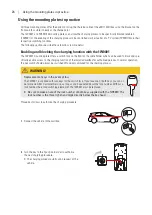
WARNING!
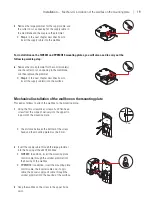
Detaching the control cables for the 1W0001 and PVEMH10 versions
In contrast to the WHEMH10, the 1W0001 and PVEMH10 versions have additional control cables on the back
that are connected in the eMH1 Wallbox during electrical installation.
Disconnect the control cables and run them through the opening to the front of the mounting plate
before screwing it to the POLEMH1!


