background image

REGULATORY STATEMENTS 


FCC Certification 


The United States Federal Communication Commission (FCC) and the Canadian 
Department of Communications have established certain rules governing the use of 
electronic equipment.   

Part15, Class B 


CAUTION: 


This device is intended only for OEM integrators under the following conditions: 
The antenna must be installed such that 20 cm is maintained between the antenna and 
users, and  
The transmitter module may not be co-located with any other transmitter or antenna. 
As long as 2 conditions    above are met, further transmitter test will not be required. 
However, the OEM integrator is still responsible for testing their end-product for any 
additional compliance requirements required with this module installed (for example, 
digital device emissions, PC peripheral requirements, etc.). 
 
IMPORTANT NOTE:   
In the event that these conditions can not be met (for example certain laptop 
configurations or co-location with another transmitter), then the FCC authorization is no 
longer considered valid and the FCC ID can not be used on the final product. In these 
circumstances, the OEM integrator will be responsible for re-evaluating the end product 
(including the transmitter) and obtaining a separate FCC authorization. 

FCC Caution: Any changes or modifications not expressly approved by the party responsible 
for compliance could void the user's authority to operate this equipment.  This device complies 
with Part 15 of the FCC Rules. Operation is subject to the following two conditions: 
(1) This device may not cause harmful interference, and 
(2) this device must accept any interference received, including interference that may cause 
undesired operation.  
 
LABELING REQUIREMENT FOR OEM INTEGRATOR:
This transmitter module is authorized only for use in device where the antenna may be installed 
such that 20 cm may be maintained between the antenna and users
The final end product must be labeled in a visible area with the following: "Contains TX 
FCC ID: MQ4WMG2501". 


Summary of Contents for WMG2501

Page 1: ...802 11g Wireless LAN MINI PCI Card User s Manual...

Page 2: ...certain laptop configurations or co location with another transmitter then the FCC authorization is no longer considered valid and the FCC ID can not be used on the final product In these circumstanc...

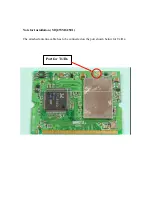
Page 3: ...Note for Installation MQ4WMG2501 The attached antenna cable has to be connected on the port shown below for Tx Rx Port for Tx Rx...

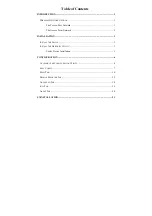
Page 4: ...1 The Access Point Network 2 INSTALLATION 3 INSTALL THE DEVICE 3 INSTALL THE DRIVER UTILITY 3 Verify Device Installation 5 CONFIGURATION 6 ACCESSING THE CONFIGURATION UTILITY 6 EASY CONFIG 7 MAIN TAB...

Page 5: ...his card also allows you to take full advantage of your computer s mobility with access to real time information and online services anytime and anywhere In addition this device eliminates the bother...

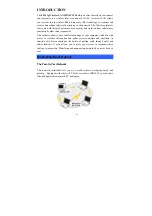
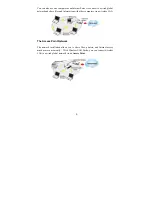
Page 6: ...share files and information with other computers via a wireless LAN The Access Point Network The network installation allows you to share files printers and Internet access much more conveniently Wit...

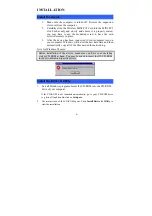
Page 7: ...dows will detect the new hardware and then automatically copy all of the files needed for networking Note for Windows 98 users Before installation of the device make sure you have your operating syste...

Page 8: ...4 3 When the Welcome screen appears click Next to continue 6 Select Yes I want to restart my computer now and click Finish to complete the software installation...

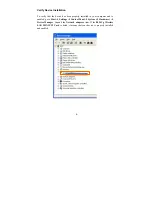
Page 9: ...n properly installed in your computer and is enabled go to Start Settings Control Panel System Hardware Device Manager Expand the Network adapters item If the 802 11g Wireless LAN MINI PCI Card is lis...

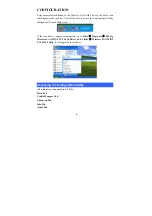
Page 10: ...ation Utility through the Network Status icon If the icon doesn t appear automatically go to Start Programs 802 11g Wireless LAN MINI PCI Card Driver and Utility Wireless LAN MINI PCI Card Utility it...

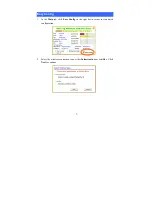
Page 11: ...7 Easy Config 1 In the Main tab click Easy Config on the right down corner to start quick configuration 2 Select the wireless connection type either Infrastructure or Ad Hoc Click Next to continue...

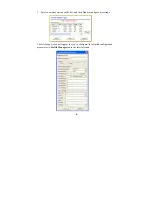
Page 12: ...a wireless station on the list and click Next to configure its settings The following screen will appear for you to configure for detailed configuration please refer to Profile Manager tab in the late...

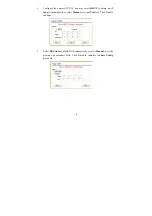
Page 13: ...P to obtain an IP address automatically or select Manual to set an IP address Click Next to continue 5 Select DNS Auto to obtain DNS automatically or select Manual to set the primary and secondary DNS...

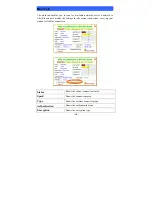
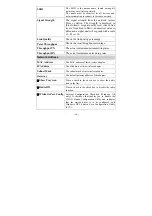
Page 14: ...connect modify the settings for the current connection or set up your station for Ad Hoc connection Status Shows the current connection status Speed Shows the connection speed Type Shows the wireless...

Page 15: ...ughput TX The actual instantaneous transmitting rates Throughput RX The actual instantaneous receiving rates Network Address MAC Address The MAC address of this wireless adapter IP Address The IP addr...

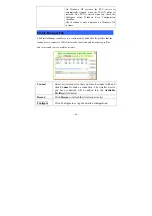
Page 16: ...s you to create modify and delete the profiles that the station uses to connect to WLAN networks to activate and de activate profiles and to raise and lower a profiles priority Connect Select a wirele...

Page 17: ...vailable Profile s field below Remove Select a wireless device that listed in the Available Profile s field and then click Remove to delete it Edit Select a wireless device in the Available Profile s...

Page 18: ...Connect Configure or Add buttons Note WEP If WEP is selected you can either input Encryption Key 1 4 or check the Generate WEP Key and enter a WEP the system will automatically generate WPA PSK WPA2 P...

Page 19: ...for the sharing of wireless networks to verify identity and access privileges of roaming wireless network cards Select the Network Authentication from the pull down list Open system If the Access Poin...

Page 20: ...the Passphrase of your wireless network Key Length Select the key length from the pull down menu either 64Bit or 128 Bit If you are using 64 bit WEP encryption then the key must consist of exactly ten...

Page 21: ...LS LEAP TTLS and PEAP Tunnel Select the tunnel from the pull down menu including CHAP MSCHAP MSCHAP V2 PEAP and EAP MD5 Username Type in the user name assigned to the certificate Identity Enter the id...

Page 22: ...is 2346 RTS Threshold RTS CTS Threshold is a mechanism implemented to prevent the Hidden Node problem If the Hidden Node problem is an issue users have to specify the packet size The RTS CTS mechanis...

Page 23: ...to Auto Long or Short Apply Click Apply to save current changes Set Default Click Set Default to restore default settings Info Tab The Info tab displays information maintained by the driver such as th...

Page 24: ...20 About Tab Click on the About tab to view basic version information about the OS Version Utility Version Driver Version Firmware Version and EEPROM Version...

Page 25: ...iver please refer to below steps As you uninstall the utility the driver will be uninstalled as well 1 Go to Start All Programs 802 11g Wireless LAN MINI PCI Card Driver and Utility Uninstall 2 Click...

Reviews: