1
2
3
4
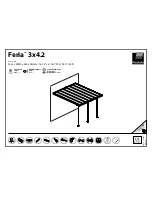
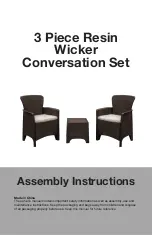
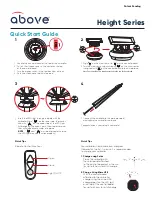
Quick Start Guide
Quick Tips
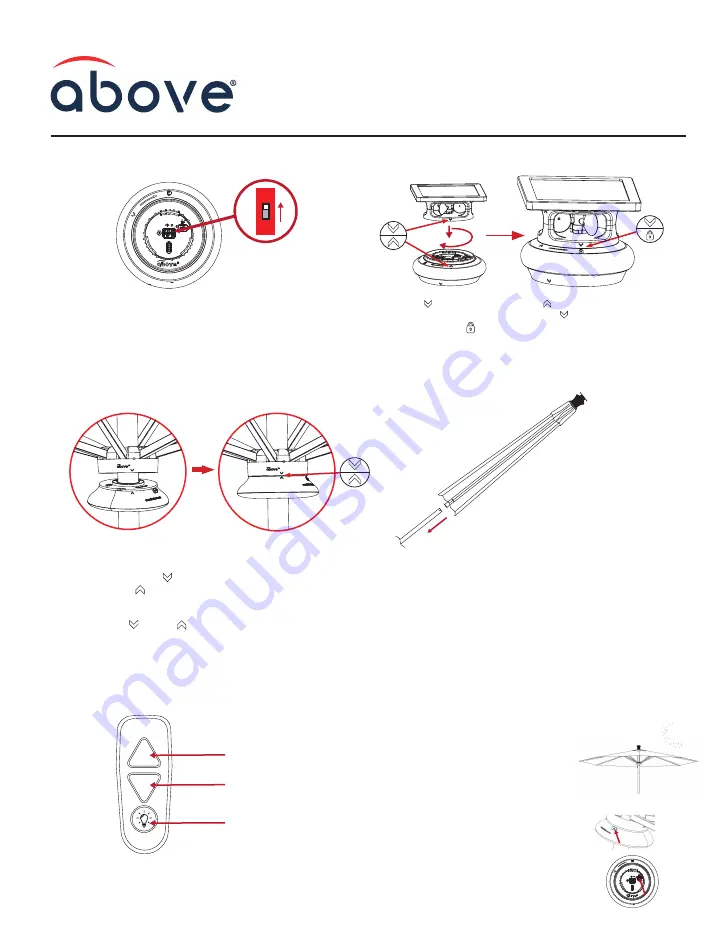
Open
Remote Control Functions
Close
Light On/Off
ON
OFF
Patent Pending
1.
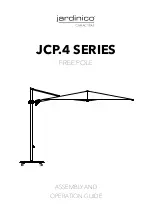
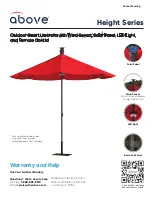
Height Series
1. Locate the control board at the top of the umbrella.
2. Pull off the silicone cover in the center at the top
of the control board.
3. Turn the power switch in the red box from off to on.
4. Push the silicon cover back into place.
1. Align “ ” on the wind sensor to “ ” on the control board.
2. Turn the wind sensor clockwise until “ ” on the wind sensor
is aligned with “ ” on the control board to lock into place.
Note: The control board is already attached to the top of the umbrella.
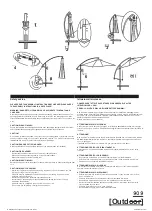
Insert the LED Light through the pole with the
umbrella. Align “ ” on the lower side, the runner
hub with “ ” on the upper side of the LED Light.
After aligning the arrows, push them together and
they will magnetically snap into place.
(
NOTE
: “ ”and “ ”must be aligned, otherwise
the LED light may not function properly)
1. Connect the umbrella to the pole provided
and secure the umbrella to a base.
Congratulations, your setup is complete!
Quick Tips
Your umbrella should come pre-charged.
However for the first-time use, it is recommended
to charge your umbrella.
1. Charge using Solar
Place the umbrella with
the solar panel attached
to the control board out in the sun
for up to 12 hours for a full charge.
2. Charge Using Micro USB
With the control board
attached to the umbrella,
charge using the micro USB
charging port on the LED light
or on top of the control board
for up to 4 hours for a full charge.