70
English
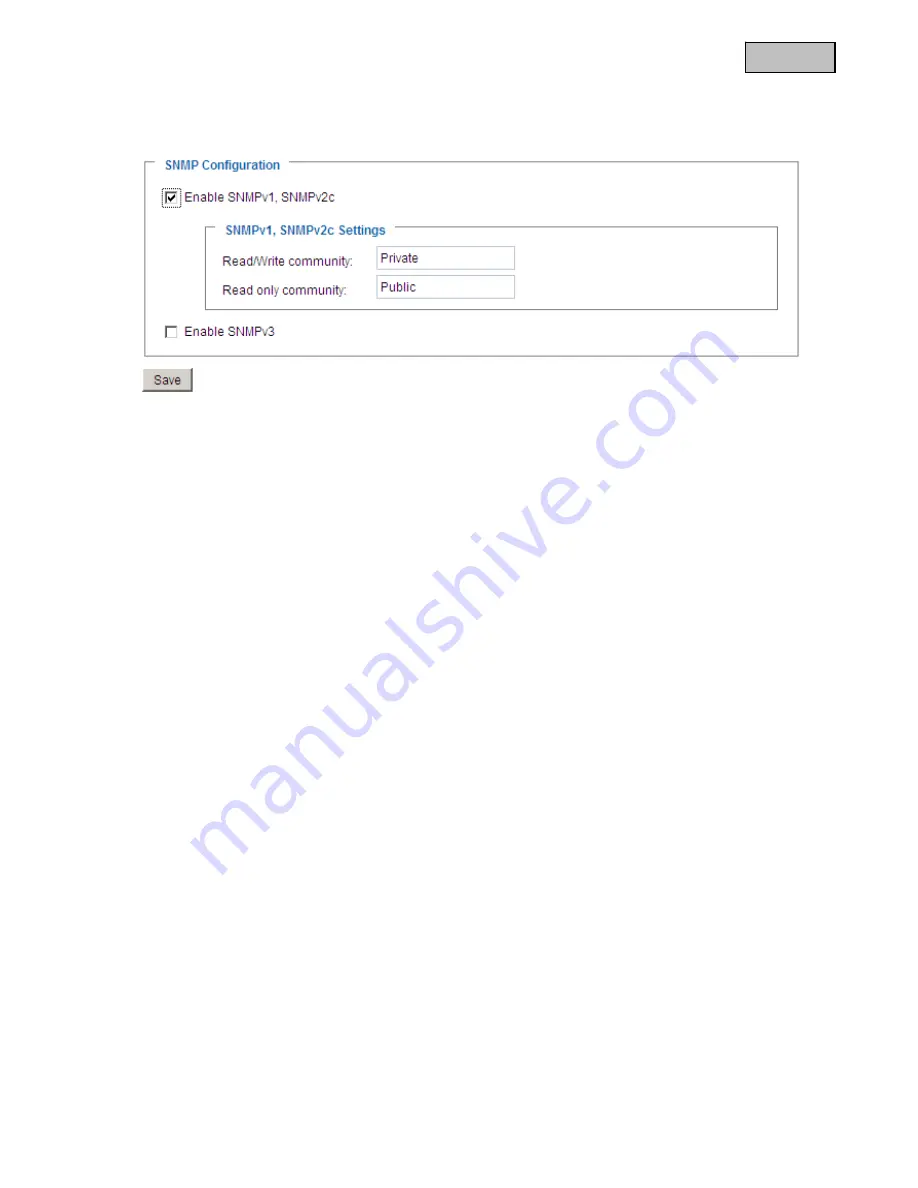
“Enable SNMPv1, SNMPv2c”
Depending on your SNMP server settings, you can define the name fields of
the read/write community here.
“Enable SNMPv3”
If your SNMP server supports the SNMP protocol in version 3, you can execute the status
query with encryption. To do this, an encryption algorithm and password for the read/write community status
query must be saved in the network camera and SNMP server.
6.5 Network
6.5.1 Network
settings
All changes made on this page cause the system to restart in order for the changes to take effect. Make sure
that the fields are correctly filled before you click “Save”.
“LAN”
The default is LAN. Use this setting if the network camera is connected to a LAN. You also have to
make other settings such as the IP address or the subnet mask.
“Obtain an IP address automatically”
Every time the network camera is restarted, it is assigned an IP
address via a DHCP server.
“Use fixed IP address”
The network data is fixed here, e.g. the IP address.
“IP address”
This is required for network identification.
“Subnet mask”
This defines whether the destination is in the same subnet. The default value
is
“
255.255.255.0”.
“Standard-Router”
Gateway for transmitting pictures to another subnet. An invalid router setting prevents
transmission to these destinations in different subnets. If a cross-link cable connection is available, you must
enter an IP which is in the same subnet range as the network camera (e.g. 192.168.0.1).
“Primary DNS”
Server of the primary domain name with which the hostnames
are converted into IP addresses.
“Secondary DNS”
Server of the secondary domain name for generating a reserve copy of the primary DNS.
“Use UPnP”
This enables Universal Plug and Play. If your operating system supports UPnP, the network
camera can be accessed directly via UPnP management (Windows: network environment)


