72
Attention:
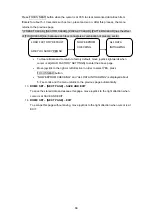
The camera comes with two light barriers to calibrate pan/tilt coordinates. If the light
barriers are not crossed for a long period, it could lead to inaccuracy and the camera
could not approach the preset positions exactly anymore.
Therefore the camera should cross the light barriers at 0° tilt and 180° pan in every tour
or pattern.
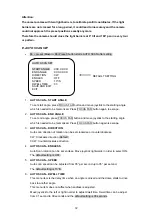
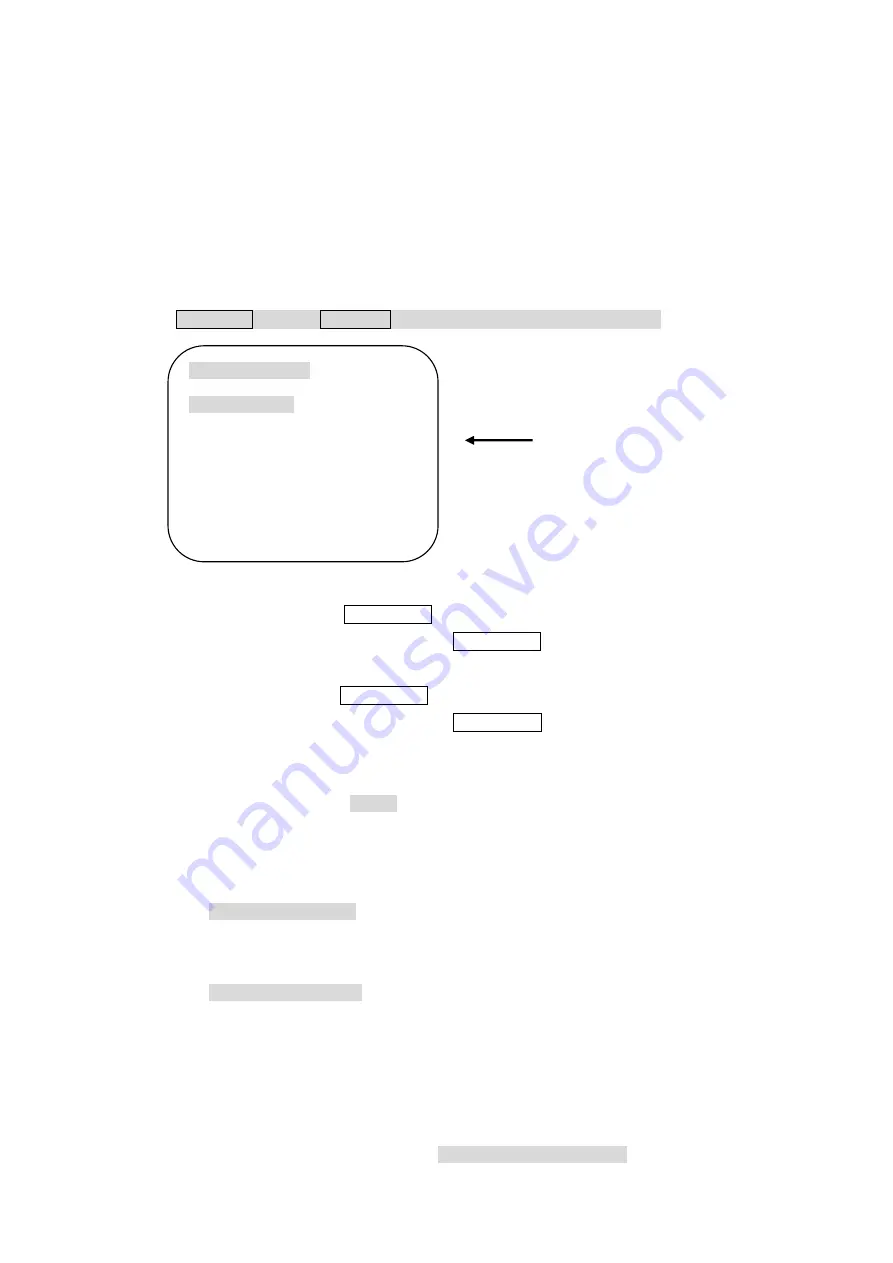
E. AUTO SCAN SET
•
66 + preset (Maxpro: 86+Preset) button starts AUTO SCAN after setting.
1.
AUTO SCAN – START ANGLE
To set start angle, press FOCUS FAR button and move joystick to the starting angle
which is needed to be memorized. Press FOCUS FAR button again to escape.
2.
AUTO SCAN – END ANGLE
To set end angle, press FOCUS FAR button and move joystick to the starting angle
which is needed to be memorized. Press FOCUS FAR button again is escape.
3.
AUTO SCAN – DIRECTION
Auto scan direction of rotation can be set clockwise or counterclockwise.
CW: Clockwise direction (Default)
CCW: Counterclockwise direction
4.
AUTO SCAN – ENDLESS
Auto Scan rotation can be set endless. Move joystick rightwards in order to select ON.
The default setting is OFF.
5.
AUTO SCAN – SPEED
Auto scan speed can be adjusted from 05° per second up to 35° per second.
The default setting is 10°/S.
6.
AUTO SCAN – DWELL TIME
This menu item is the delay time when an angle is arrived and the dome starts to drive
back to another angle.
This menu item does not affect when endless is adjusted.
Move joystick to the left or right in order to adjust dwell time. Dwell time can be adjust
from 01 second to 99 seconds and the default setting is 03 seconds.
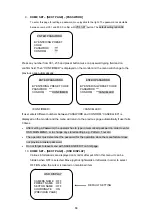
AUTO SCAN SET
START ANGLE : XXX.X.XX.X
END ANGLE
: XXX.X.XX.X
DIRECTION :
CW
ENDLES :
OFF
SPEED
: 10°/S
DWELL TIME
: 03
SAVE AND EXIT
EXIT
DEFAULT SETTING
Summary of Contents for eyeseo. TV7601
Page 16: ...16 Abmessungen TV7610 Masthalter Abmessungen TV7611 Eckenhalter...
Page 23: ...23 OSD Men Einstellungen A OSD Men Tabelle...
Page 43: ...43 Abmessungen 147 0 134 0 Einheiten mm 190 0...
Page 55: ...55 Dimensions TV7612 Drilling distances TV7609 Dimensions TV7609 35 10...
Page 57: ...57 Dimensions TV7611 Corner mount adaptor...
Page 63: ...63 OSD Menu Setting A OSD Menu Table...
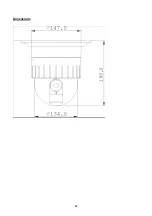
Page 82: ...82 Dimensions...
Page 98: ...98 Dimensions TV7610 Dimensions TV7611...
Page 105: ...105 R glage menu OSD A Tableau menu OSD...
Page 125: ...125 Dimensions...
Page 141: ...141 Afmetingen TV7610 Afmetingen TV7611 Afm in mm...
Page 148: ...148 OSD menu instellingen A OSD menutabel...
Page 168: ...168 Afmetingen...
Page 184: ...184 M l TV7610 M l TV7611...
Page 191: ...191 Indstillinger OSD menu A OSD menu tabel...
Page 211: ...211 M l...
Page 227: ...227 TV7610 Dimensioni TV7611...
Page 234: ...234 Impostazioni Menu OSD A Tabella Menu OSD...
Page 254: ...254 Dimensioni...

