117
Area Settings
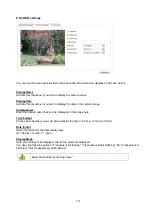
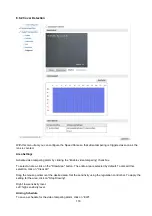
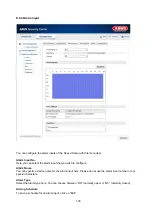
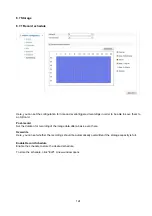
Activate motion detection by clicking the "Enable Motion Detection" checkbox.
Clicking “Enable Dynamic Analysis for Motion” means that movements are recorded in the preview image and
the live view (dynamic recording according to motion).
To select an area, click on the "Draw Area" button. The entire area is selected by default. To discard this
selection, click on "Clear All".
Drag the mouse pointer over the desired area. Set the sensitivity using the regulation control bar. To apply the
setting for the area, click on "Stop Drawing".
Right: low sensitivity level.
Left: high sensitivity level.
Arming Schedule
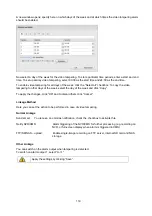
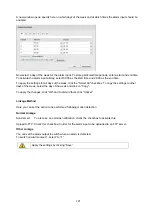
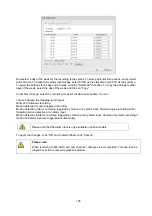
To save a schedule for motion-controlled recording, click on "Edit".
A new window opens; specify here on which days of the week and at which times motion-controlled recording
should take place.
Now select a day of the week for motion-controlled recording. To store particular time periods, enter a start
and end time. To set up all-day motion detection, select 00:00 as the start time and 24:00 as the end time.
To apply motion detection for all days of the week, click the "Select All" checkbox. To copy motion detection to
other days of the week, select the day of the week and click on "Copy".
To apply the changes, click "OK" and to discard them click "Cancel".
Apply the settings made by clicking "Save".
Linkage Method
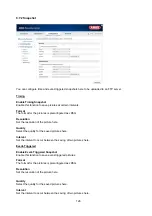
Here you can set the action to be performed following motion detection.
Normal Linkage
Send email:
You receive an email as notification; check the checkbox to activate this.
Upload to FTP: Check this checkbox in order for the motion-controlled recording to be uploaded to an FTP
server.
Trigger Channel:
Enable this in order to record motion detections onto an SD card.
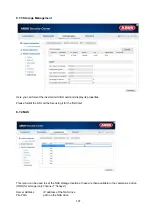
Other Linkage
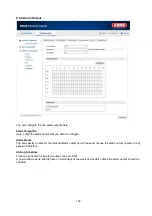
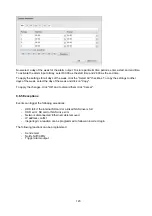
You can choose to switch on the alarm output when motion is detected.
To switch on alarm output 1, select “A->1”.
Apply the settings by clicking “Save”.


